Rebuilding our own Land Rover Series 2a

Rebuilding Adam 2018 - 2019
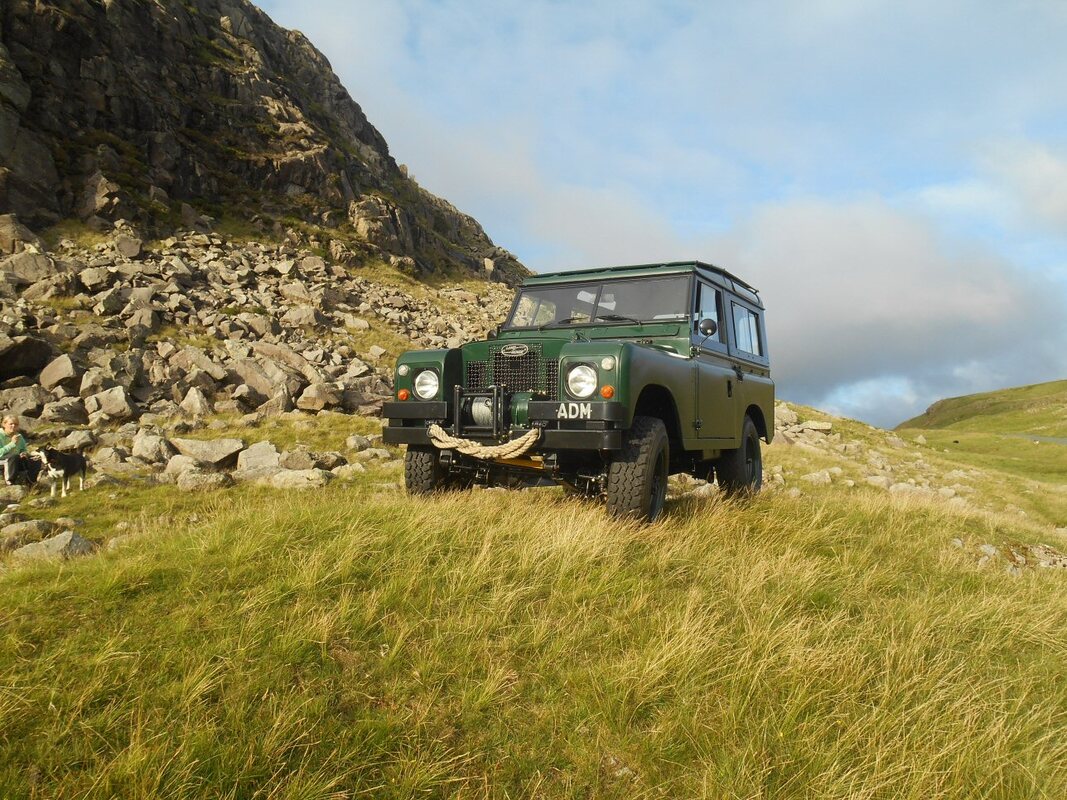
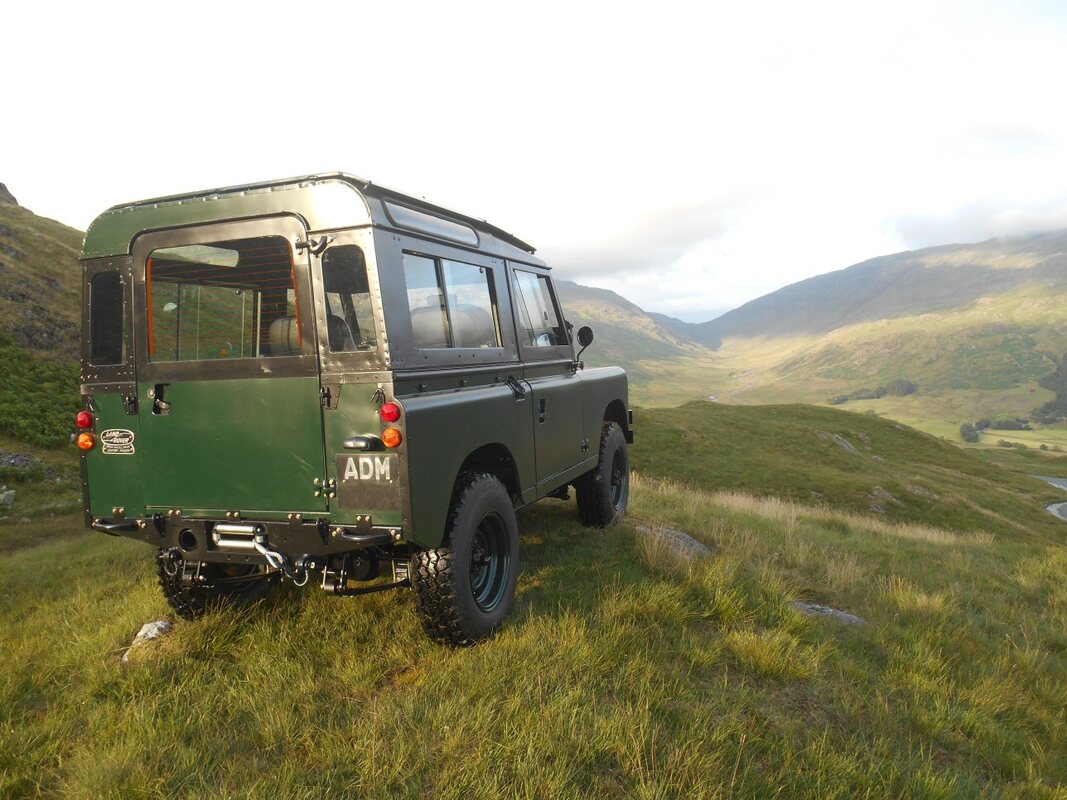
Final assembly of Adam after all the parts have been repaired, restored, rebuild, manufactured and painted.
Please click any picture to enlarge.
Please click any picture to enlarge.
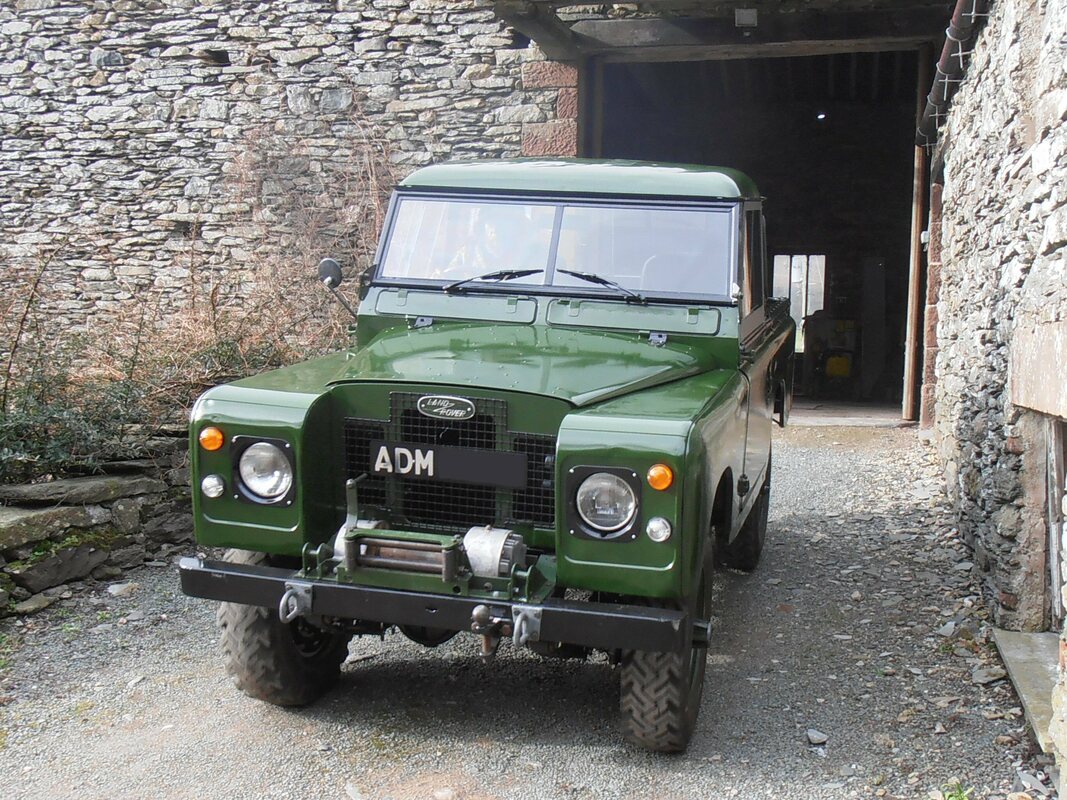
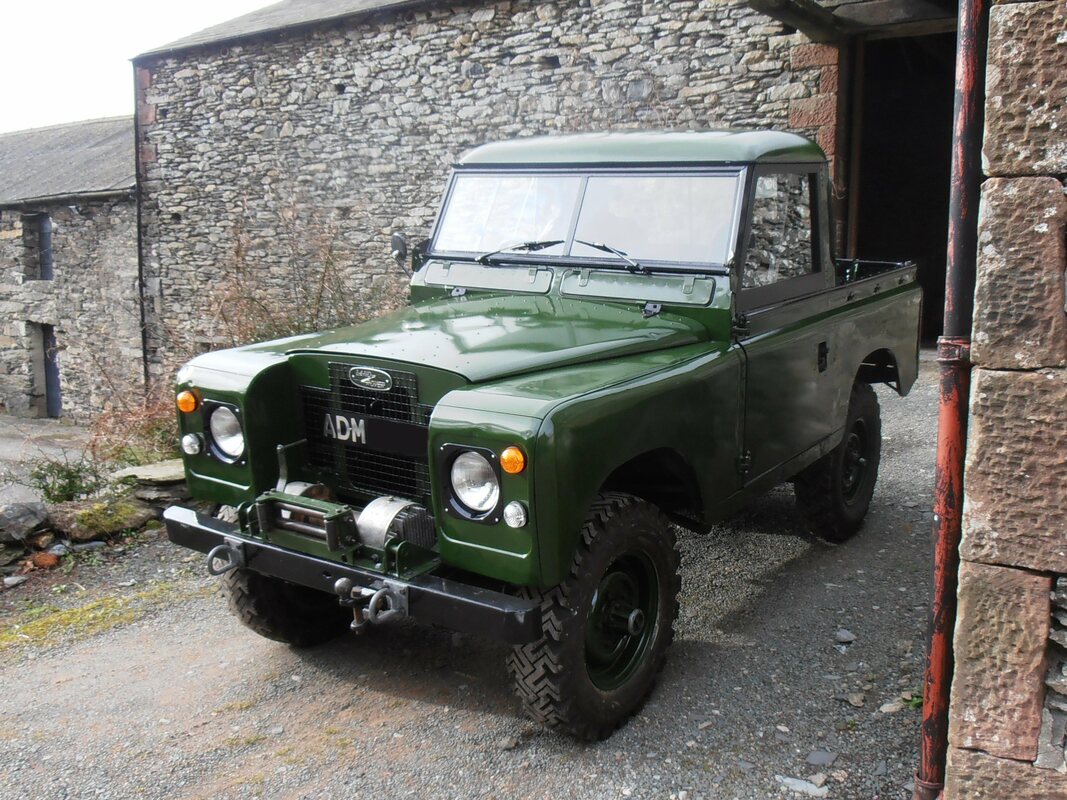
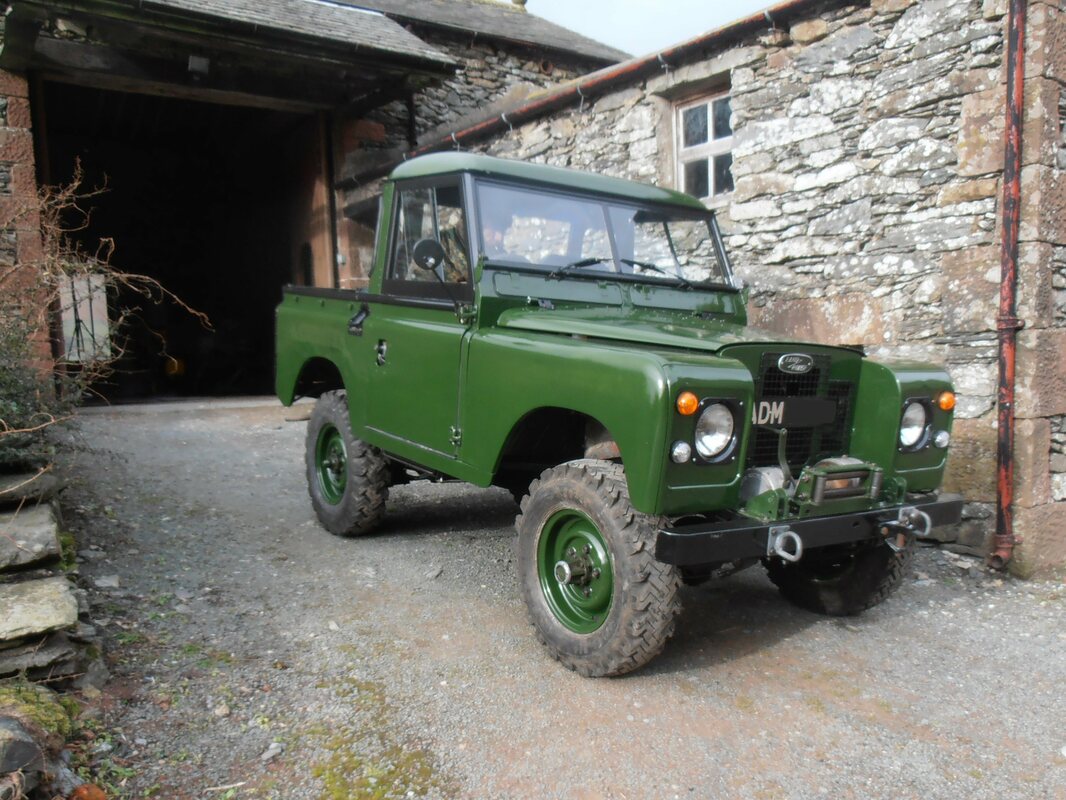
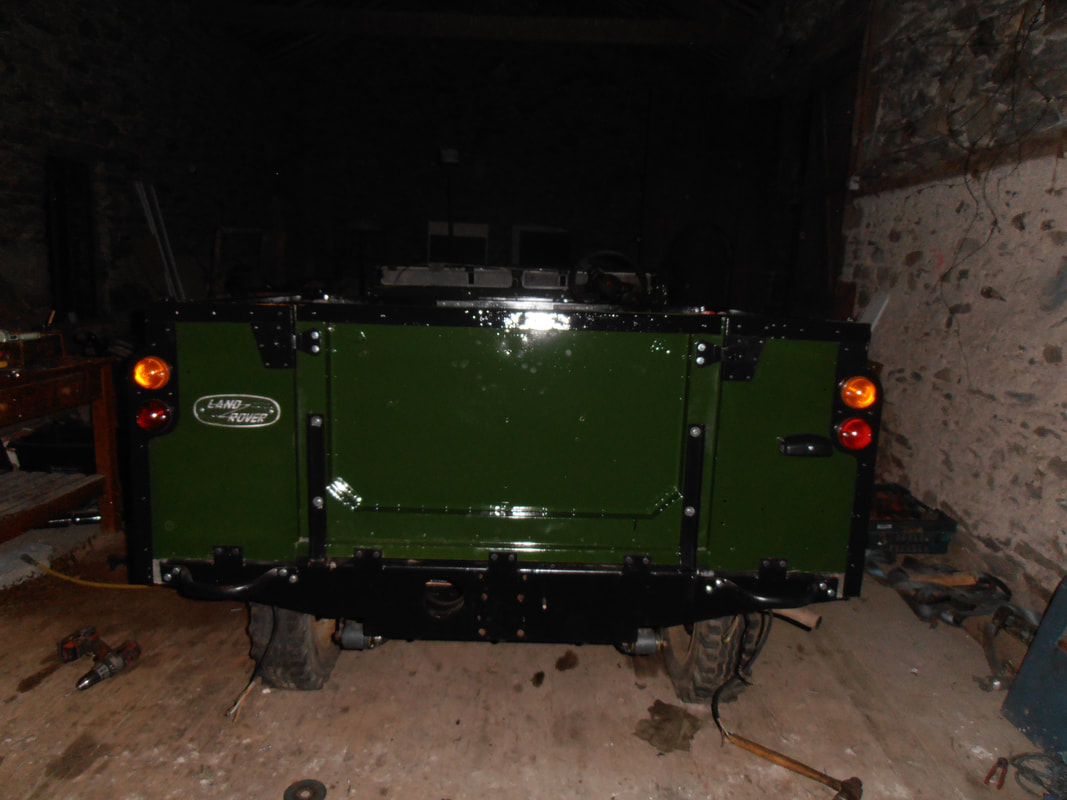
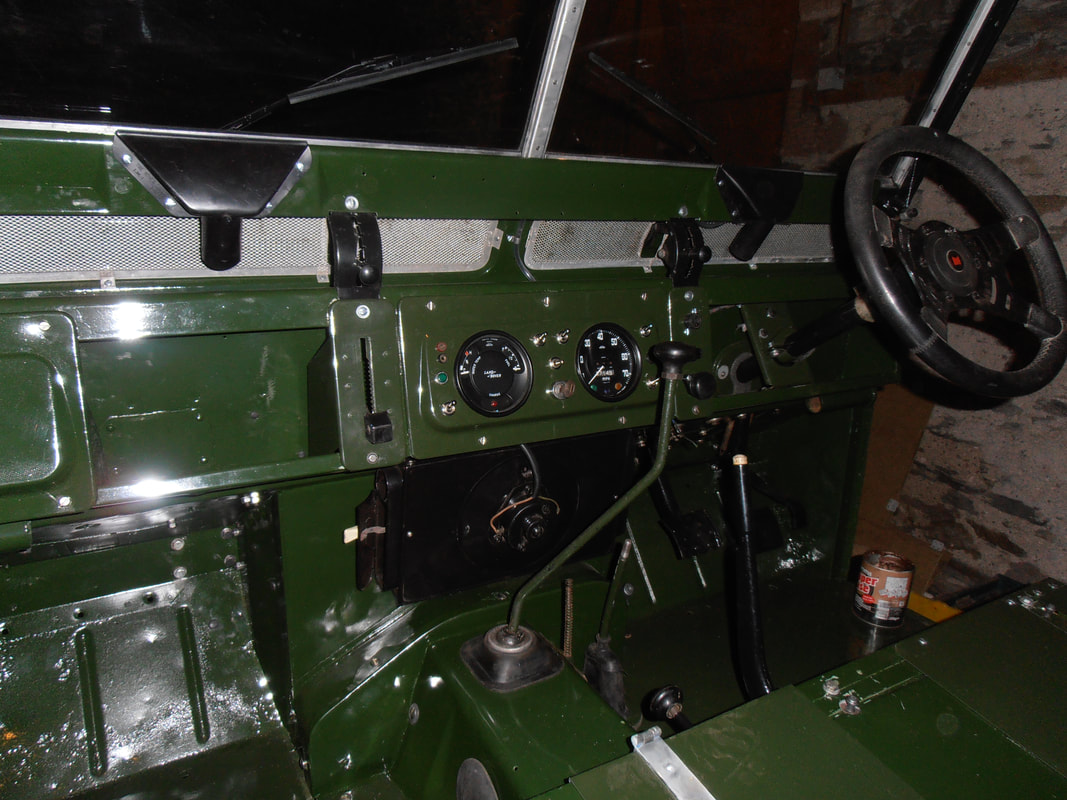
Day 15 - End - 99% Finished inside and out now. There is always 1% that can still be improved.

Day 11-14 - Half way through the final assembly we decided that we didn't like silver nuts & bolts. So we went backwards and replaced almost all with +CR6/+CR3 nuts & bolts.


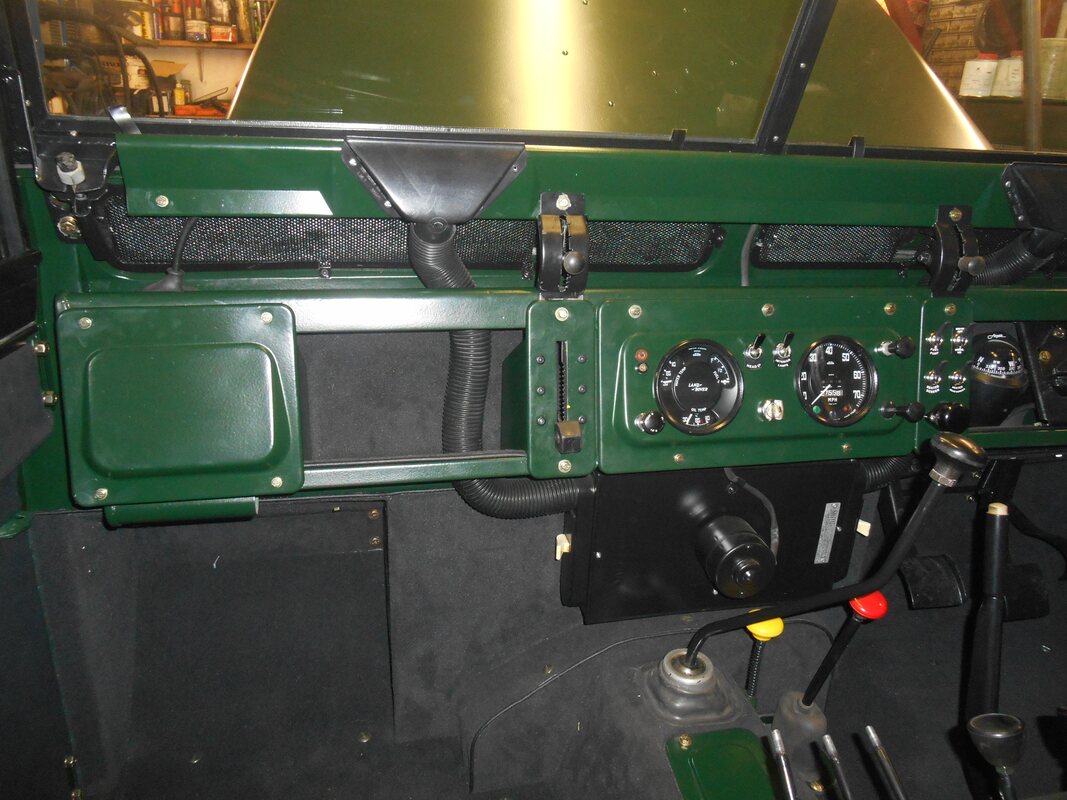
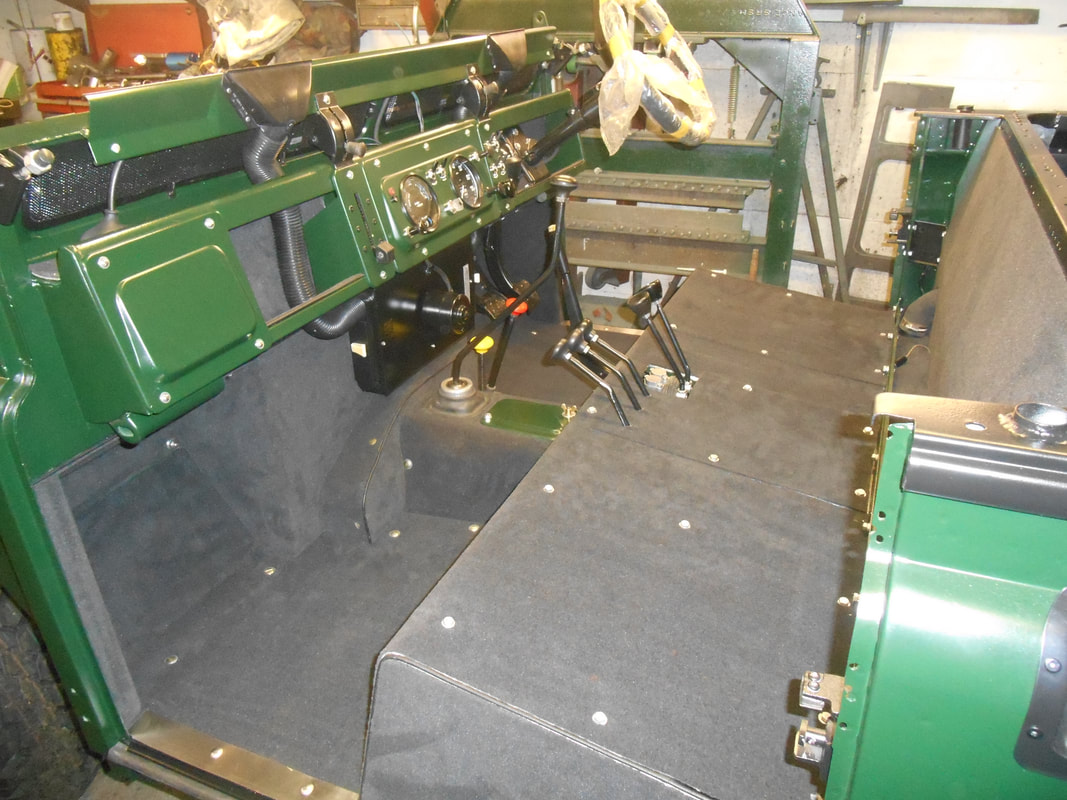
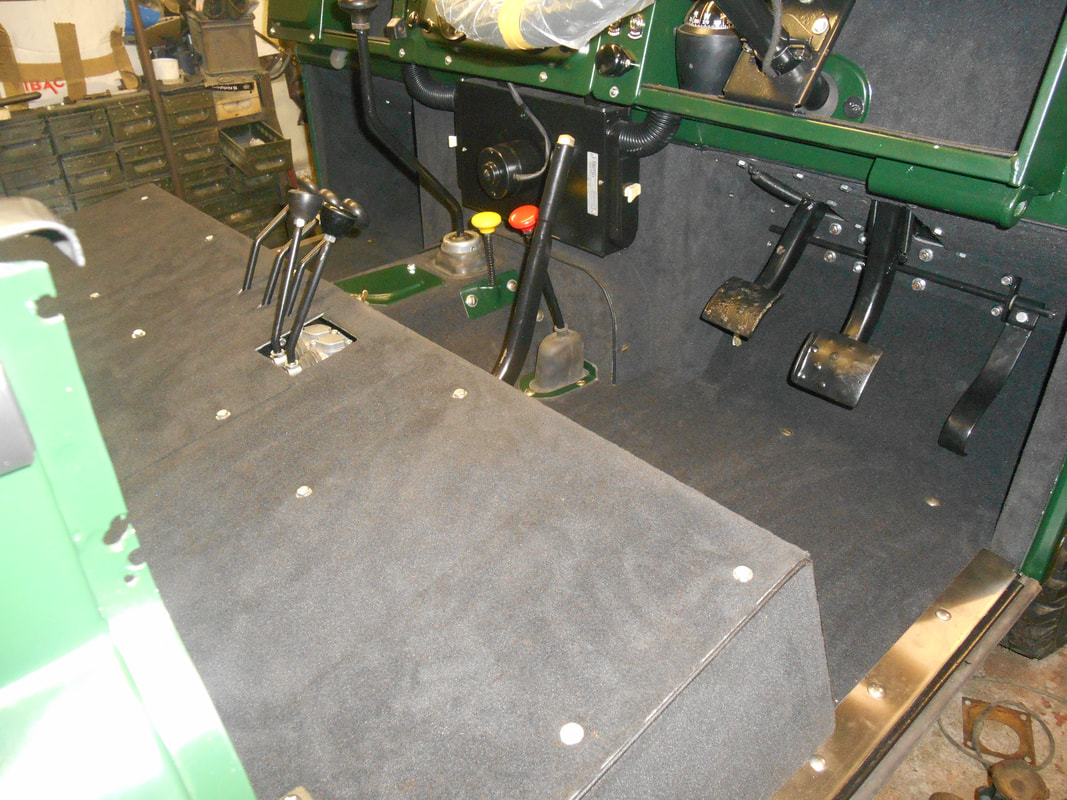
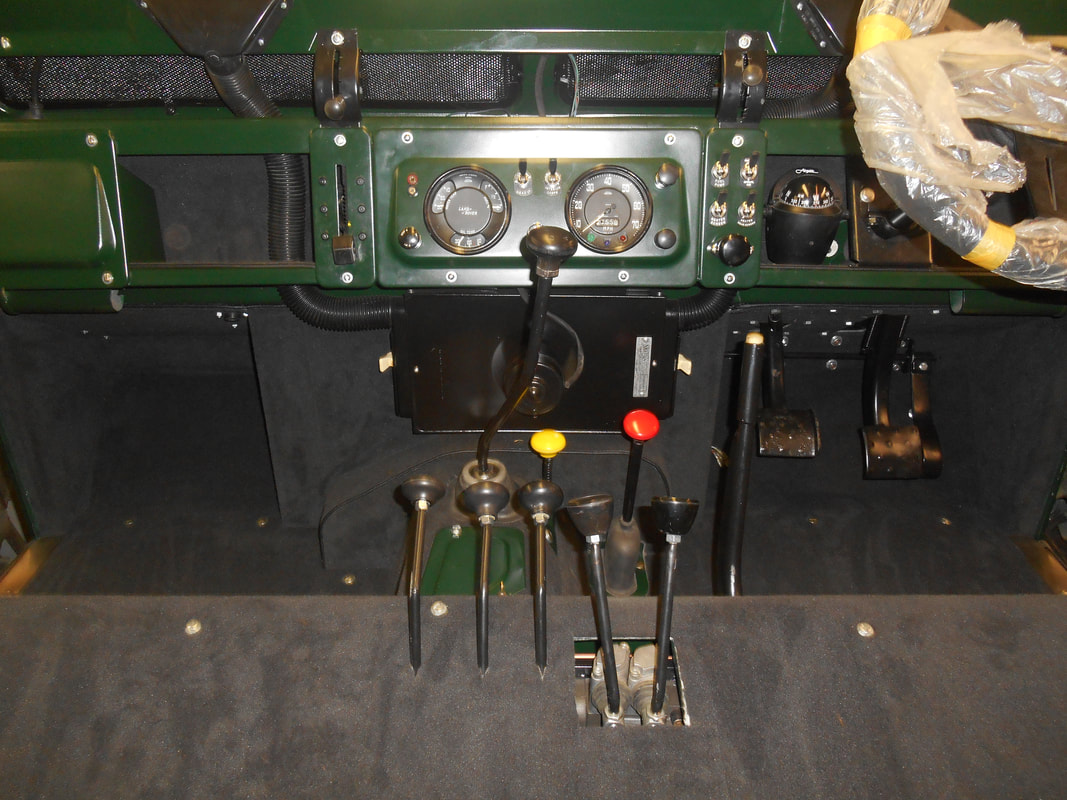
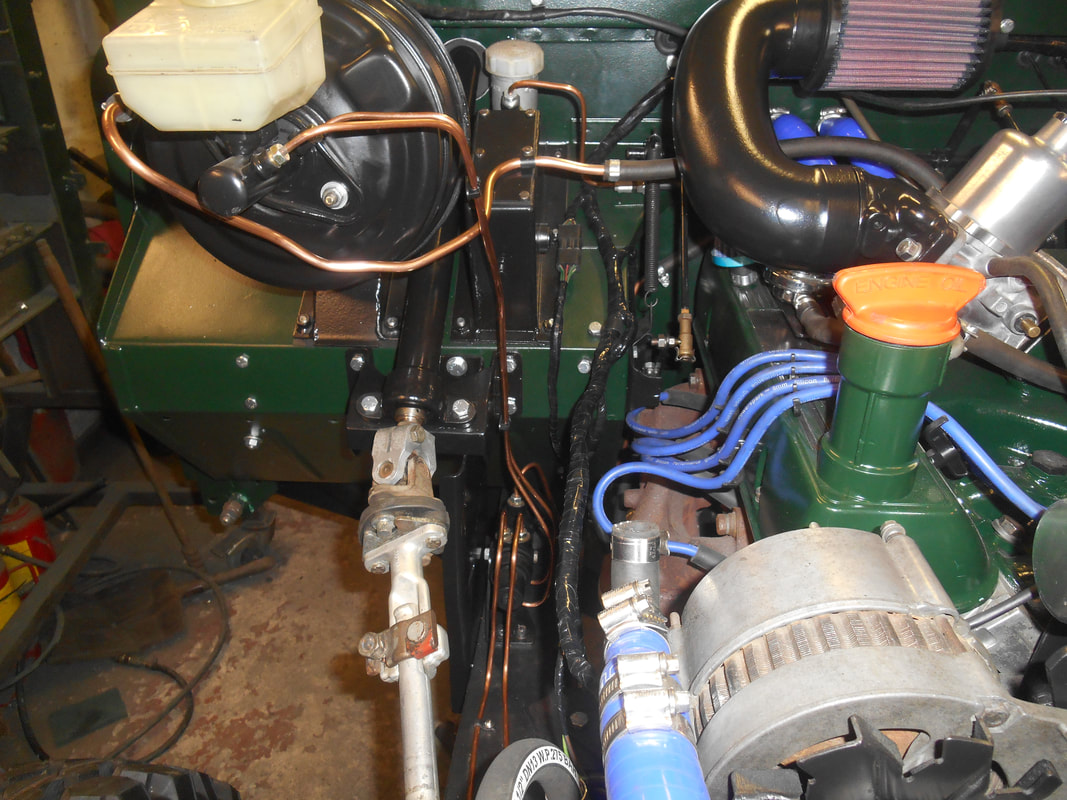
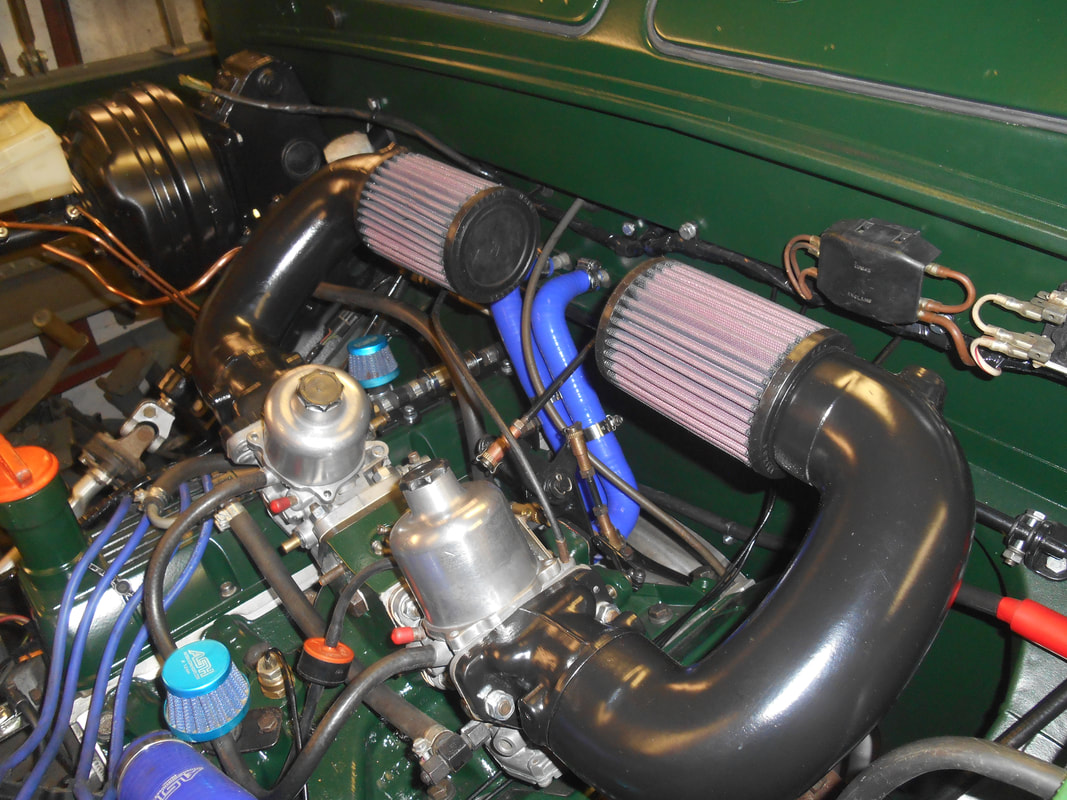
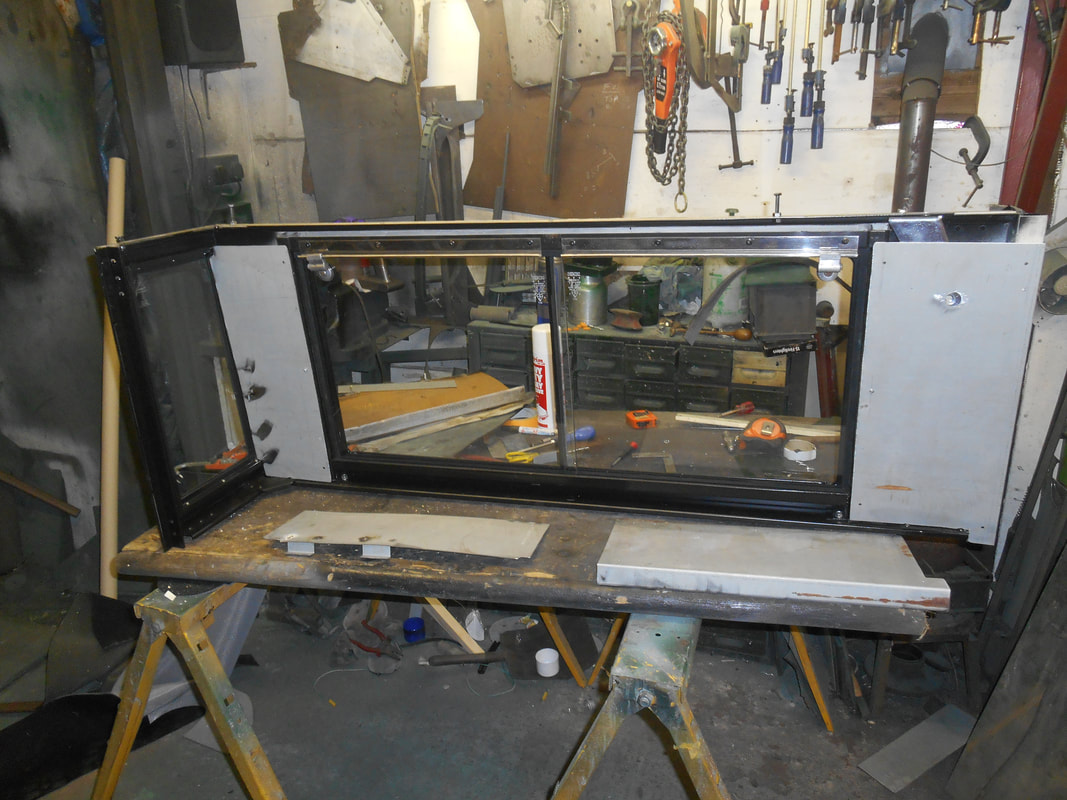
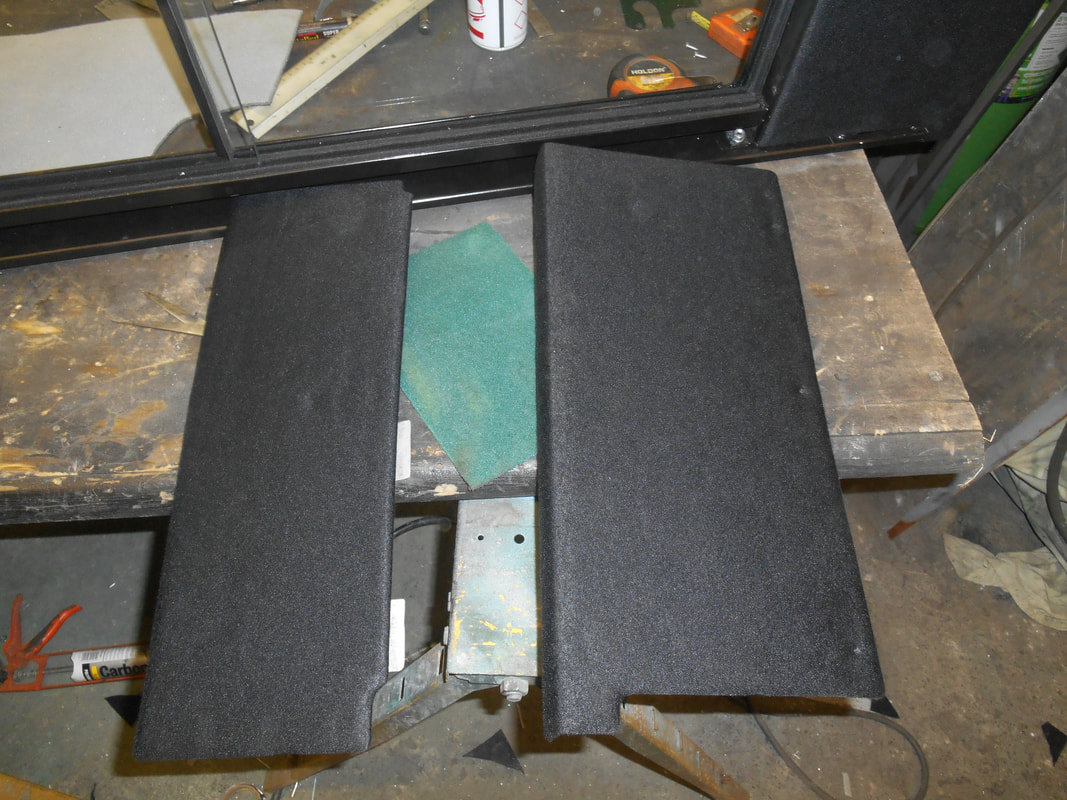
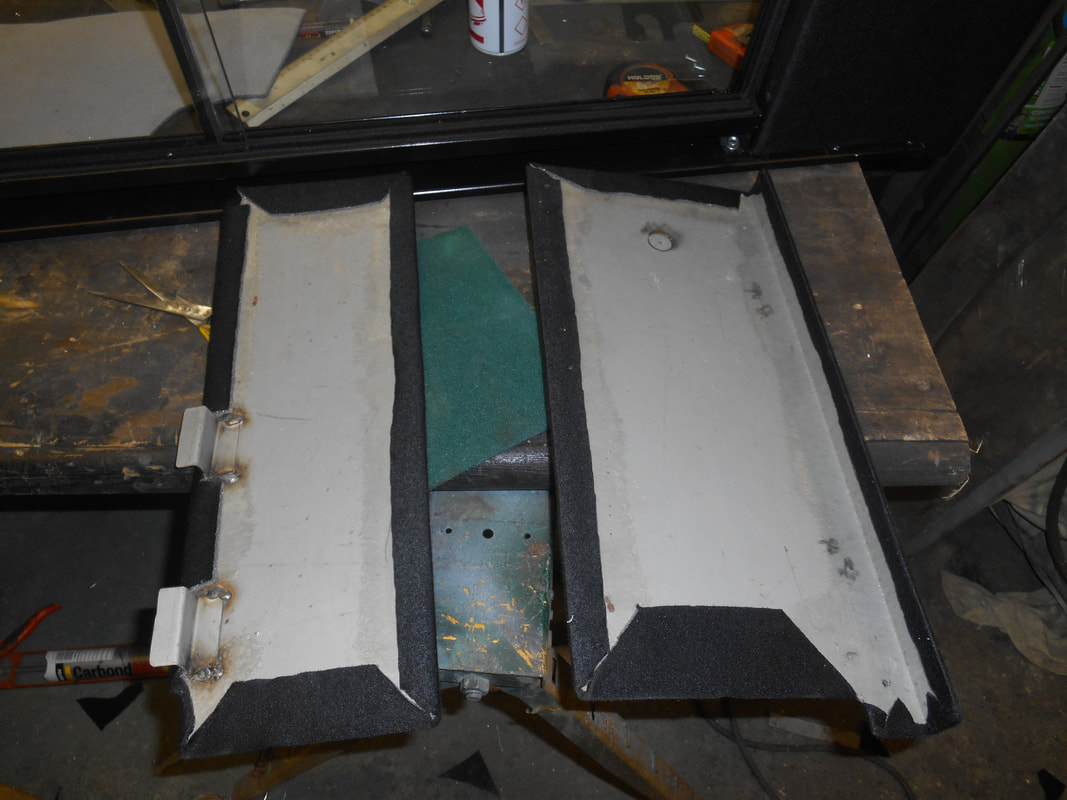
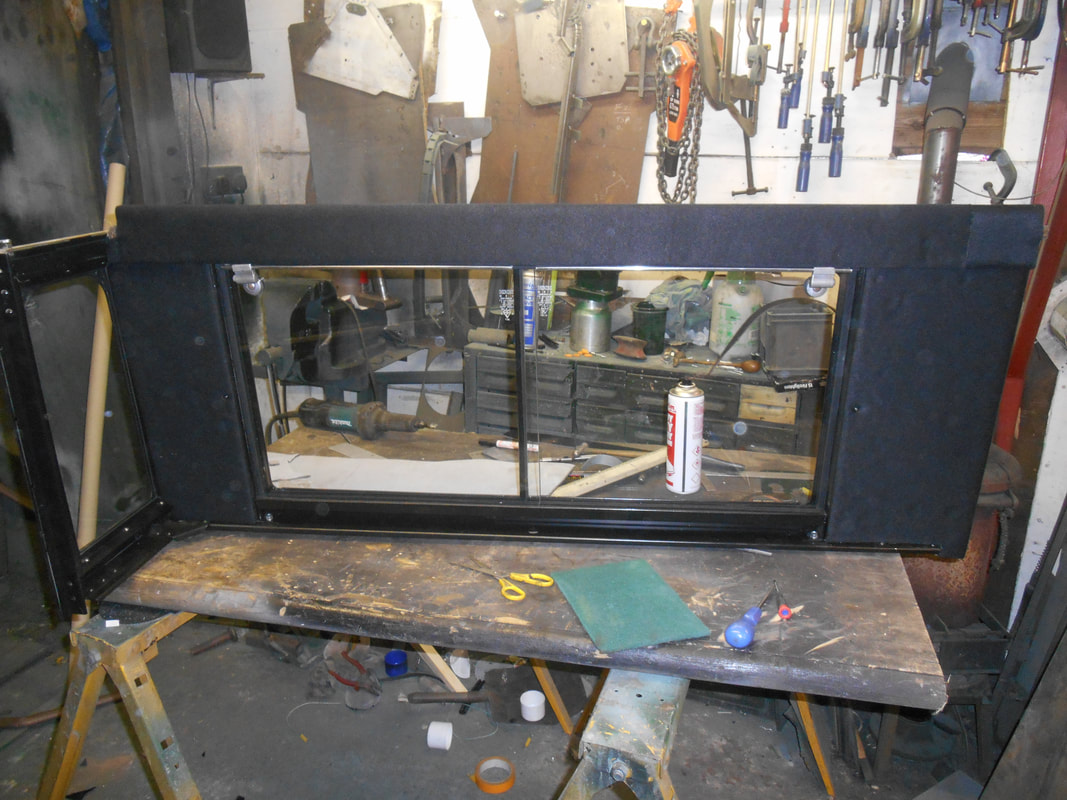
Day 10
Day 9

Day 8

Day 7

Day 6


Day 5
Day 4
Day 3


Day 2
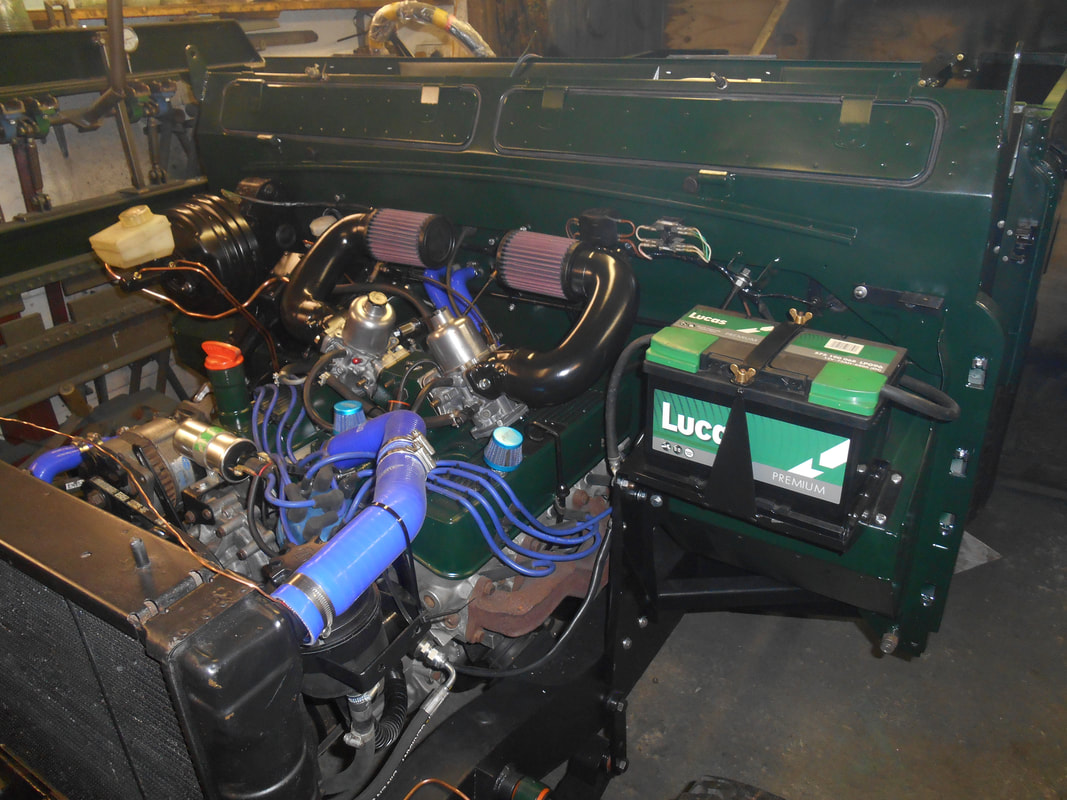
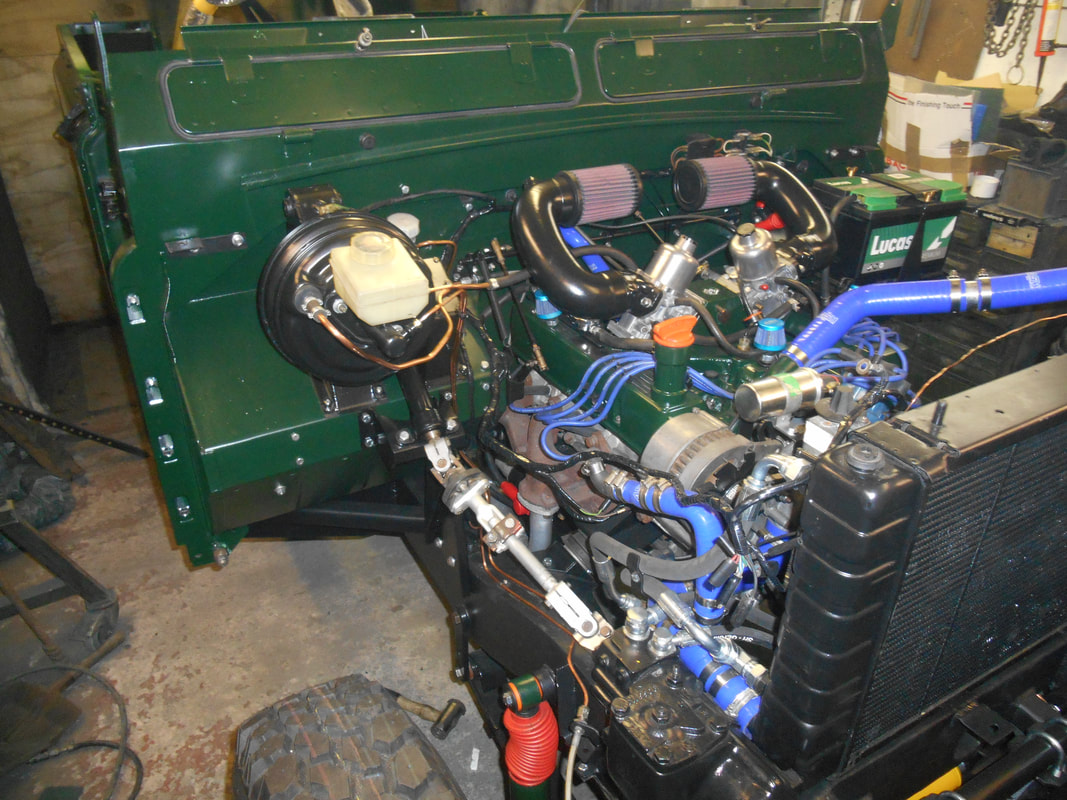
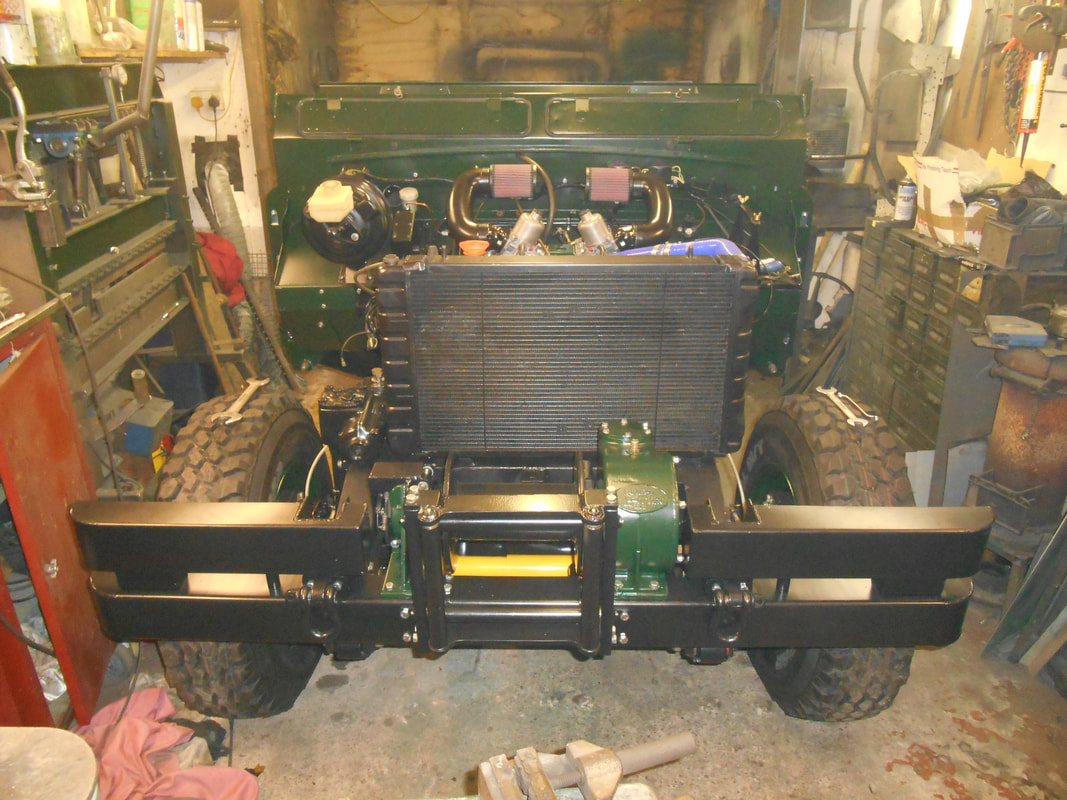
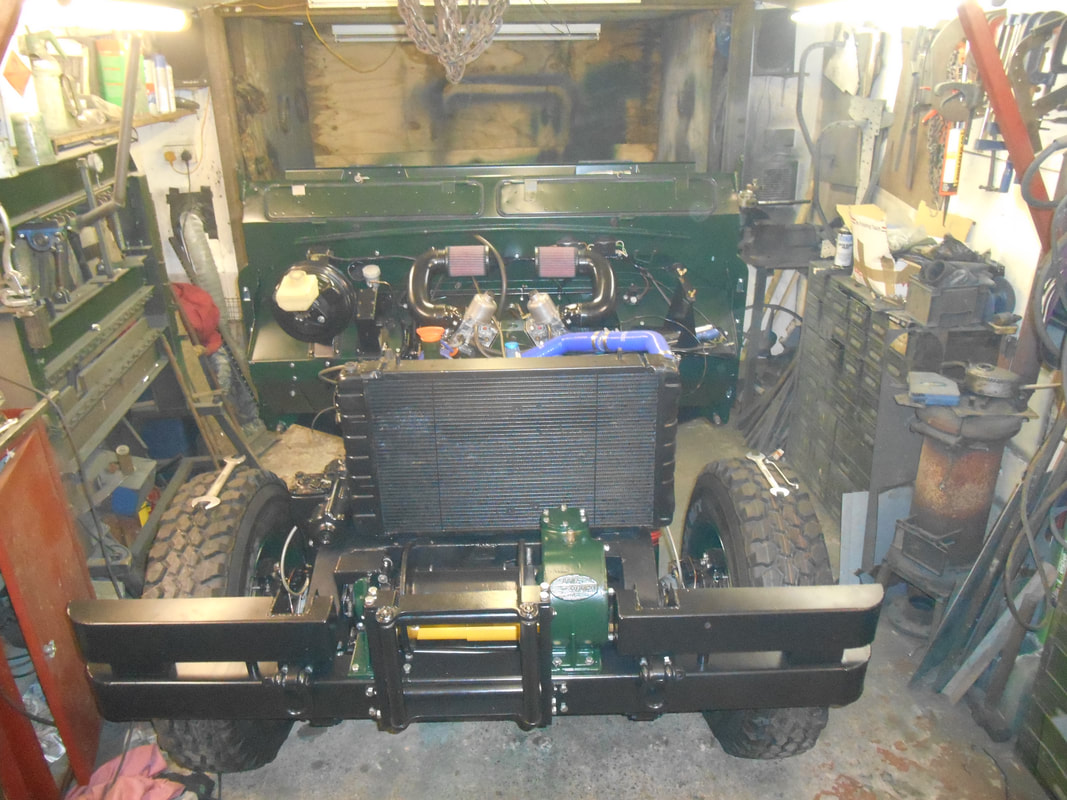
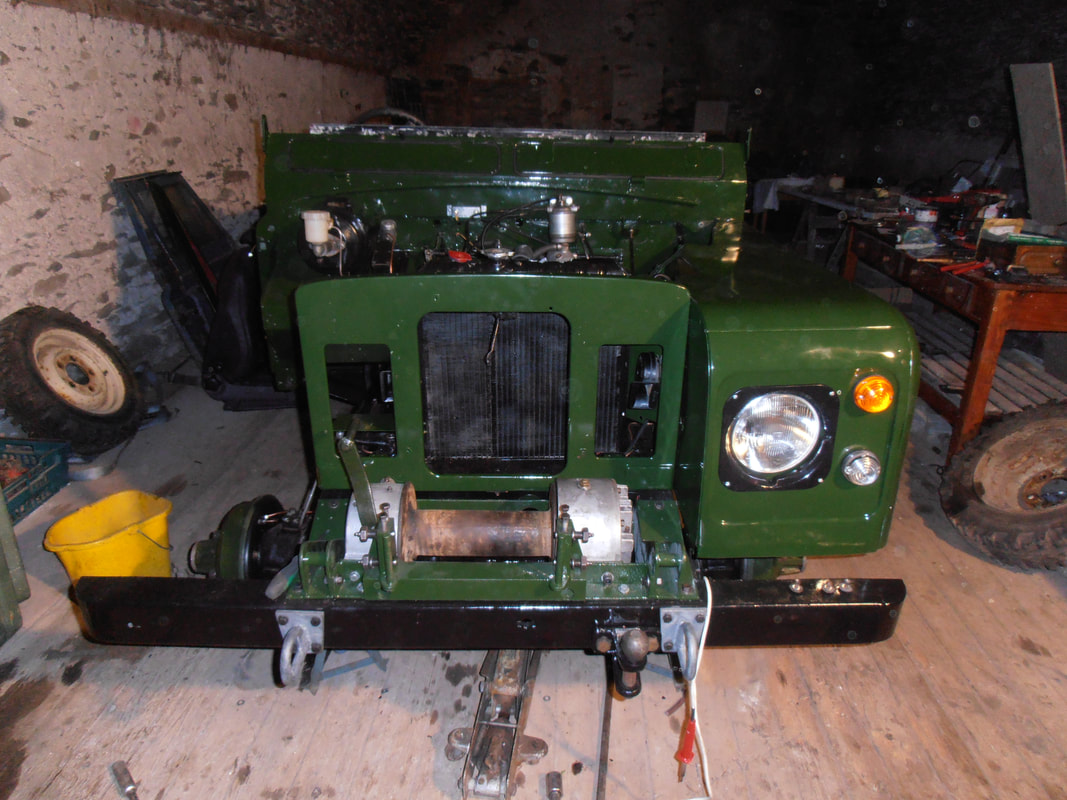
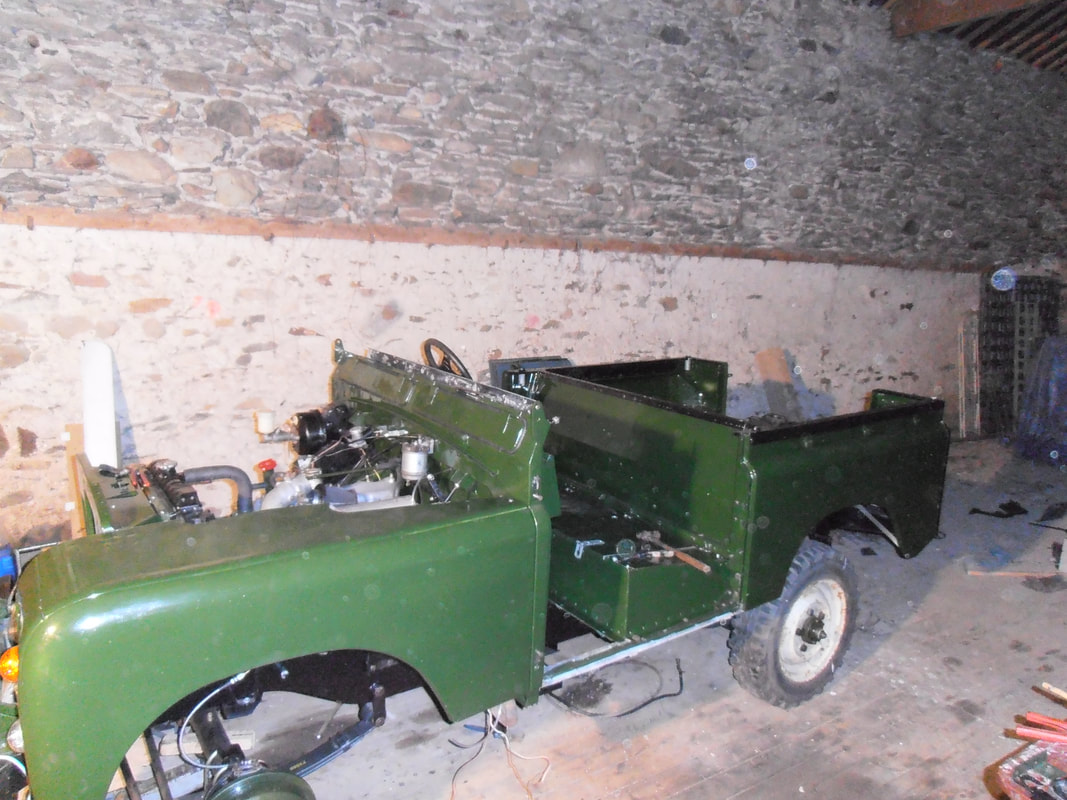
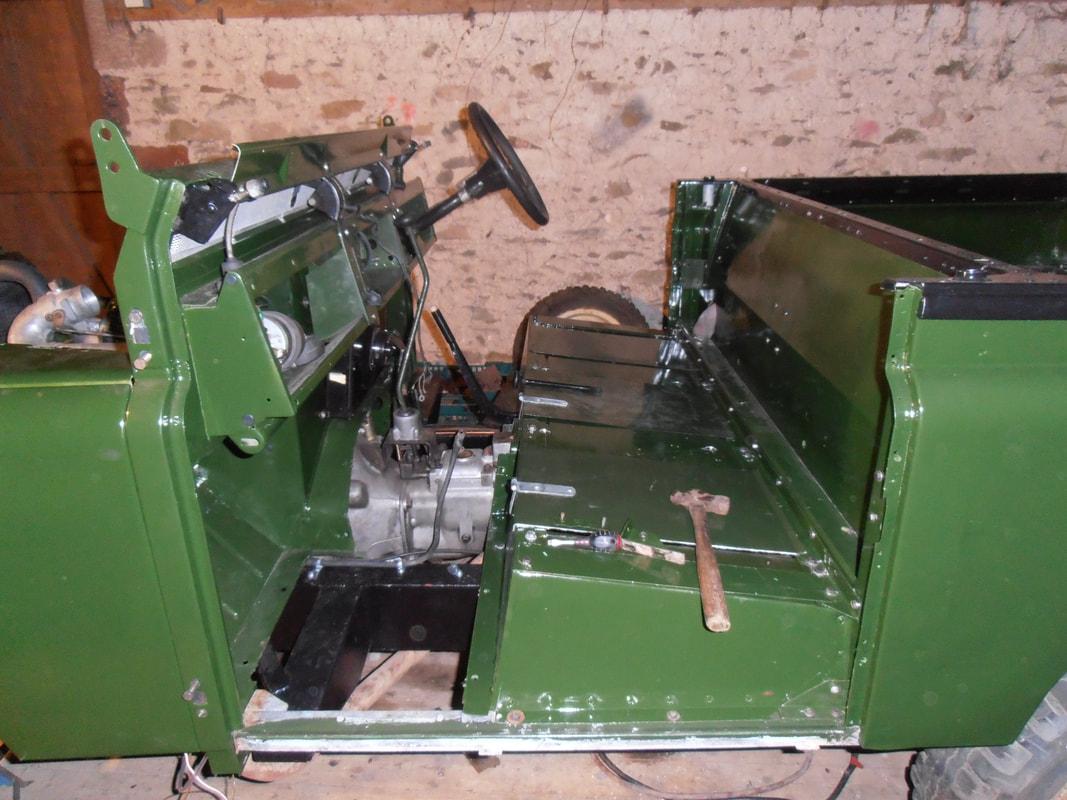
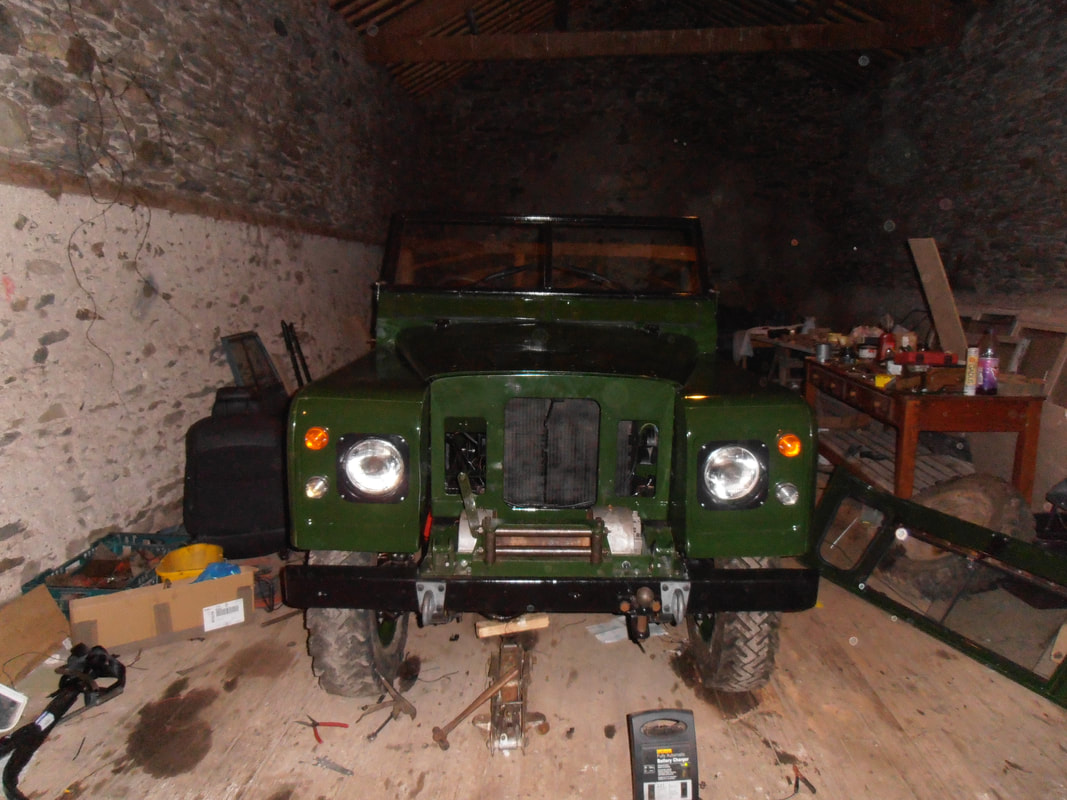
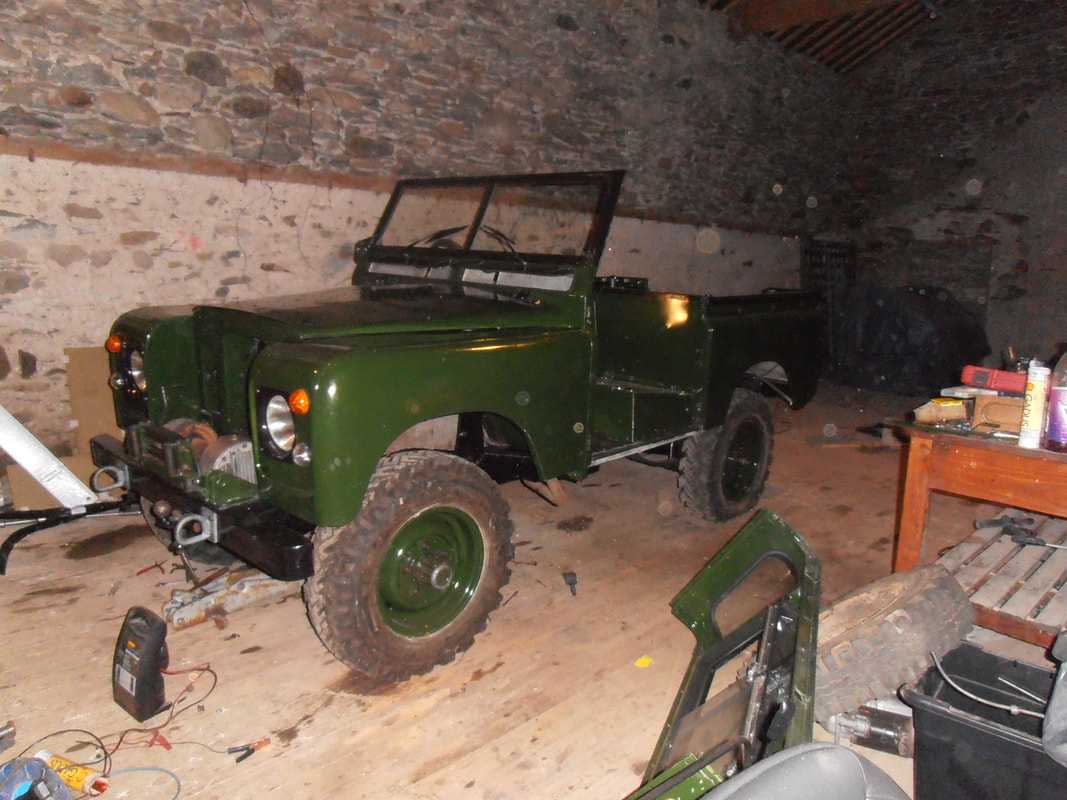
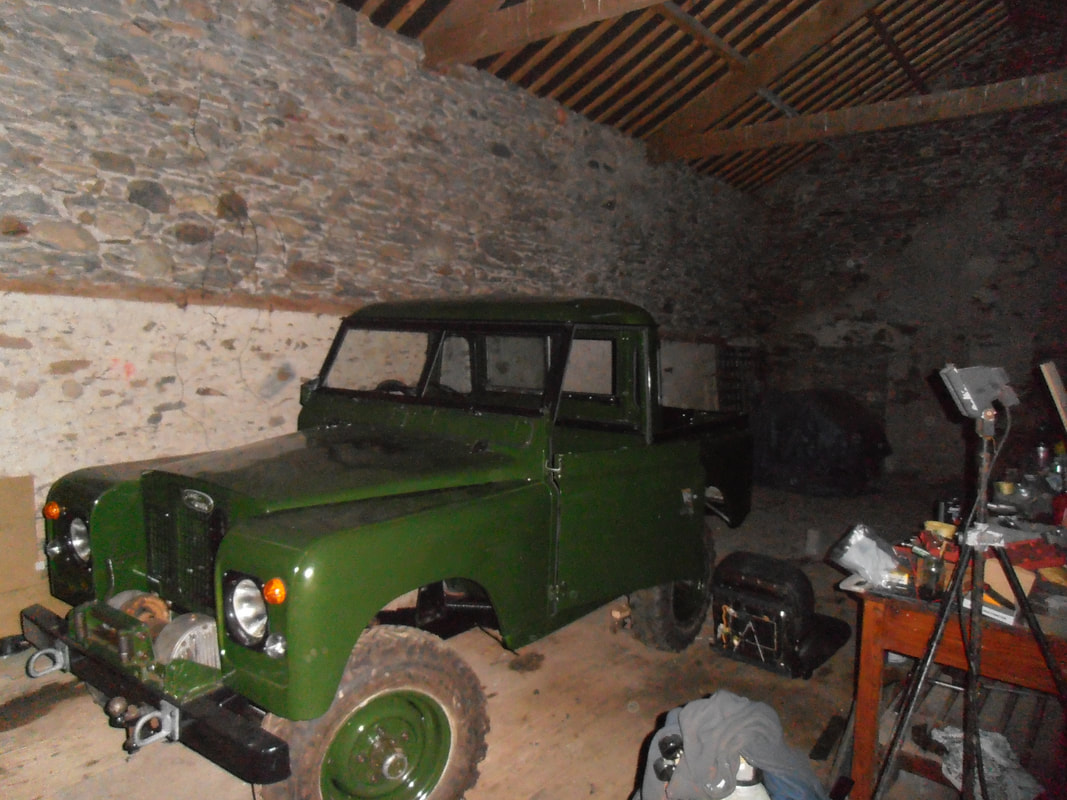
Day 1 - Starting the final assembly
Restoring/Rebuilding individual parts (July 2018 - May 2019)
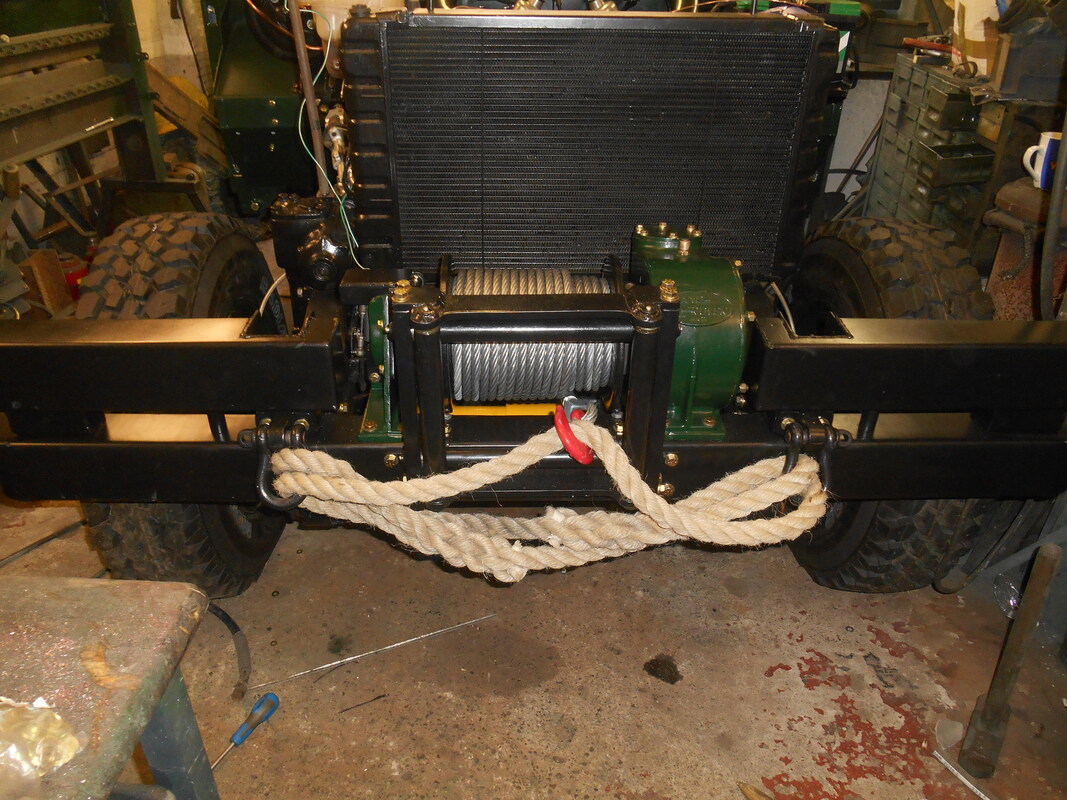
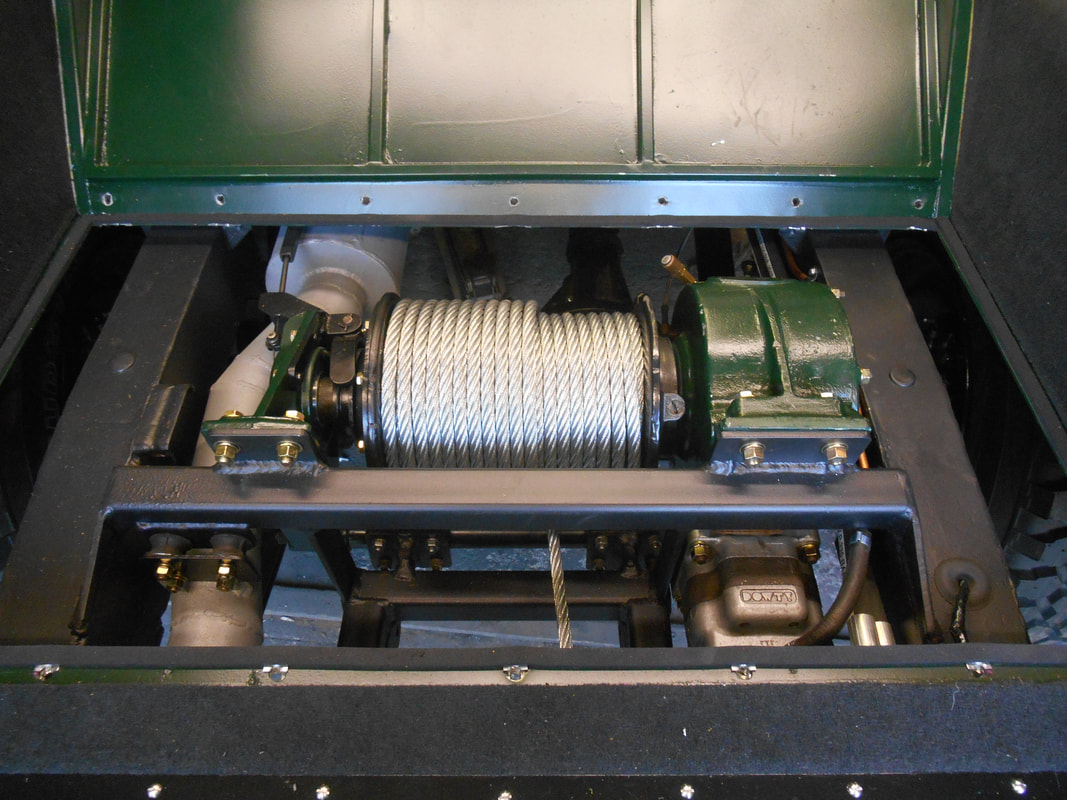
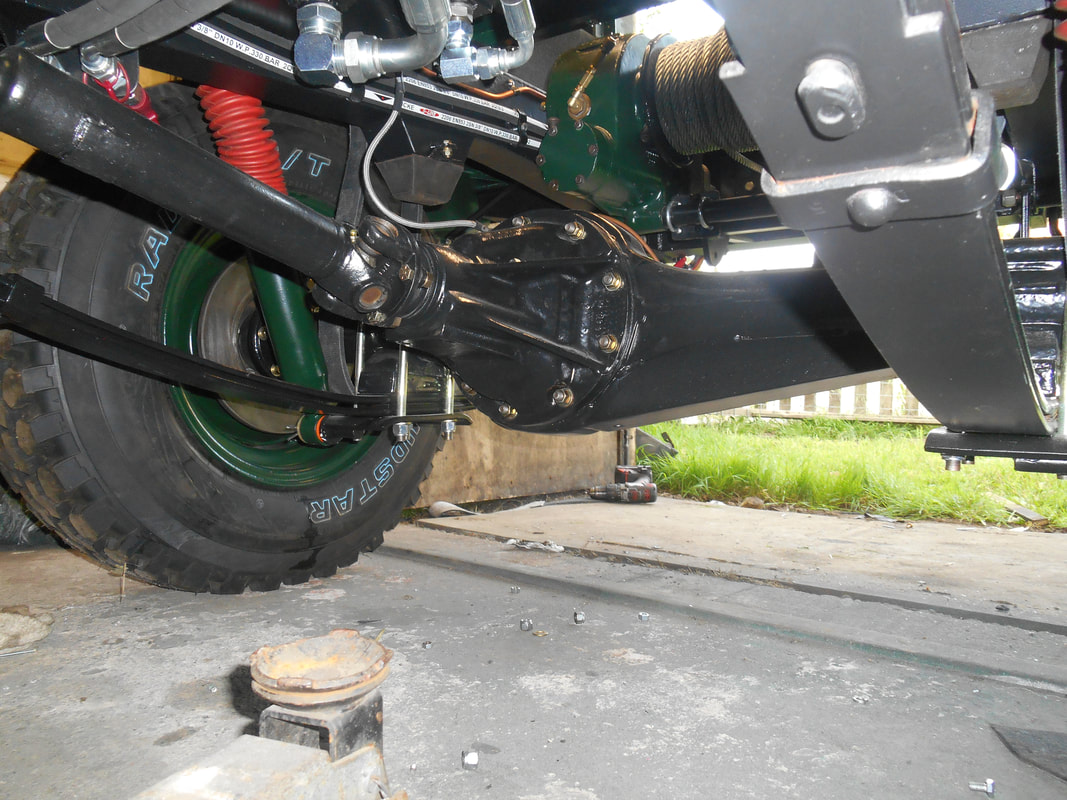
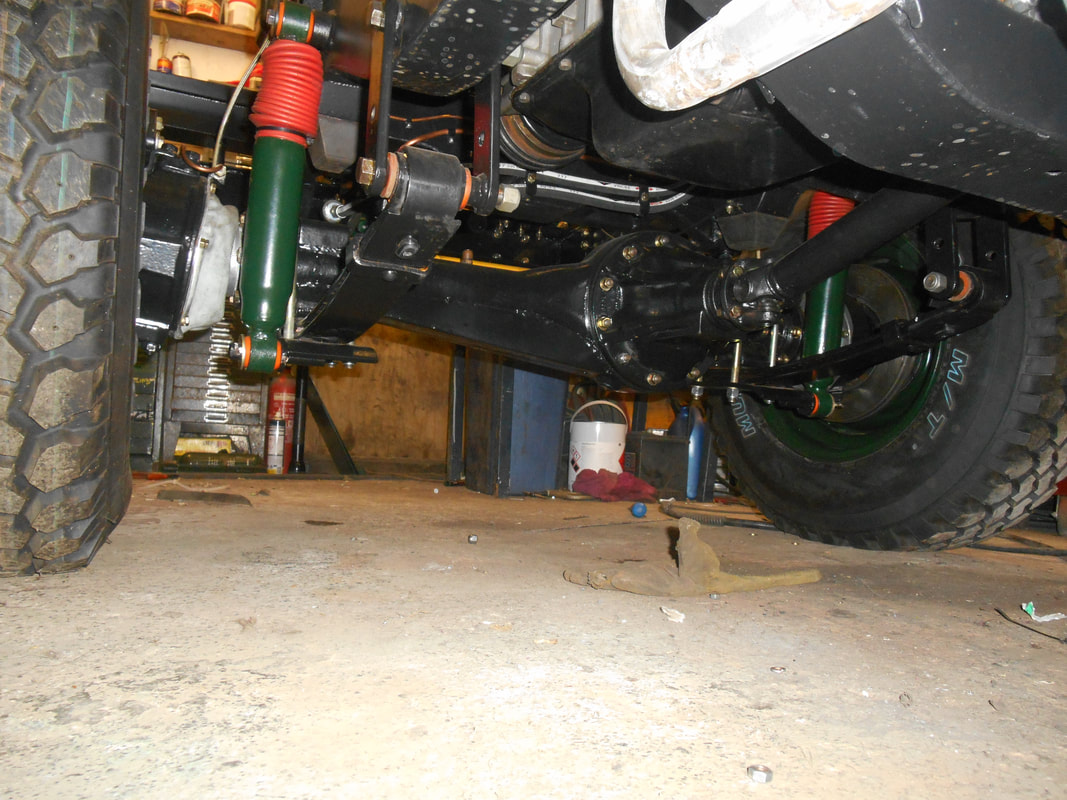
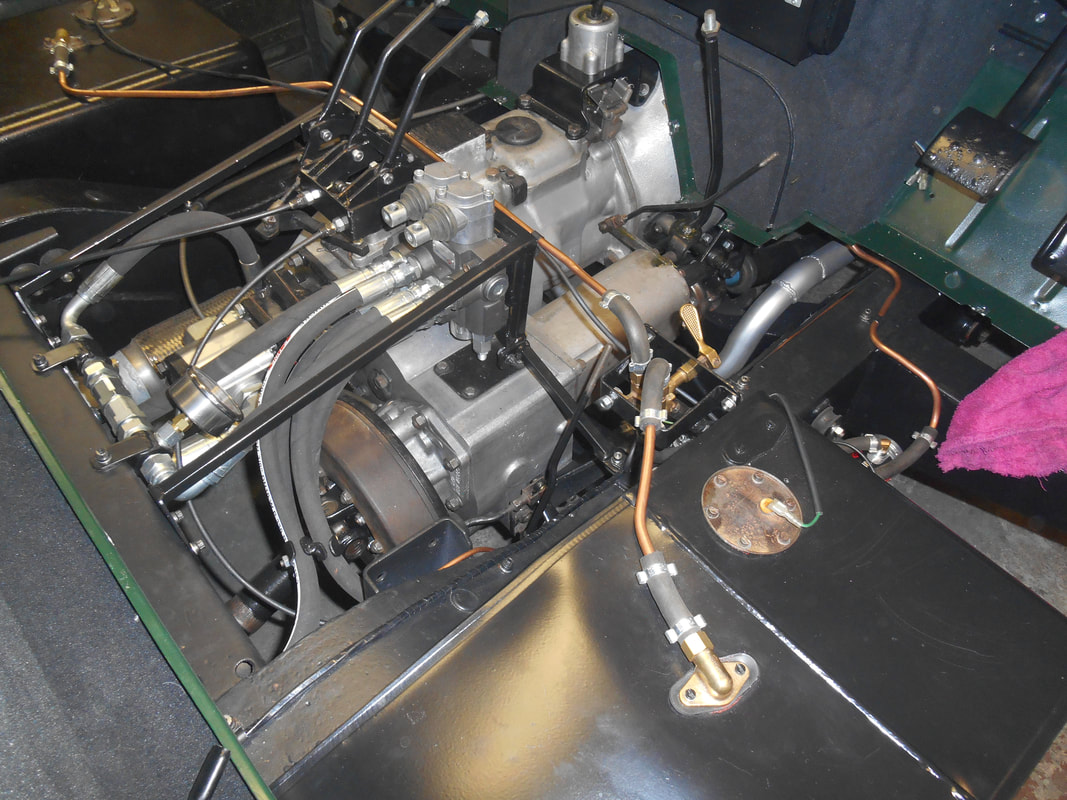
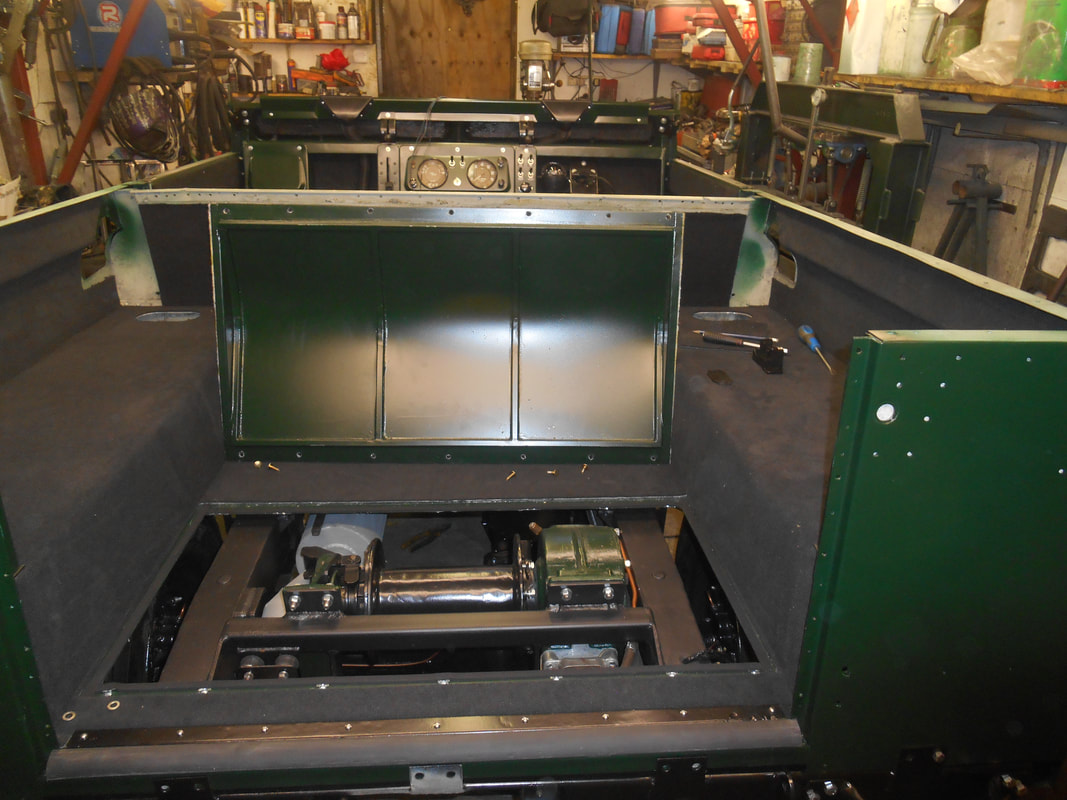
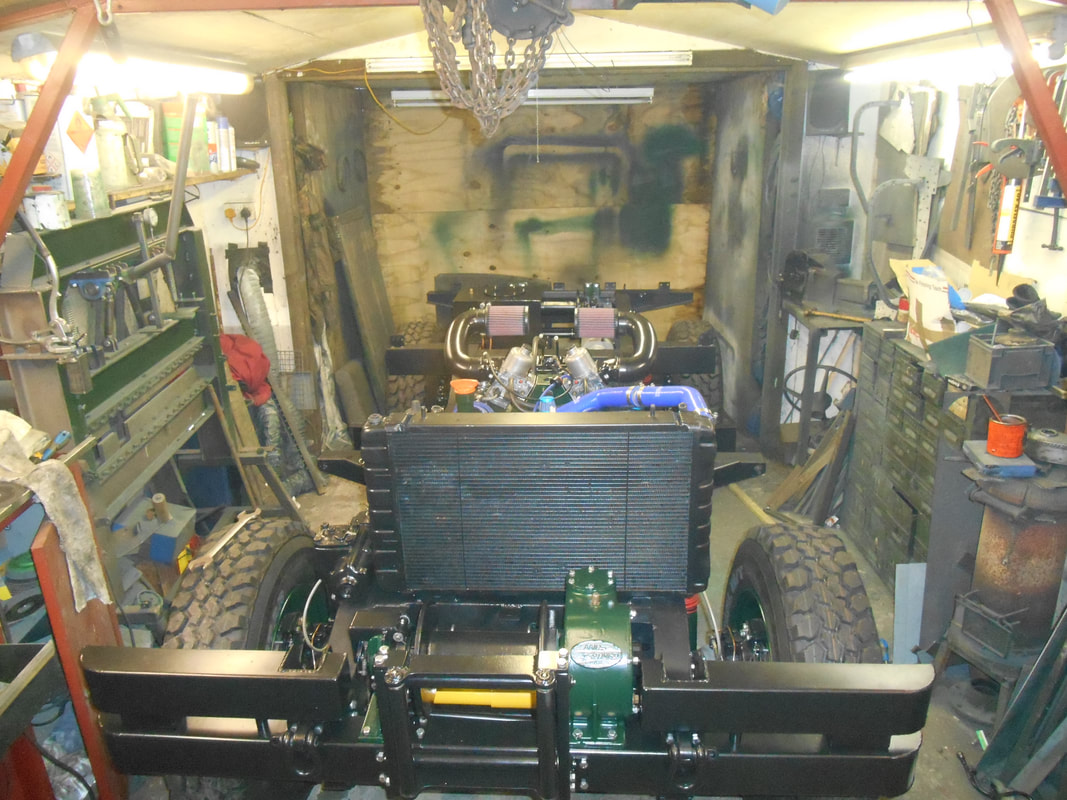
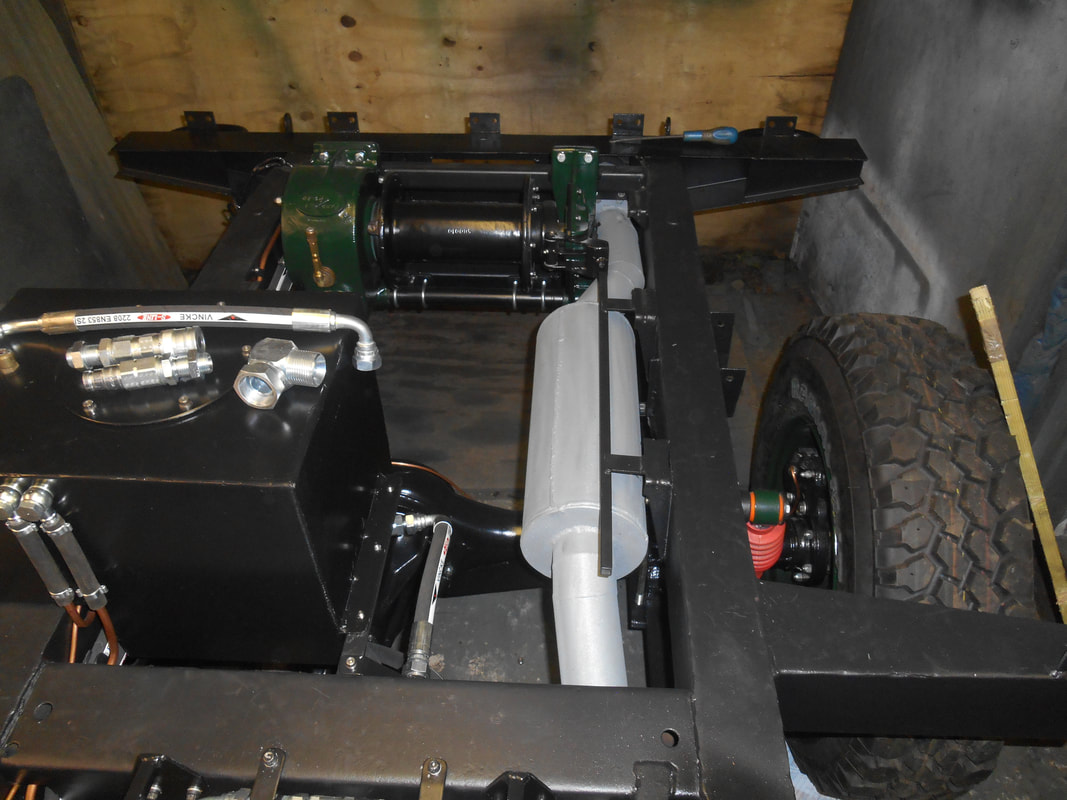
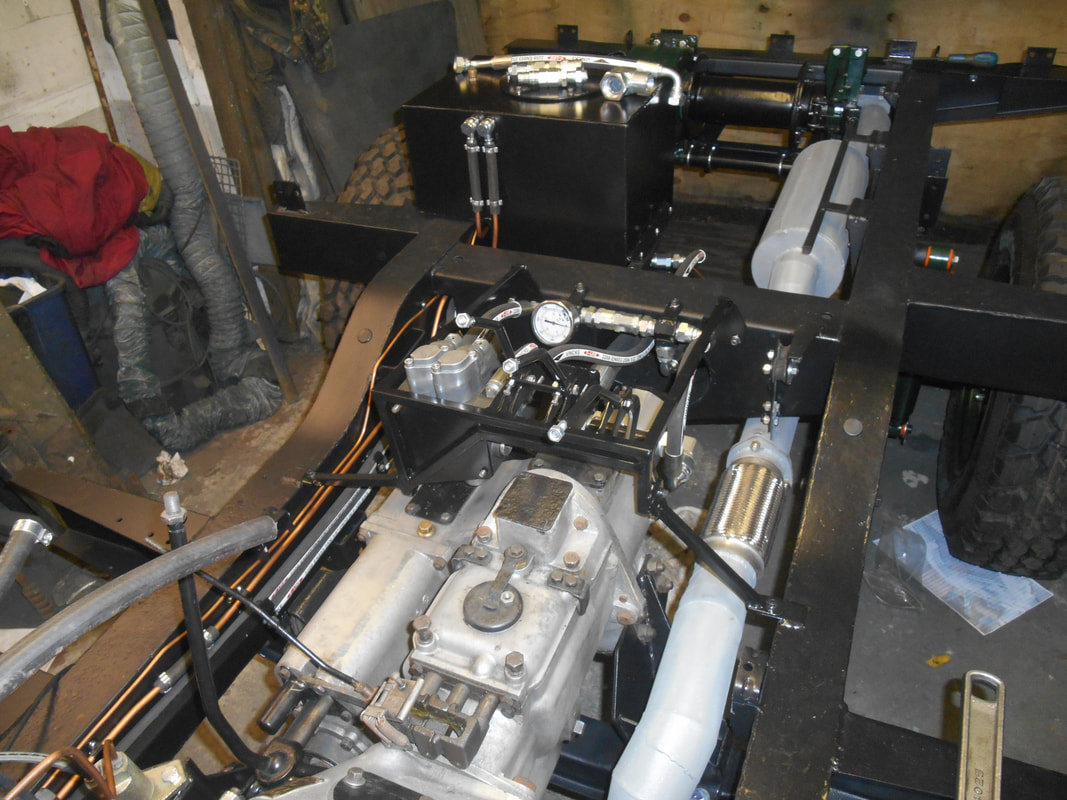
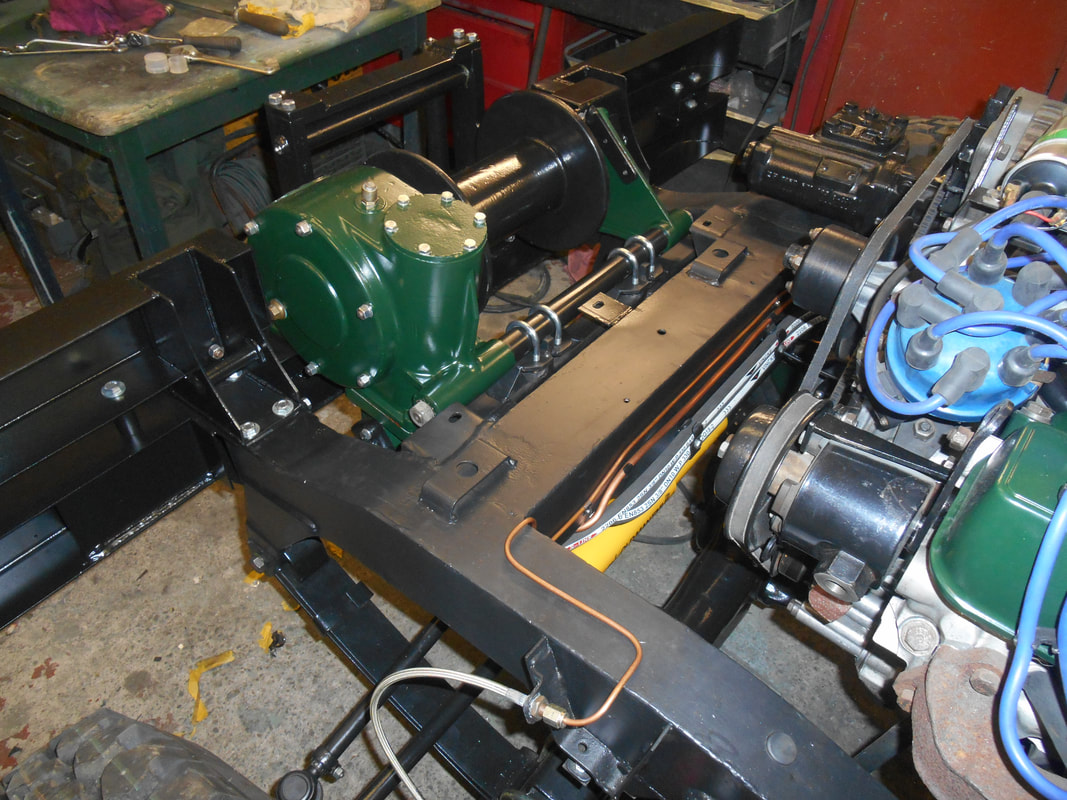
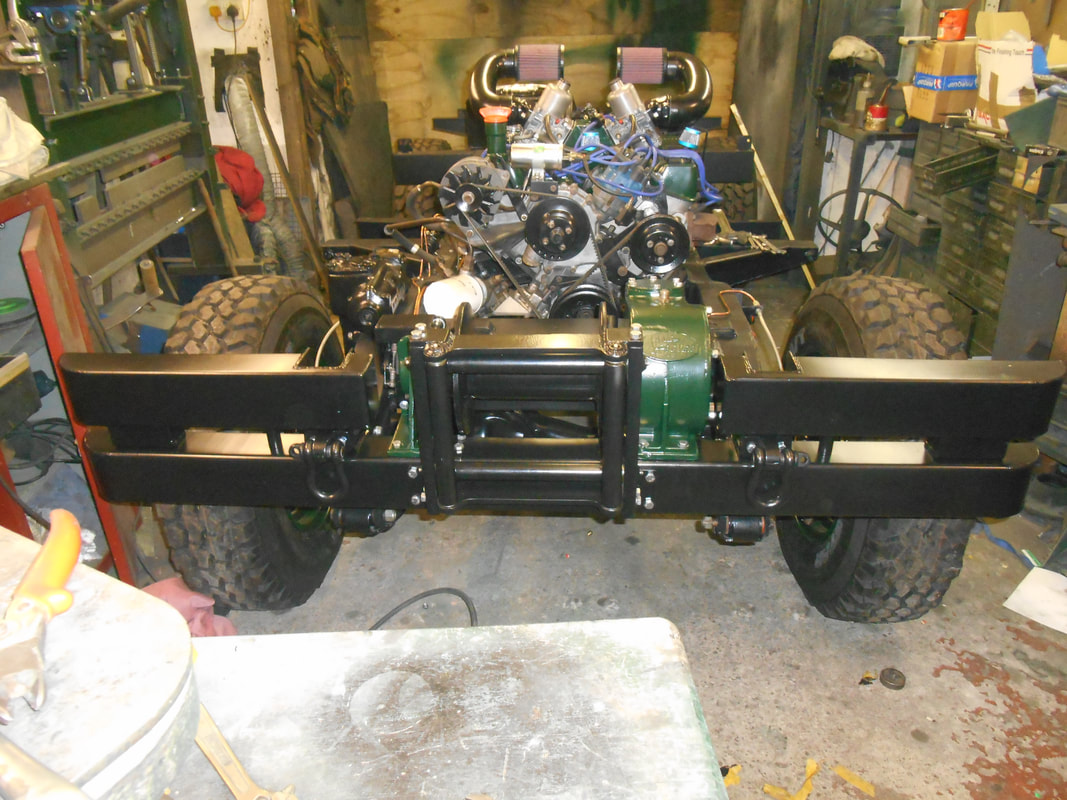
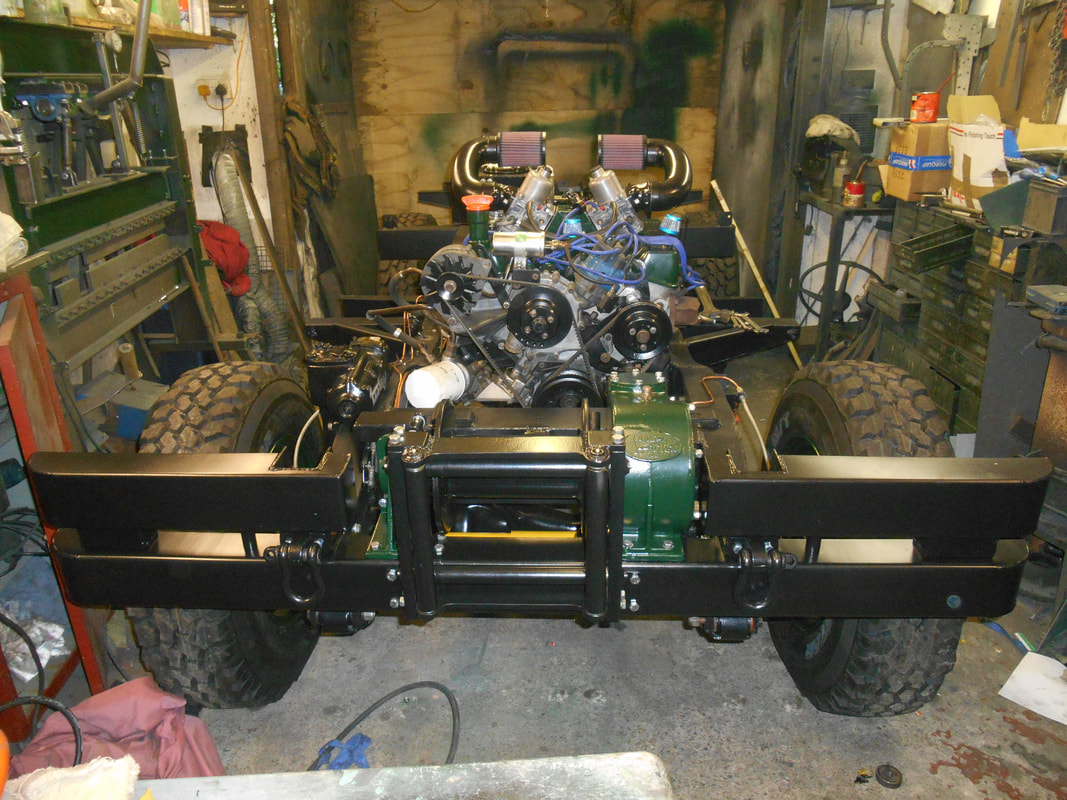
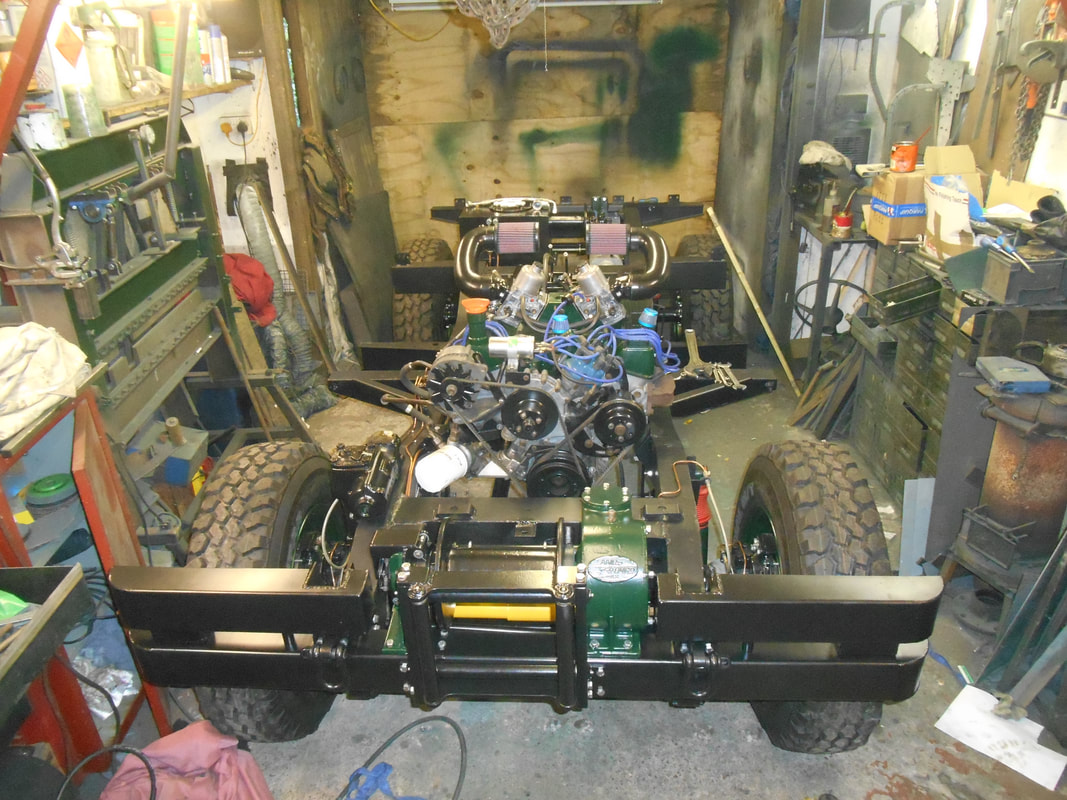
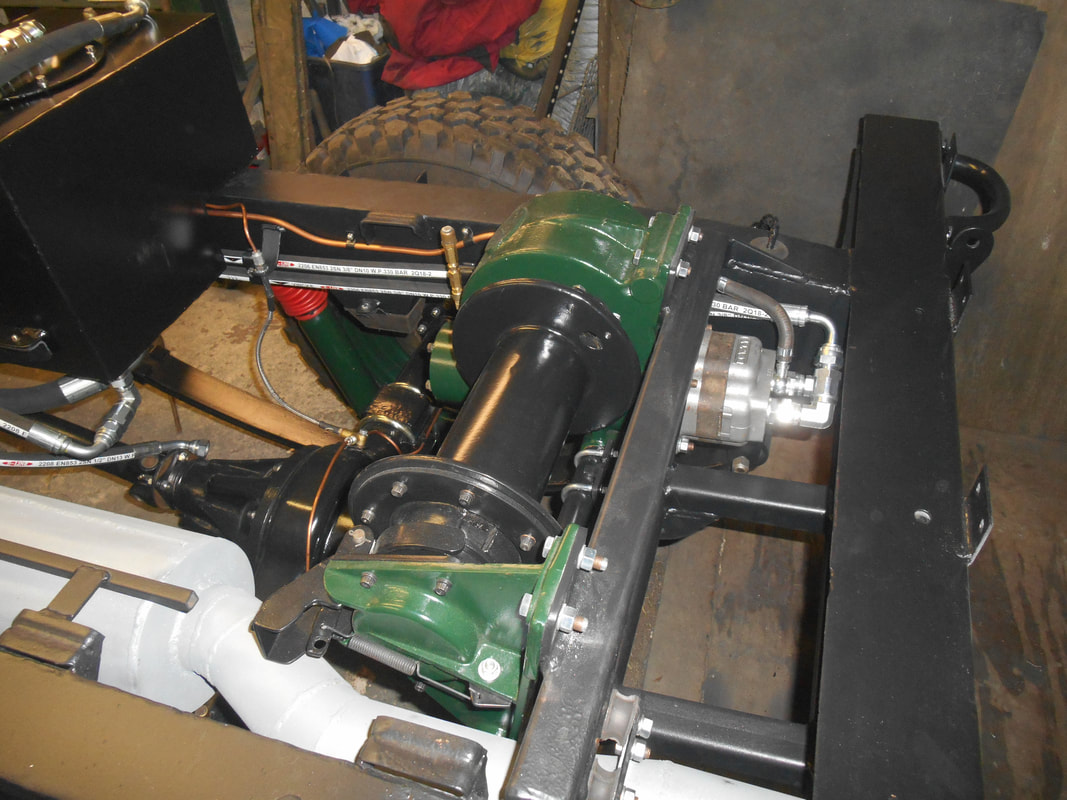
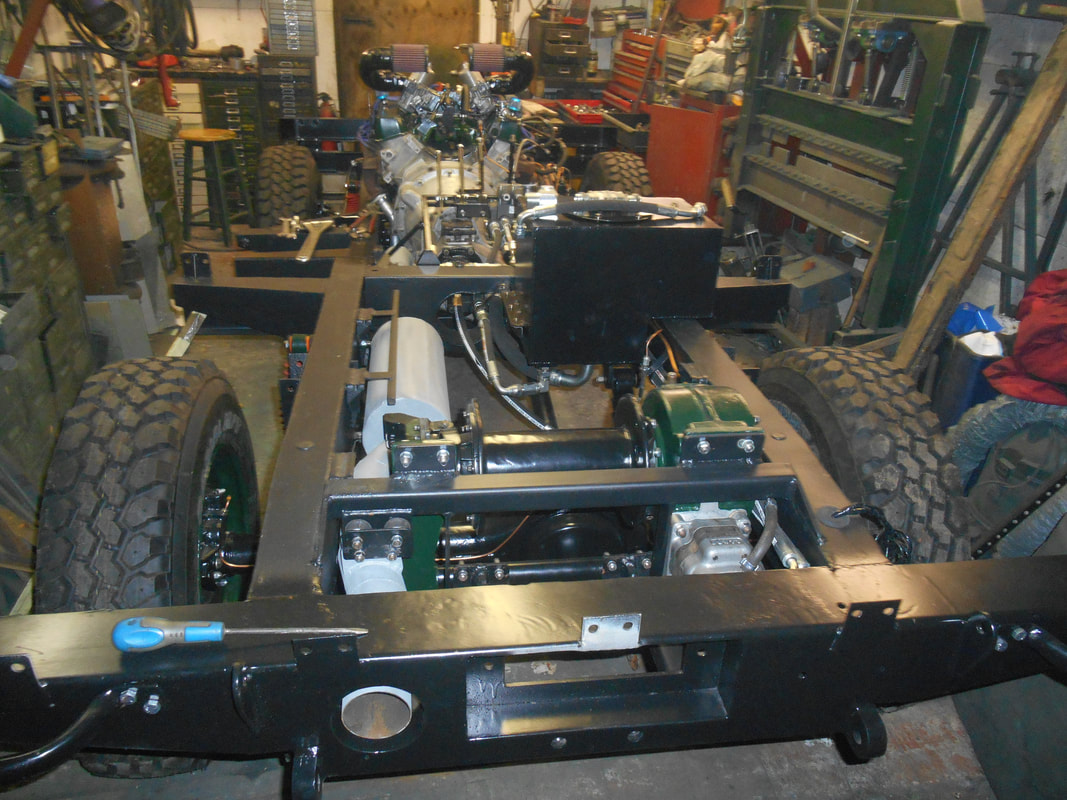
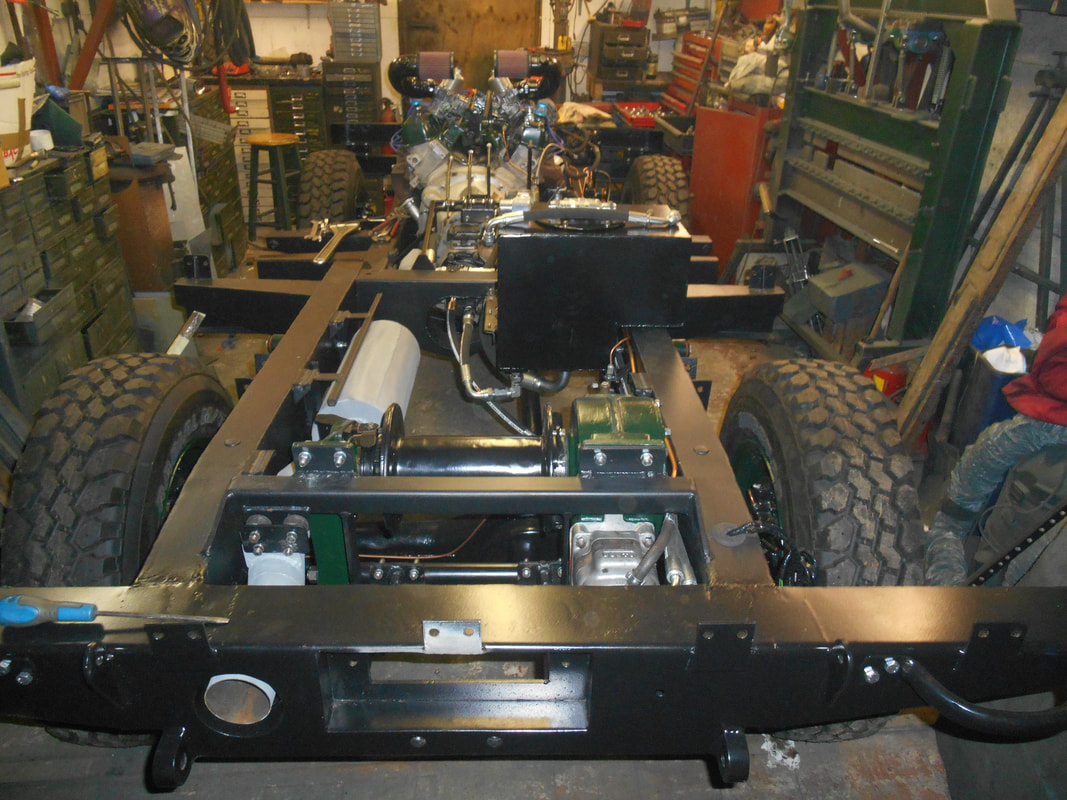
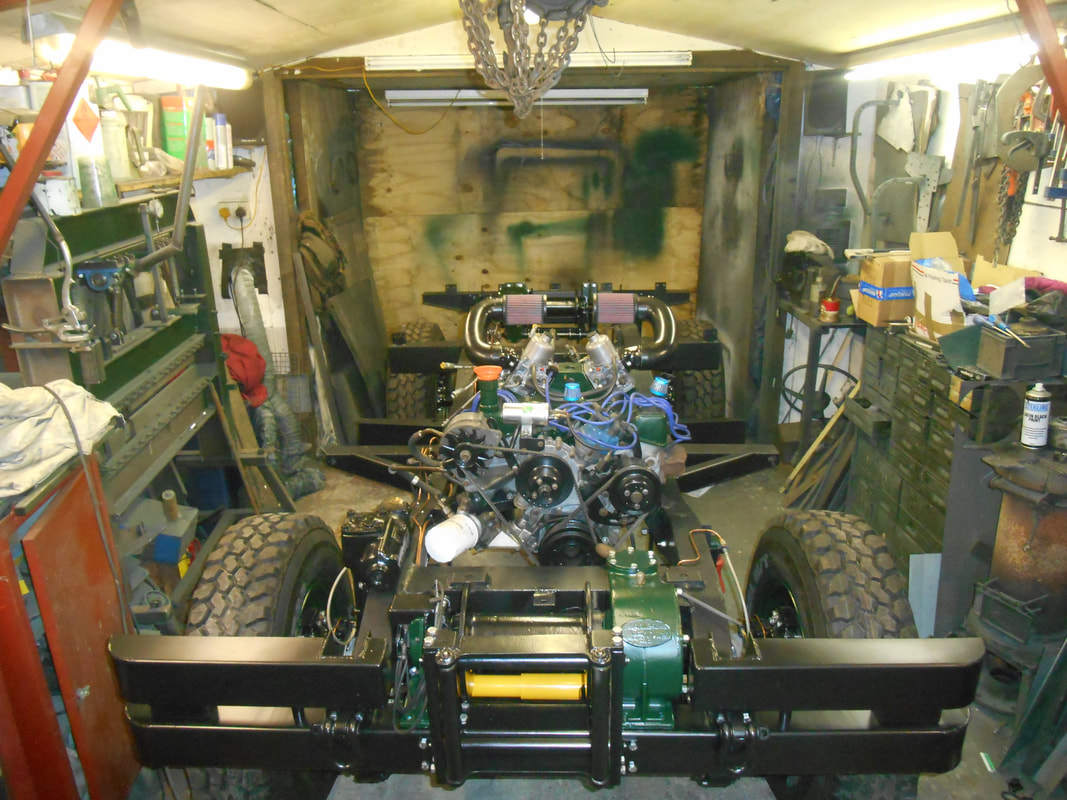
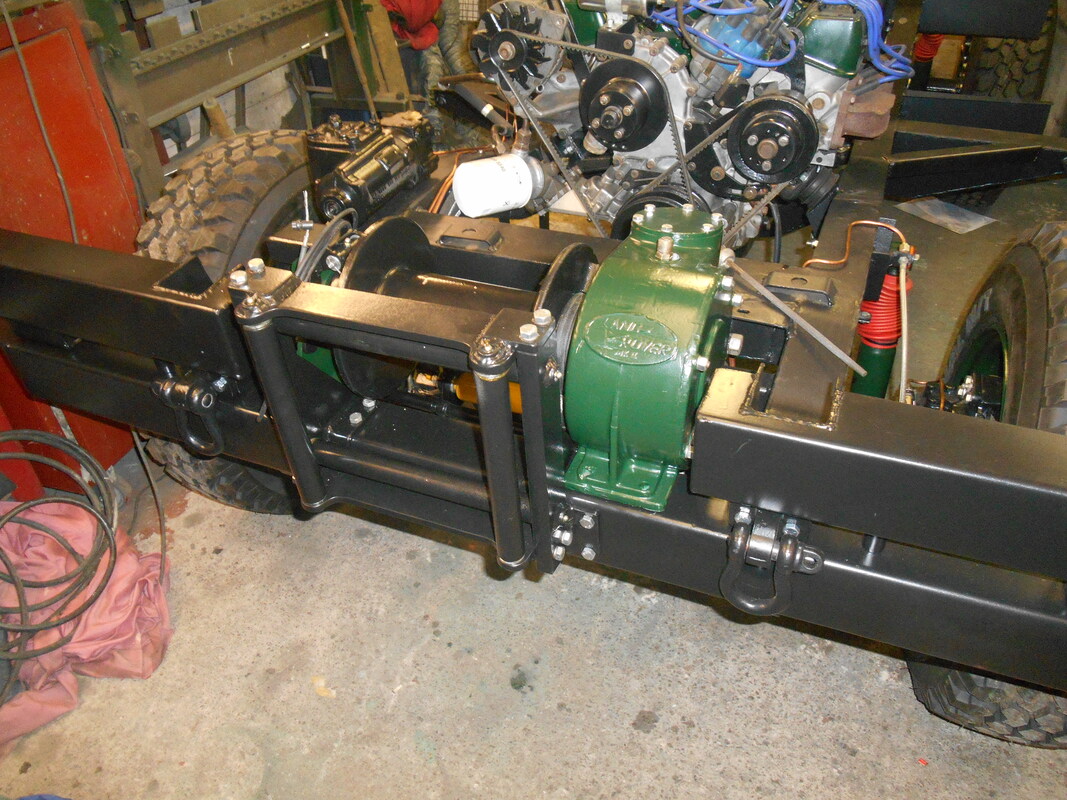
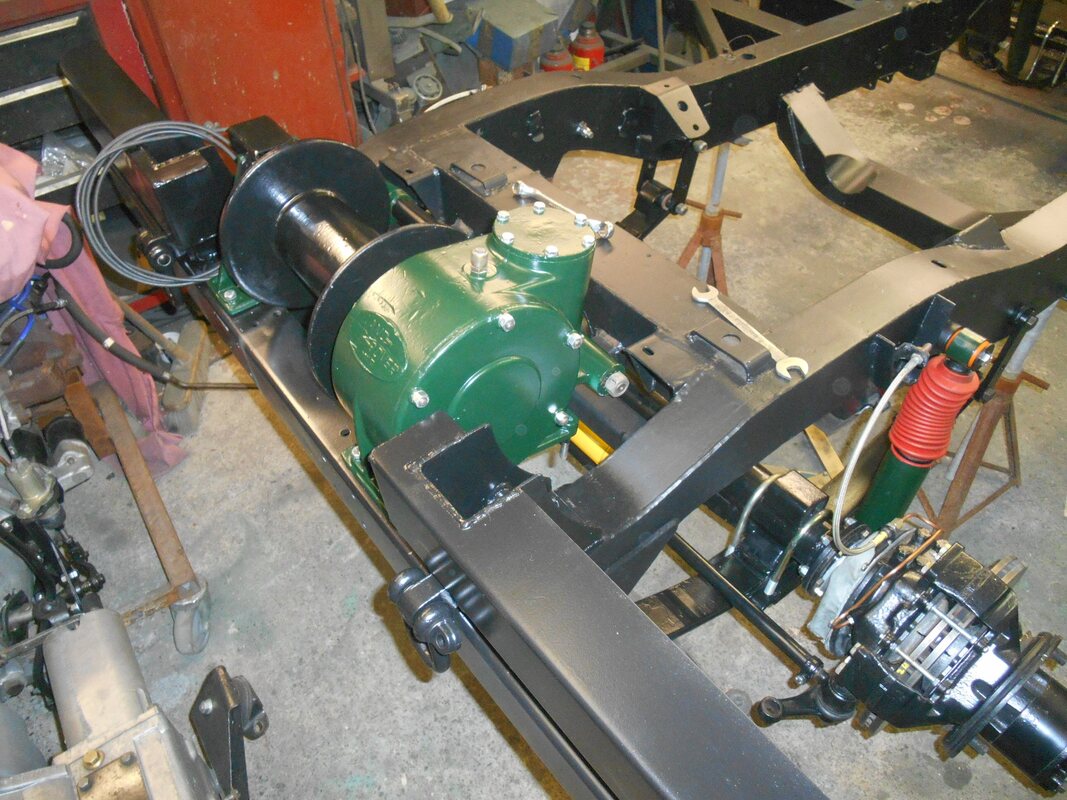
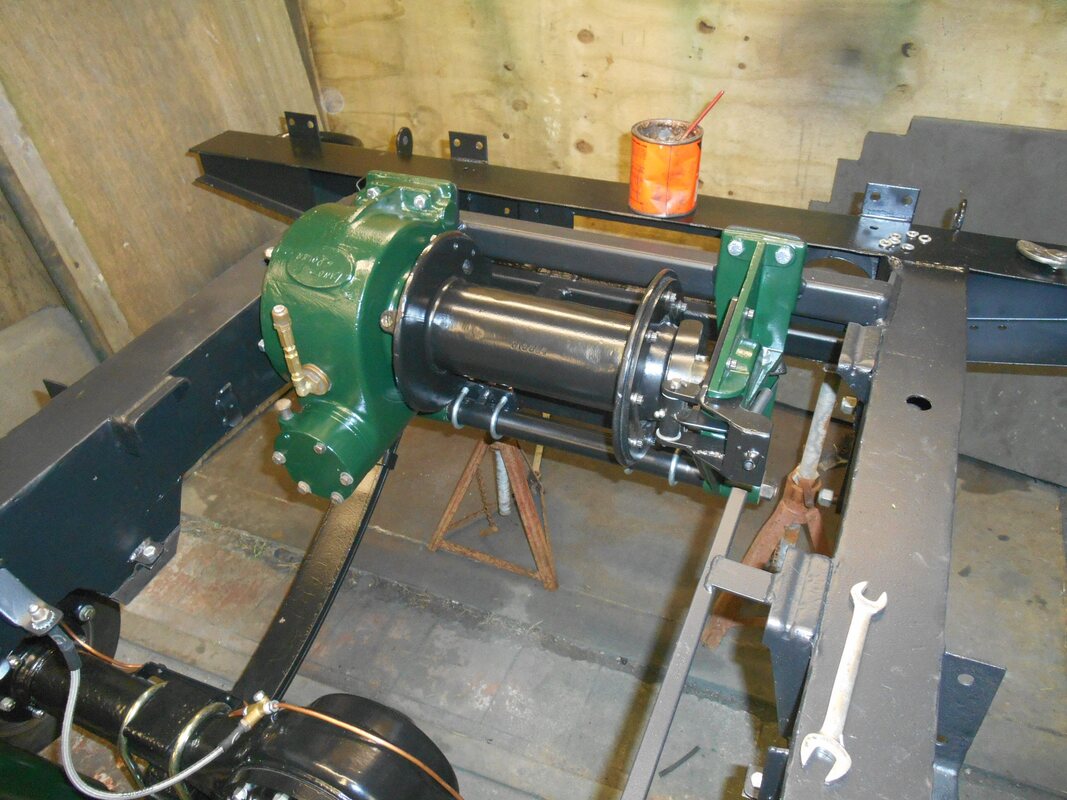
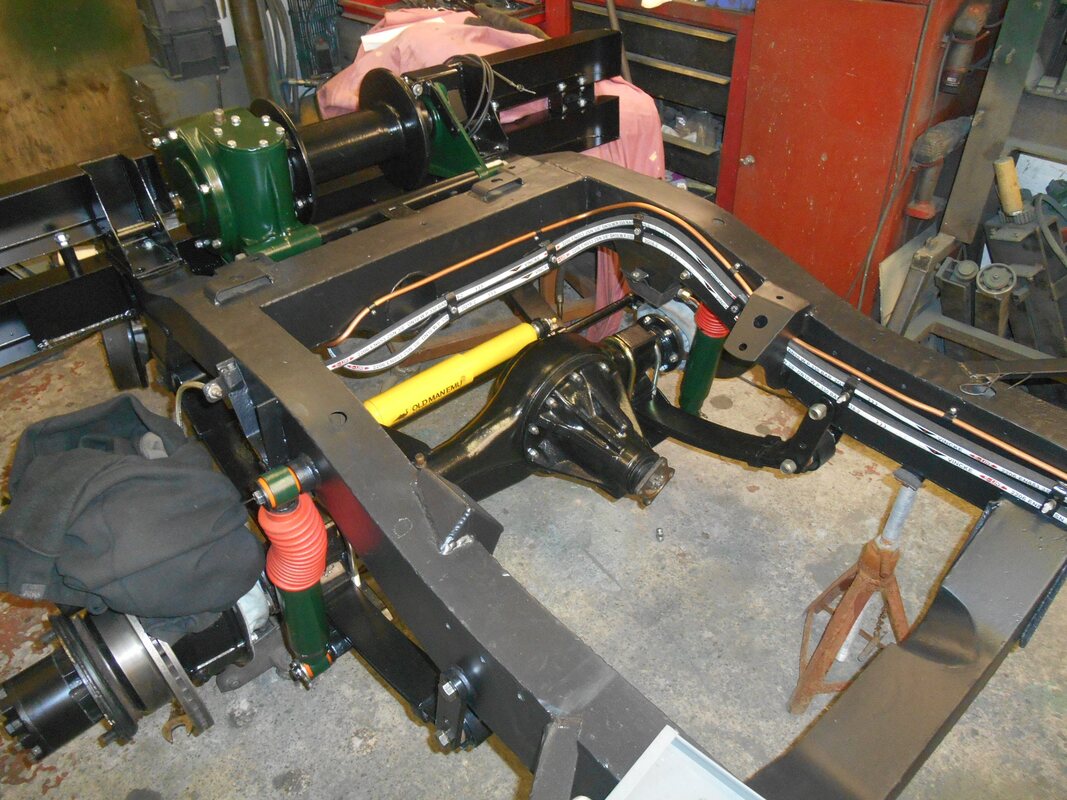
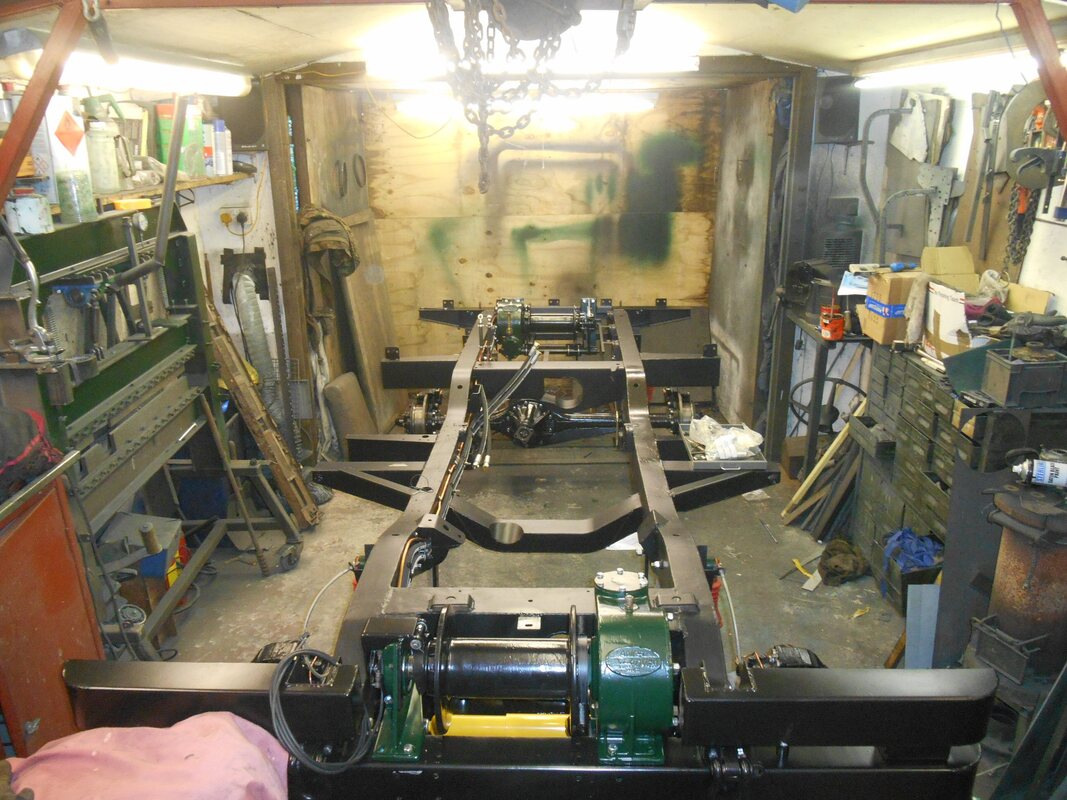
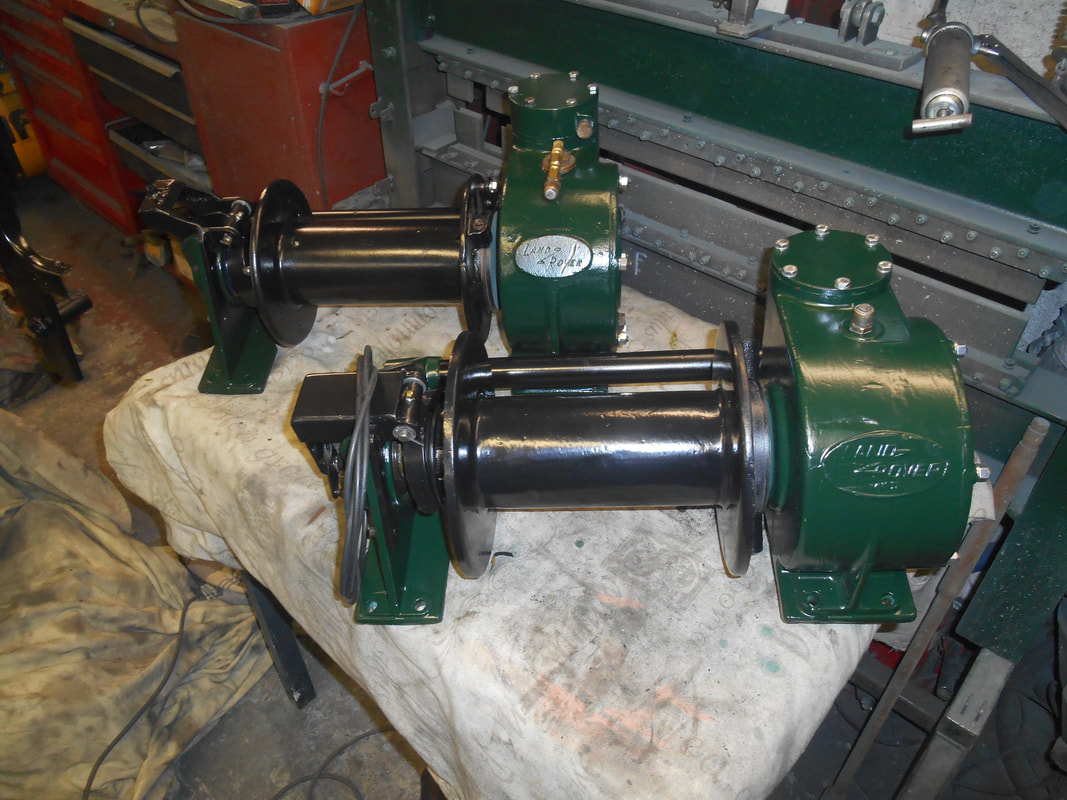
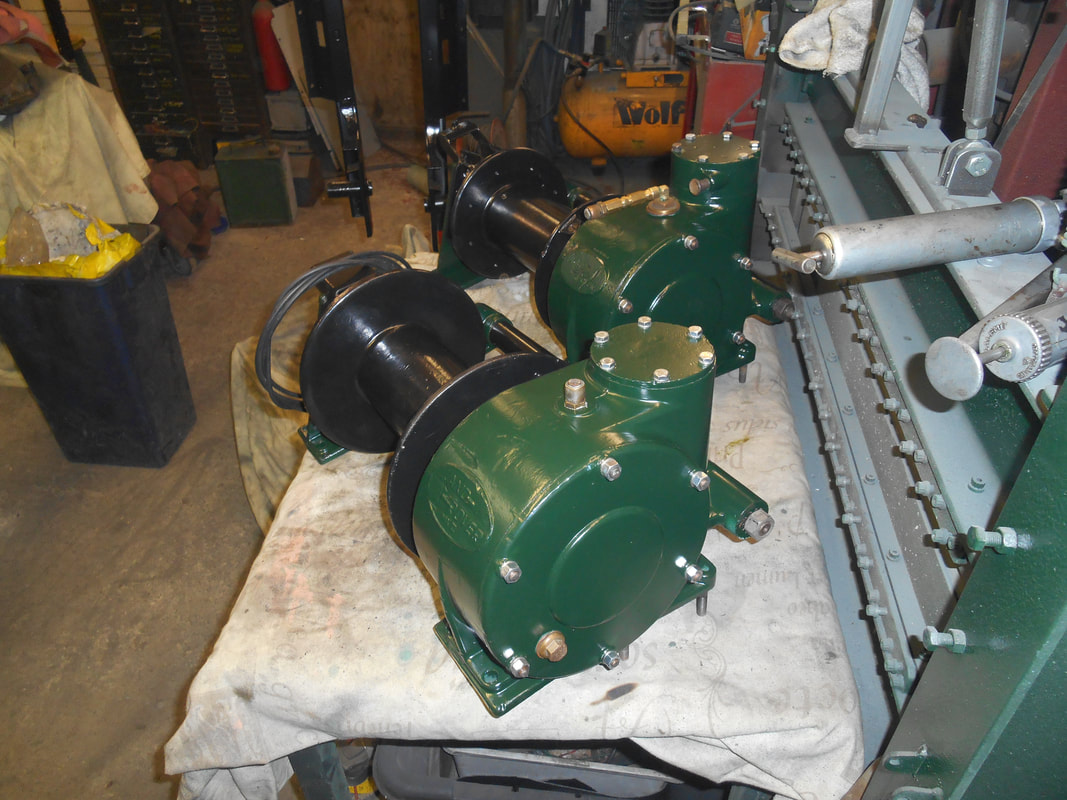
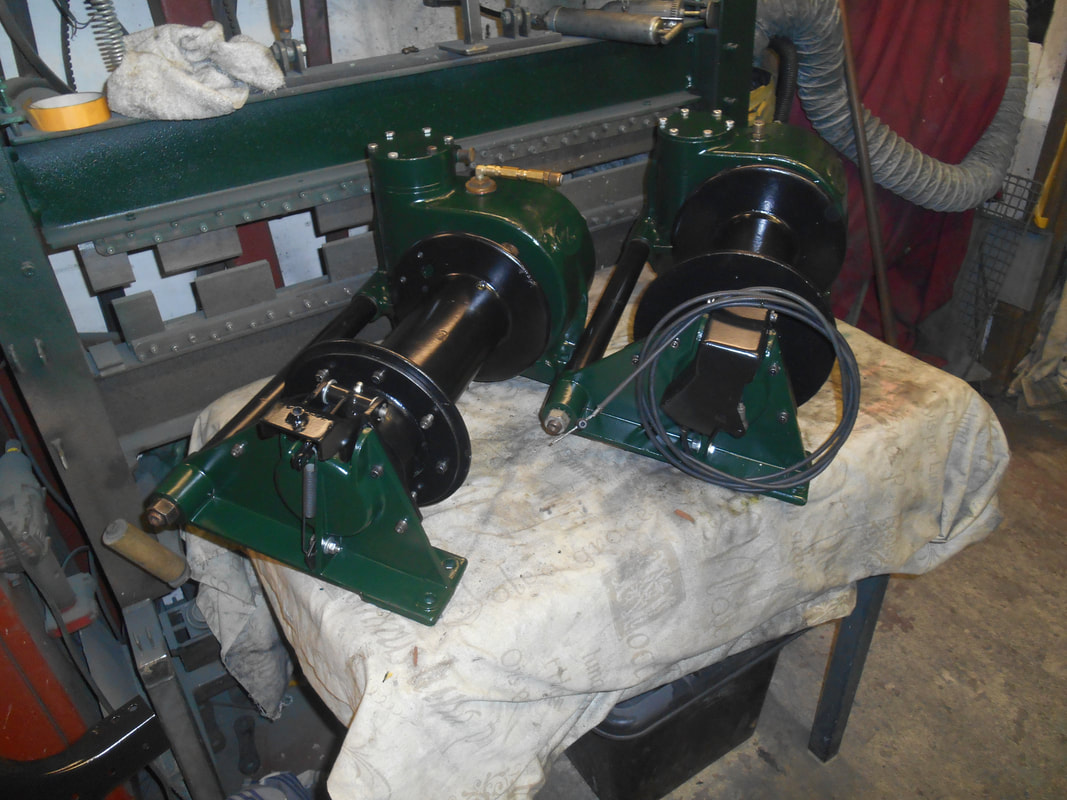
Land Rover Hydraulic Winches (for front and back) have been overhauled and painted.
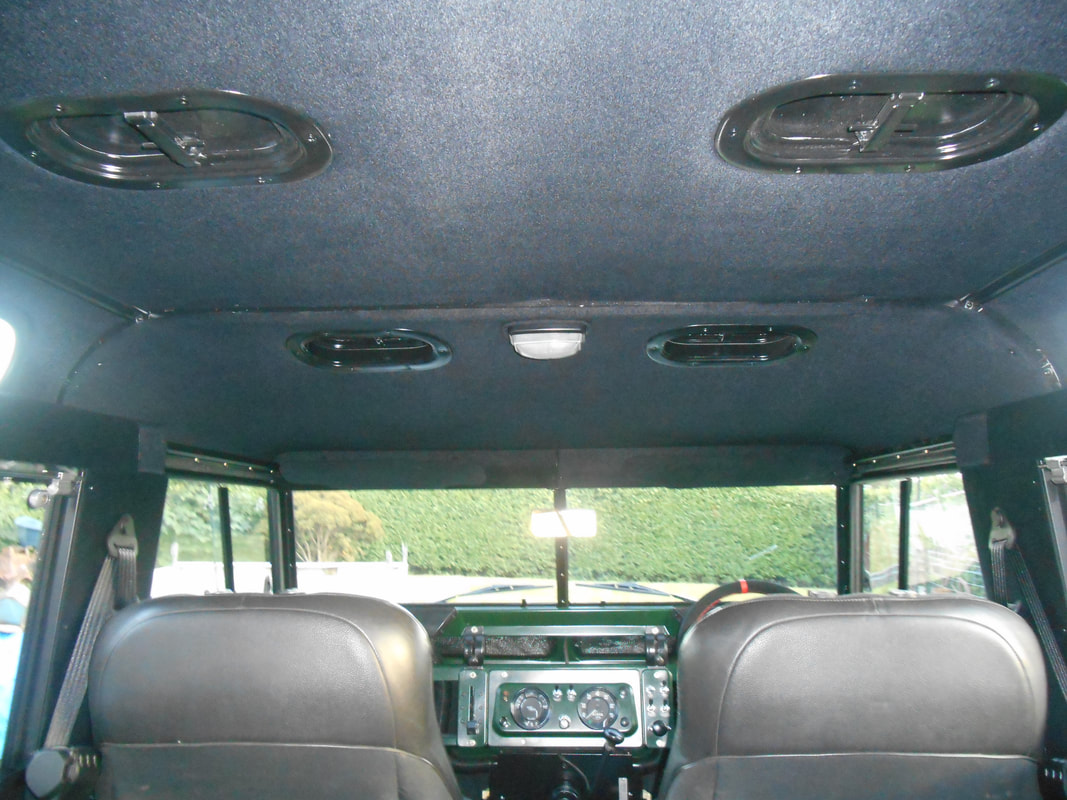
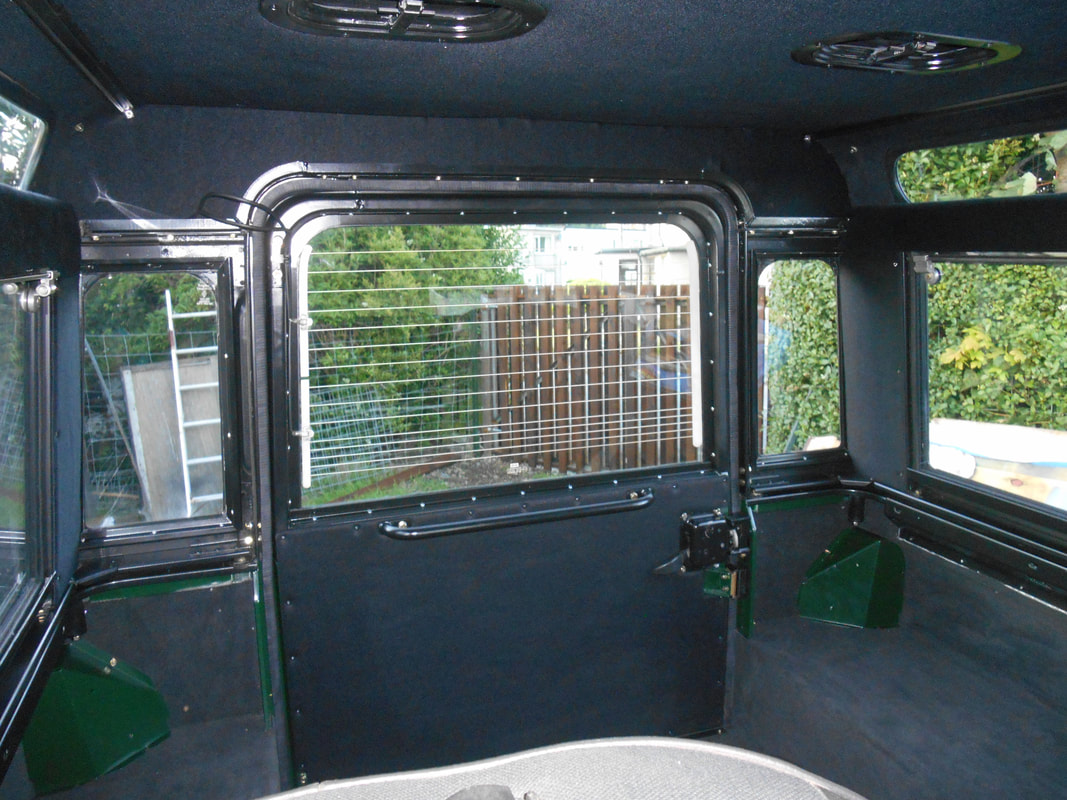
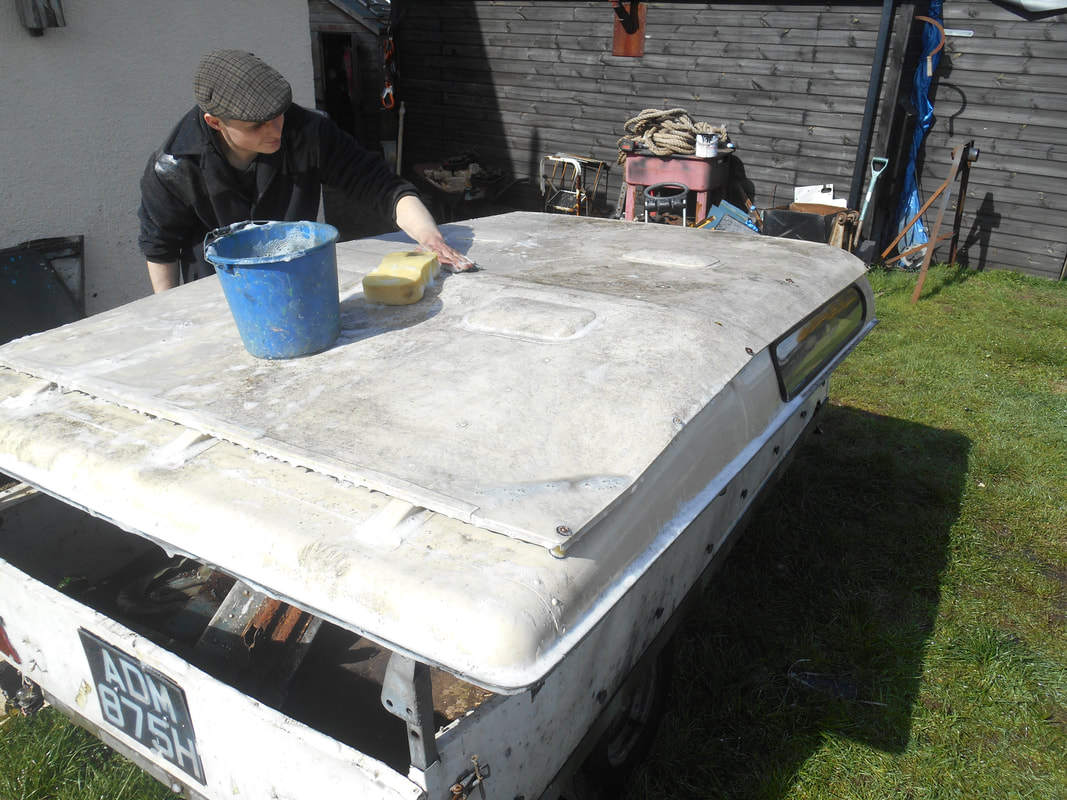
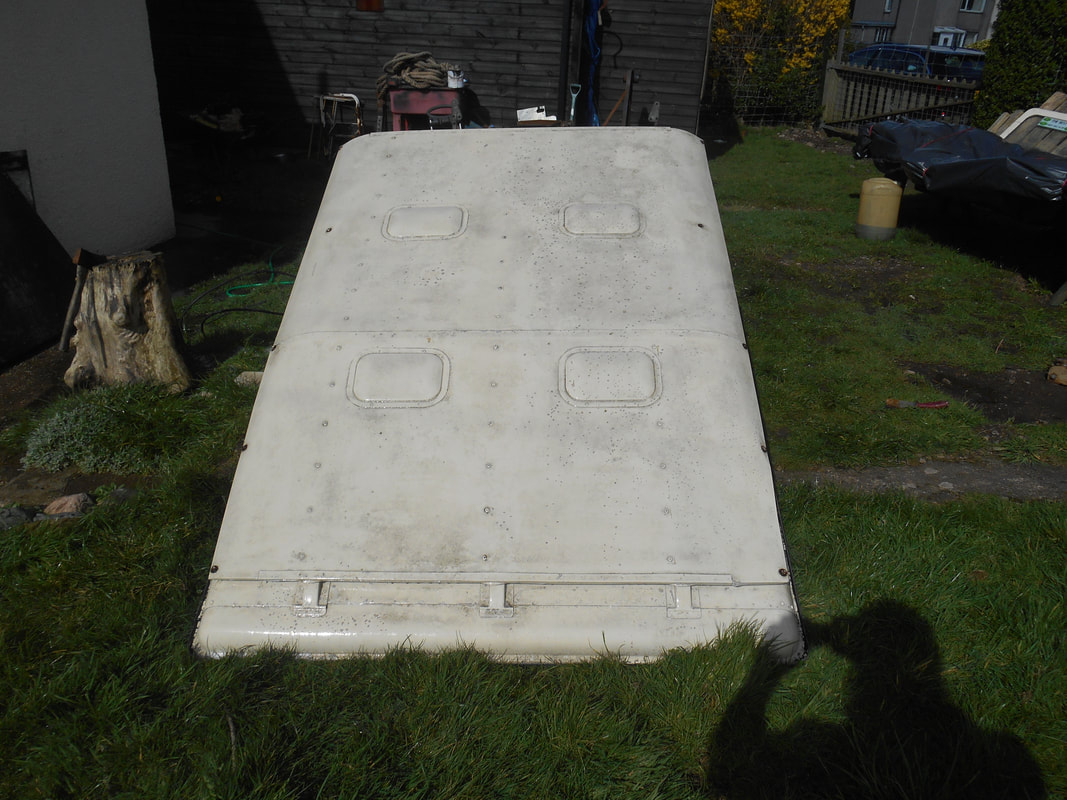
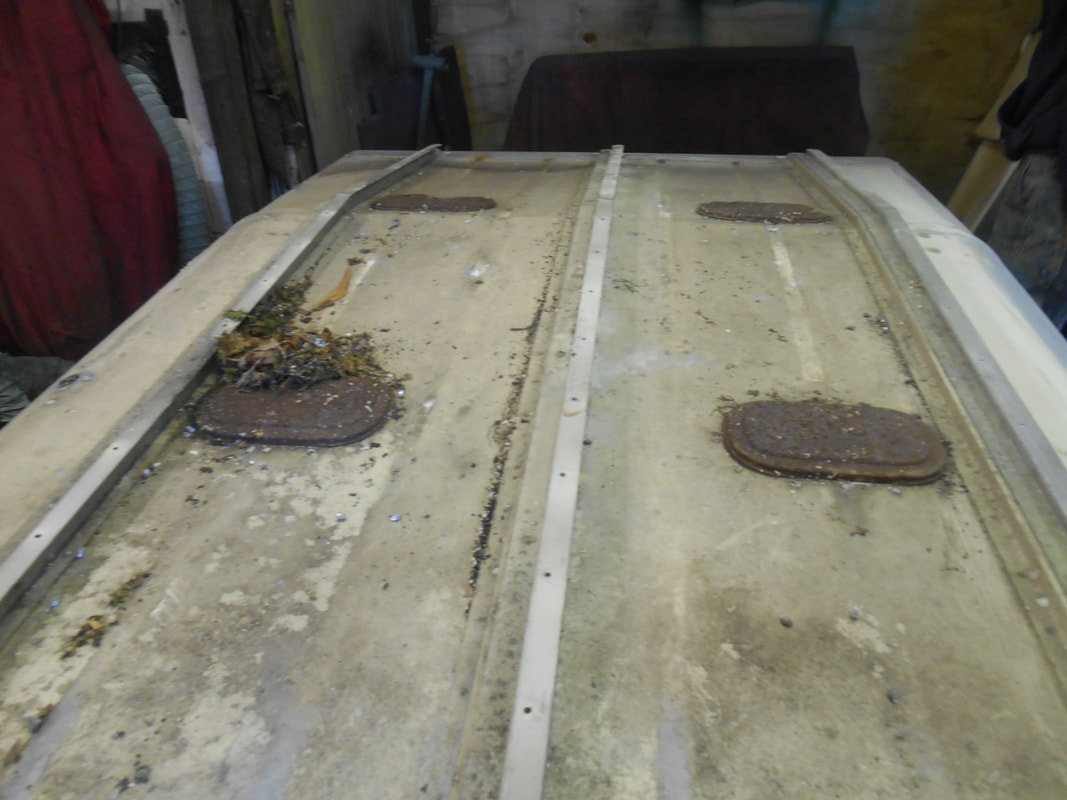
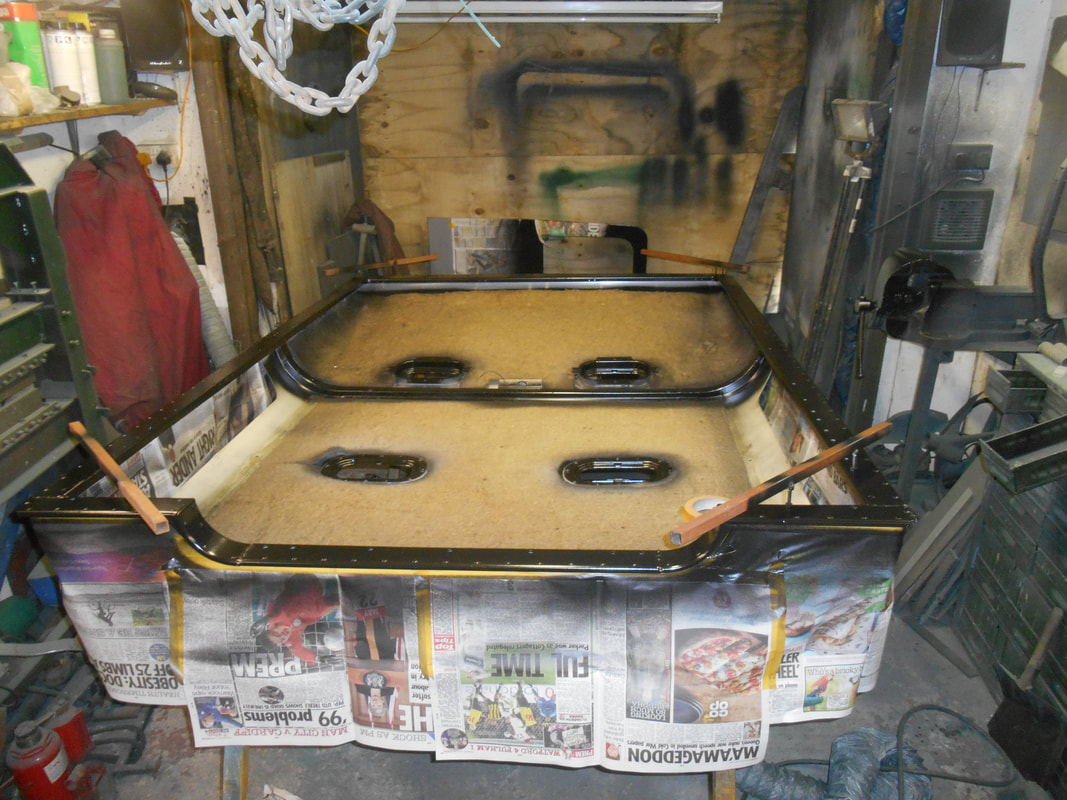
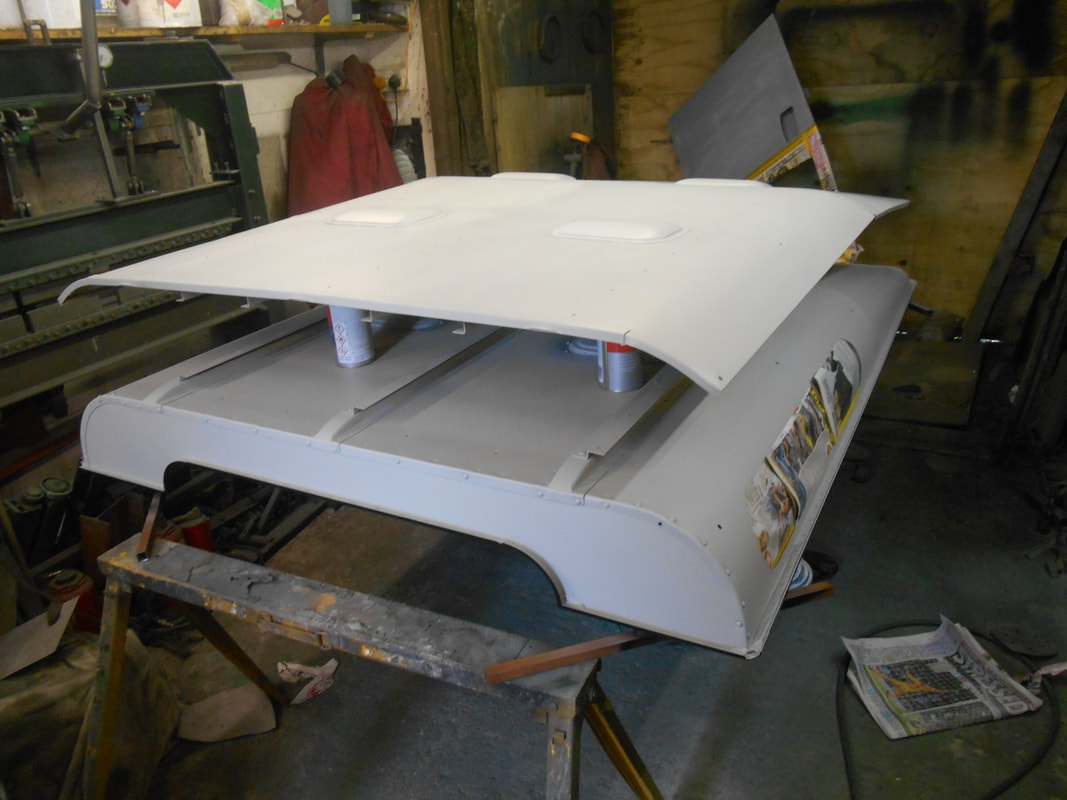
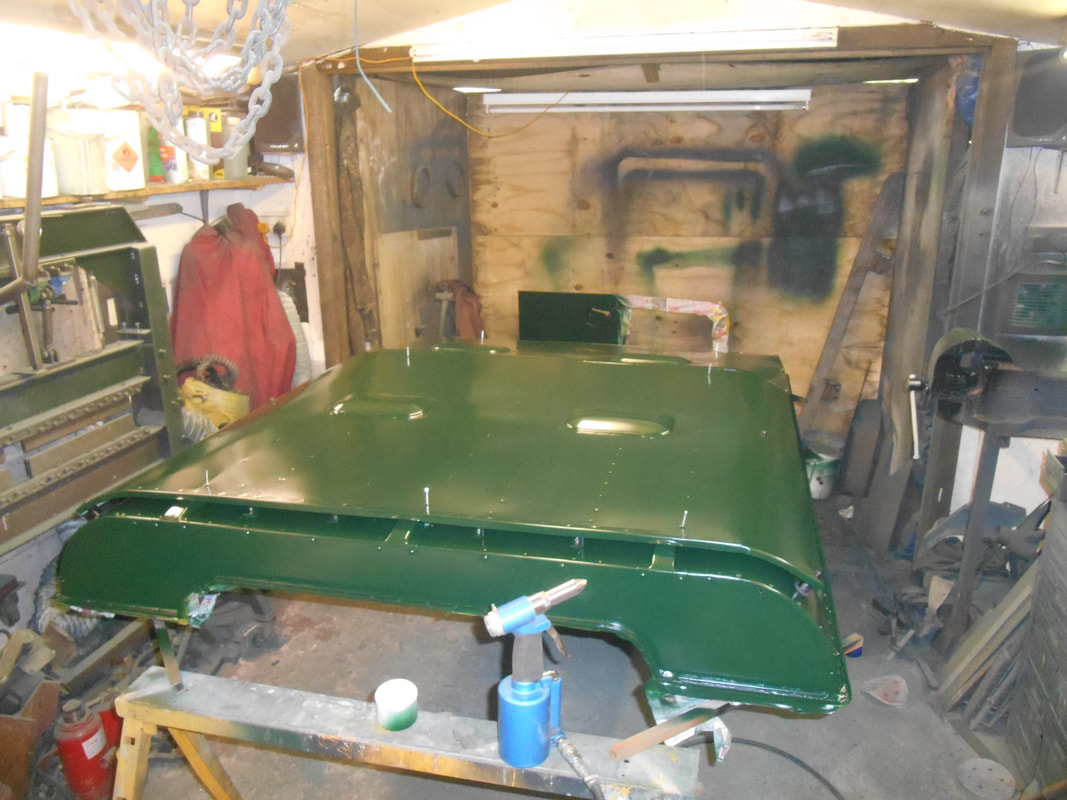
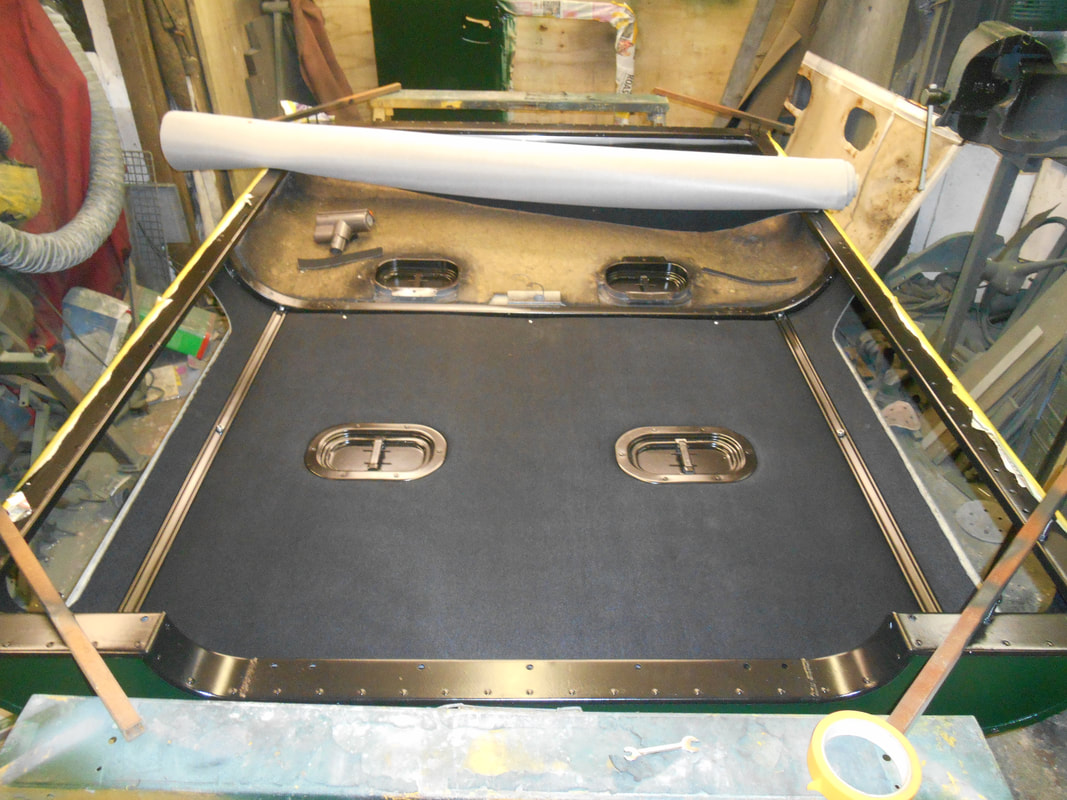
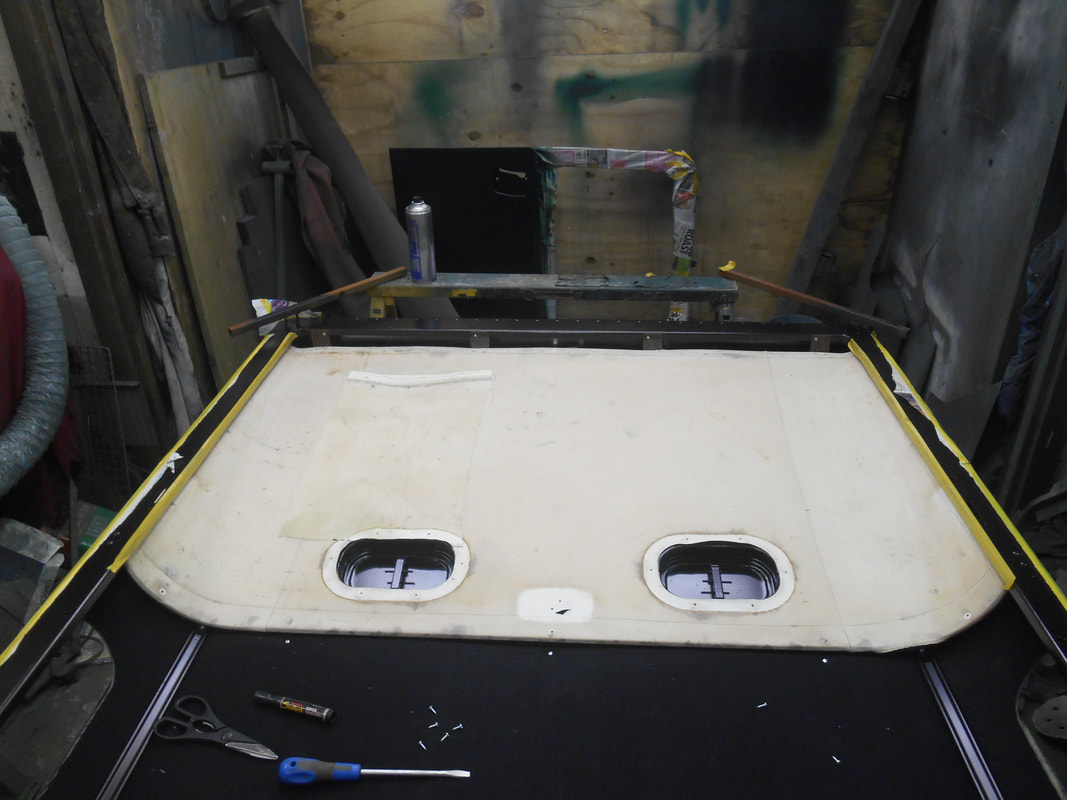
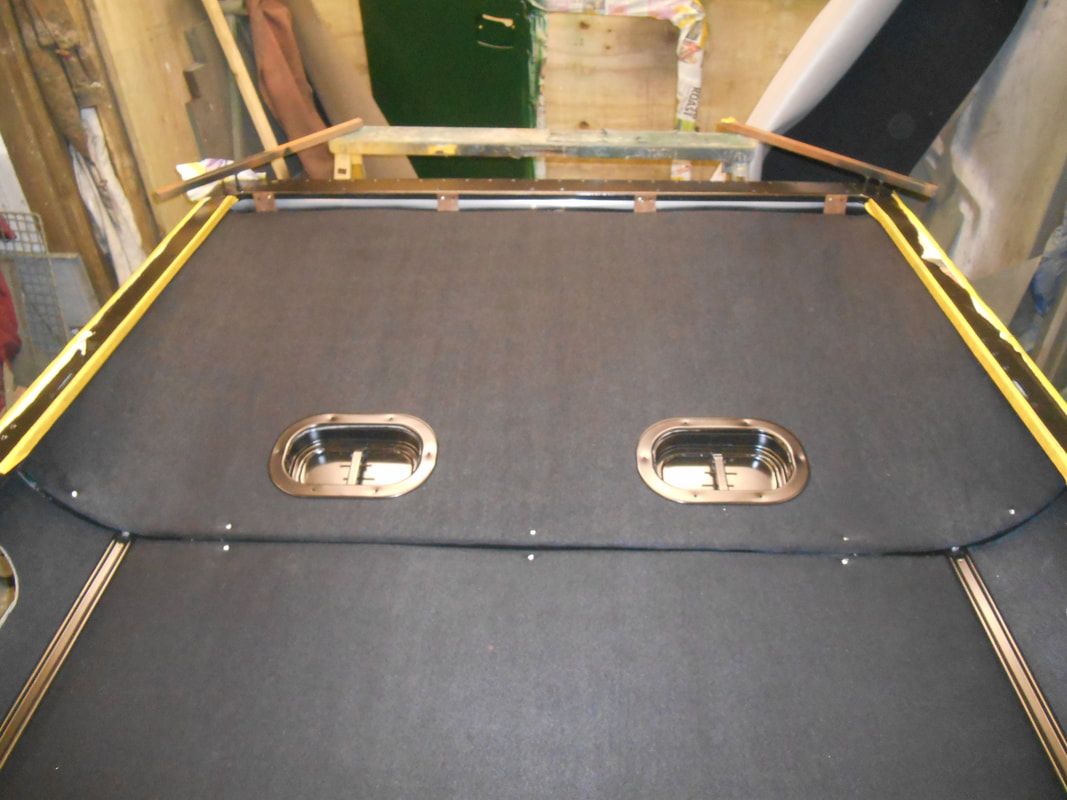
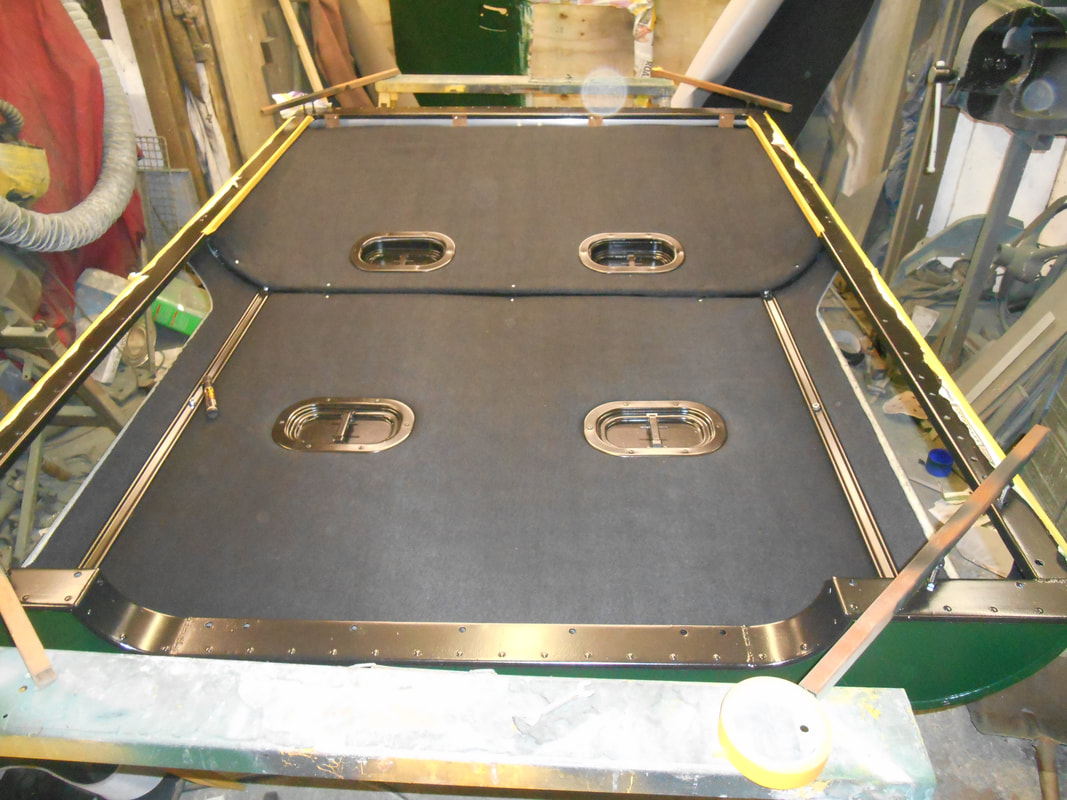
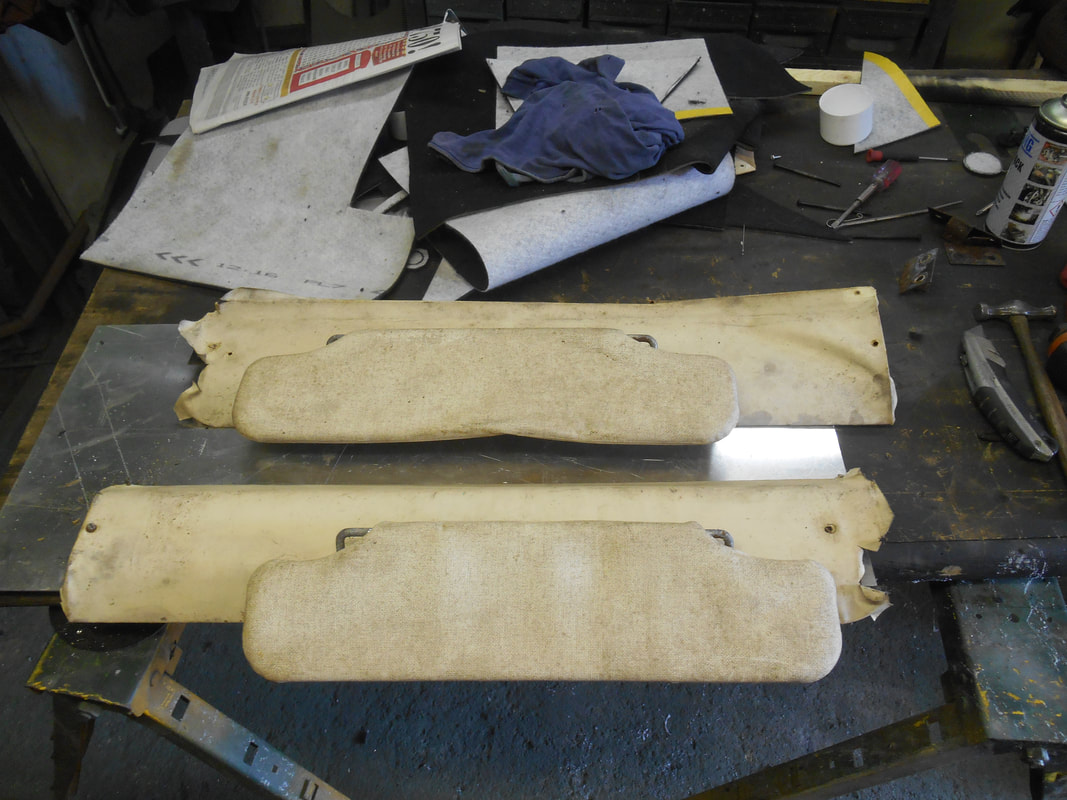
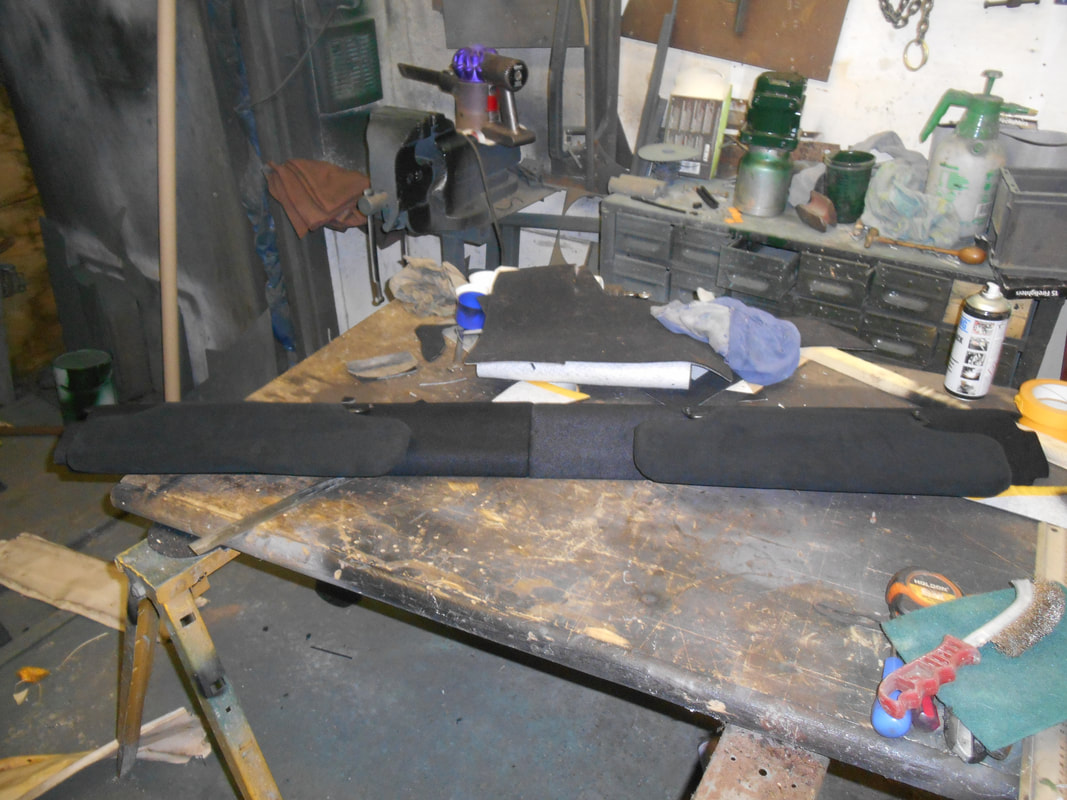
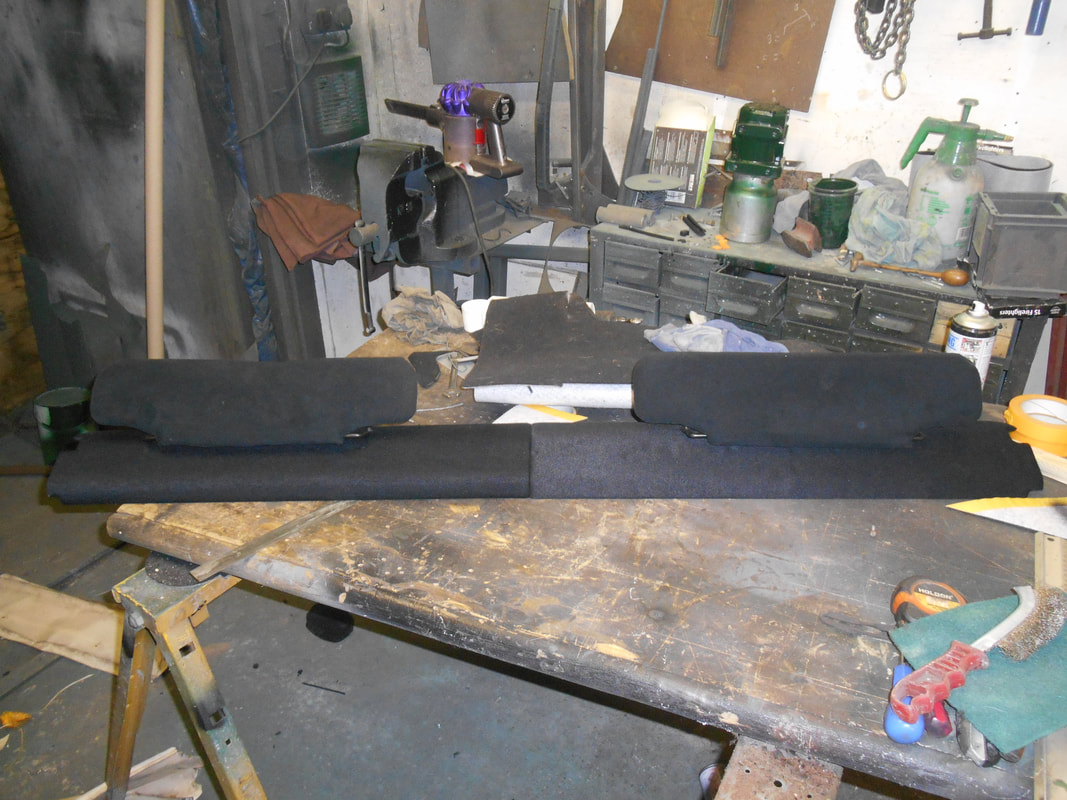
The Safari Roof, which came of a Station Wagon, had to be washed, stripped, painted and the roof lining needed to be changed. Under the Safari Skin we found a mouse nest and under the roof lining above the cab we found wasp/hornets nests. We kept the original sound proofing and used glued the new roof lining to the old one as well as trapping it with the existing frame to decrease the chance of sagging in the future. The roof vents were stripped and painted. Sides were painted and covered on the inside. We also covered the sun visors in roof lining material and painted the roof light frame.


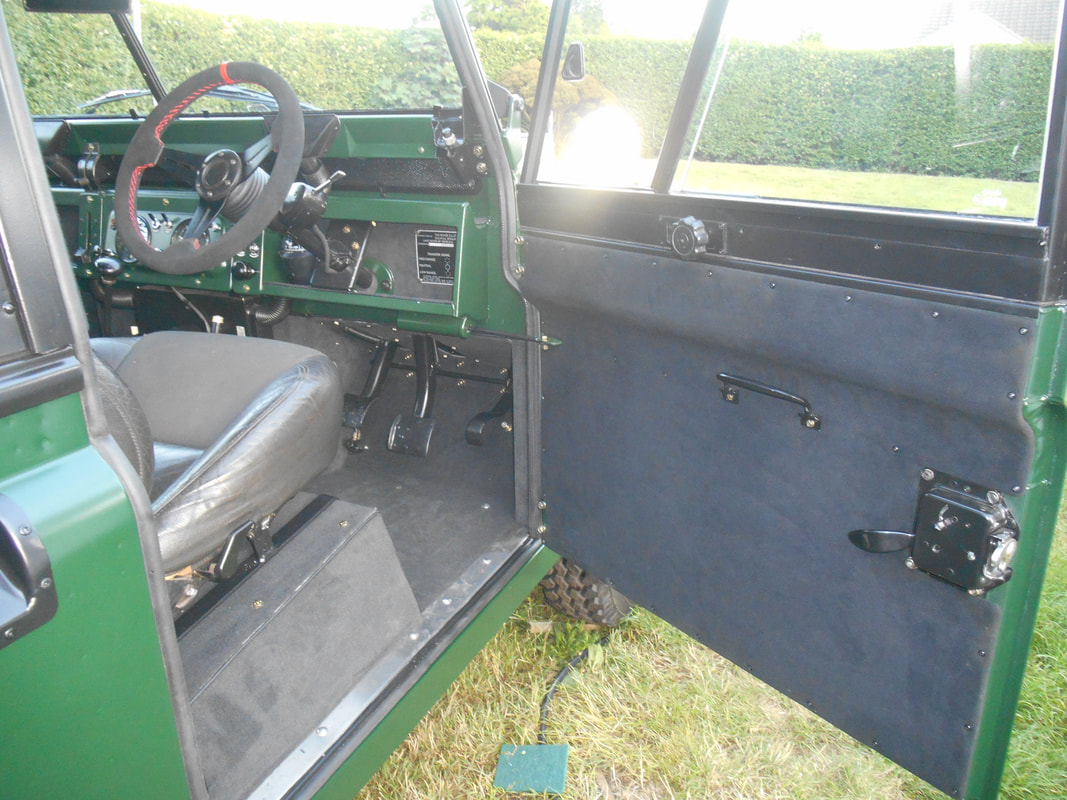
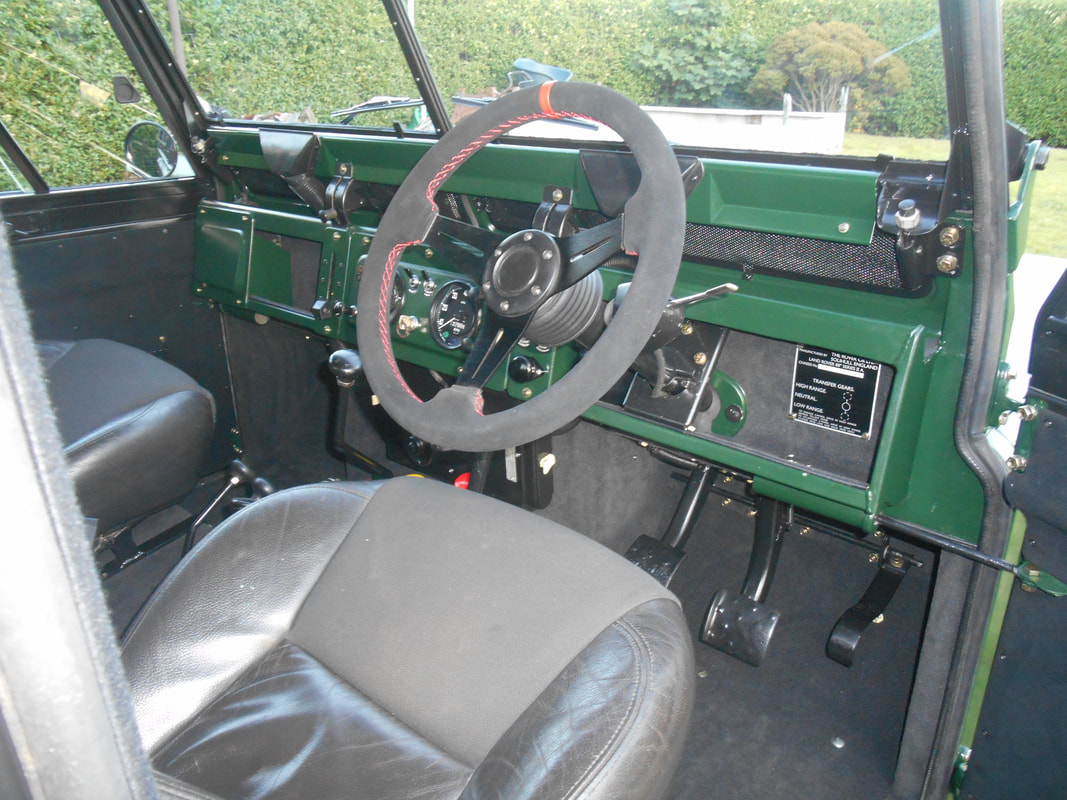
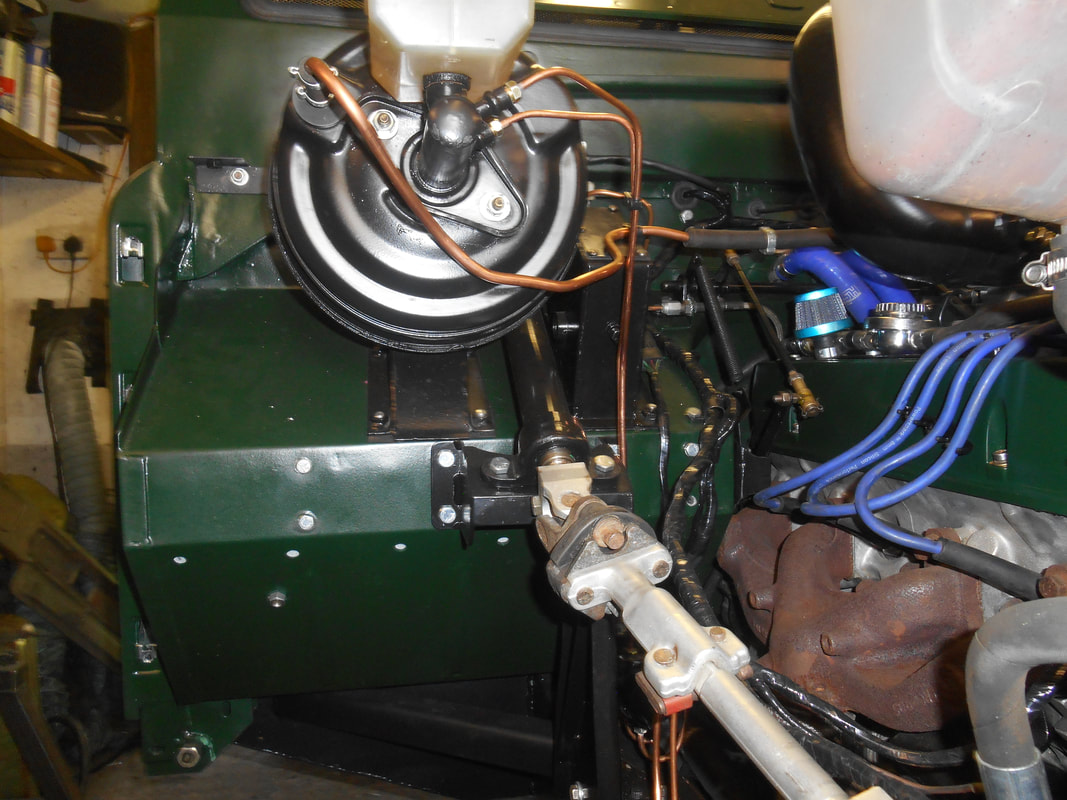
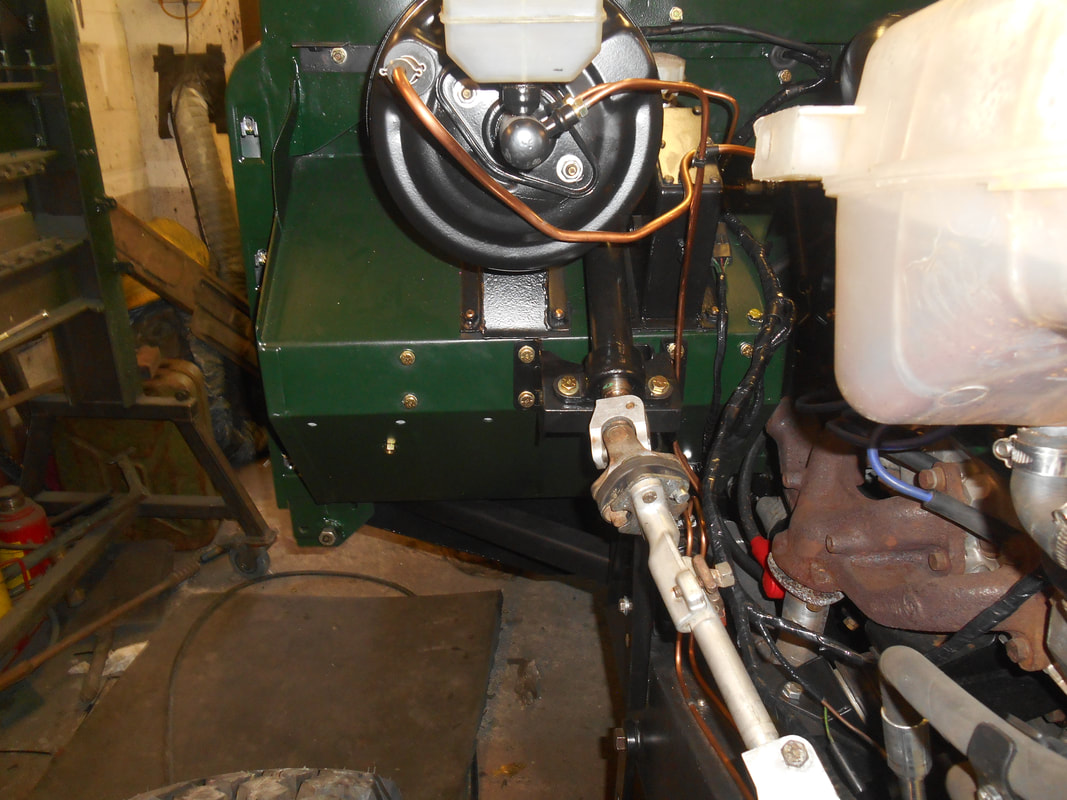
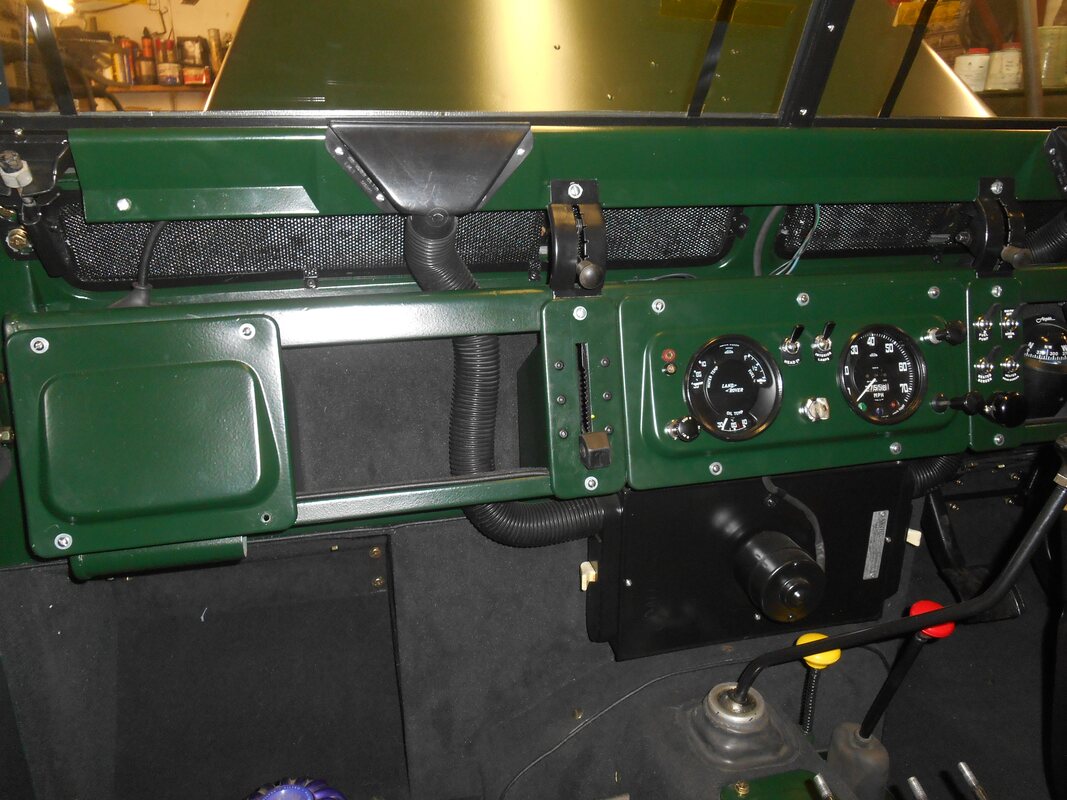
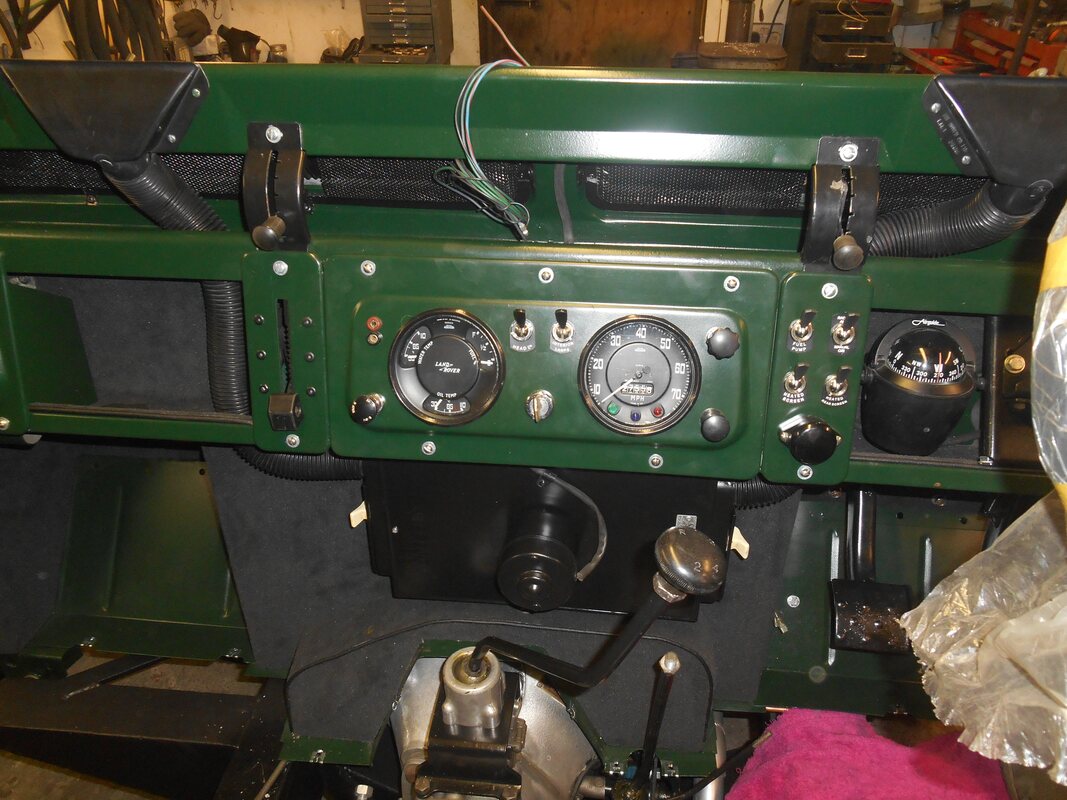
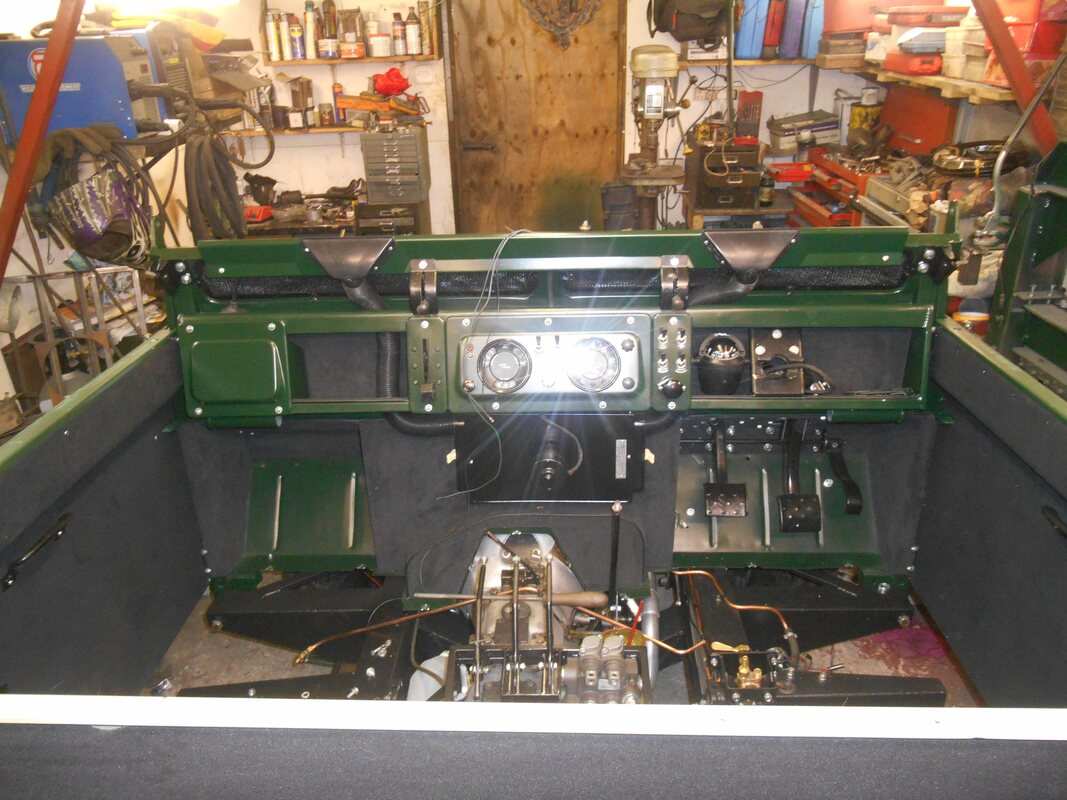
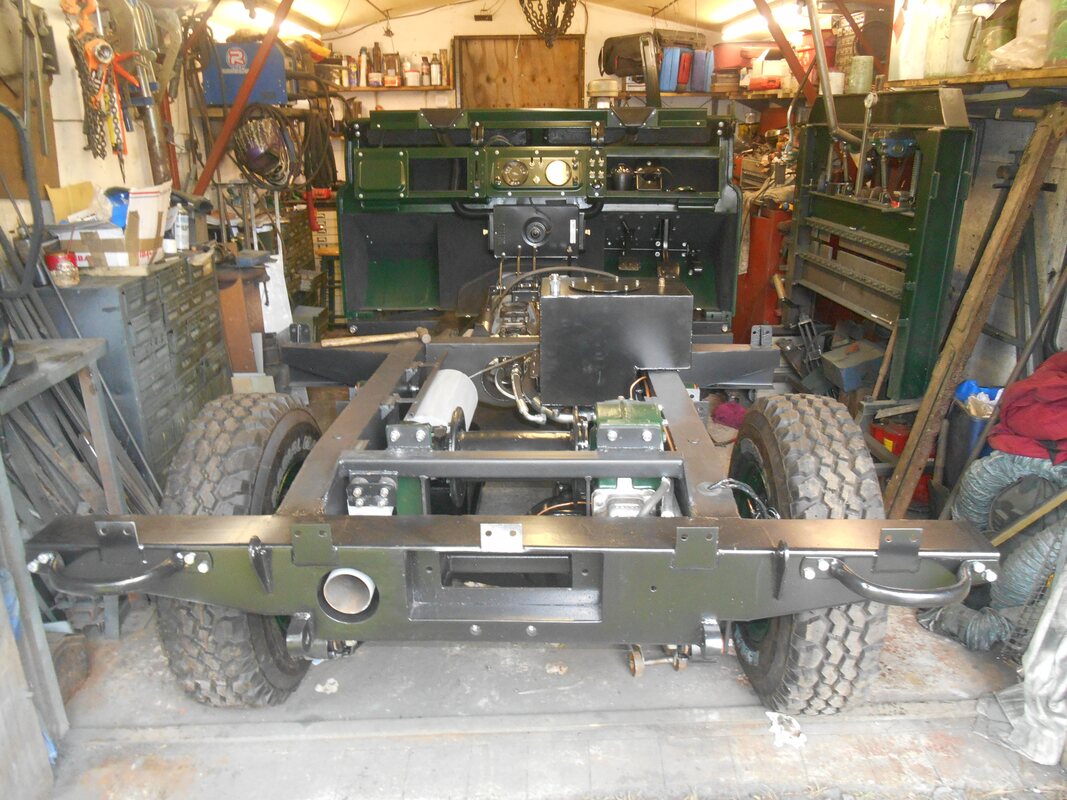
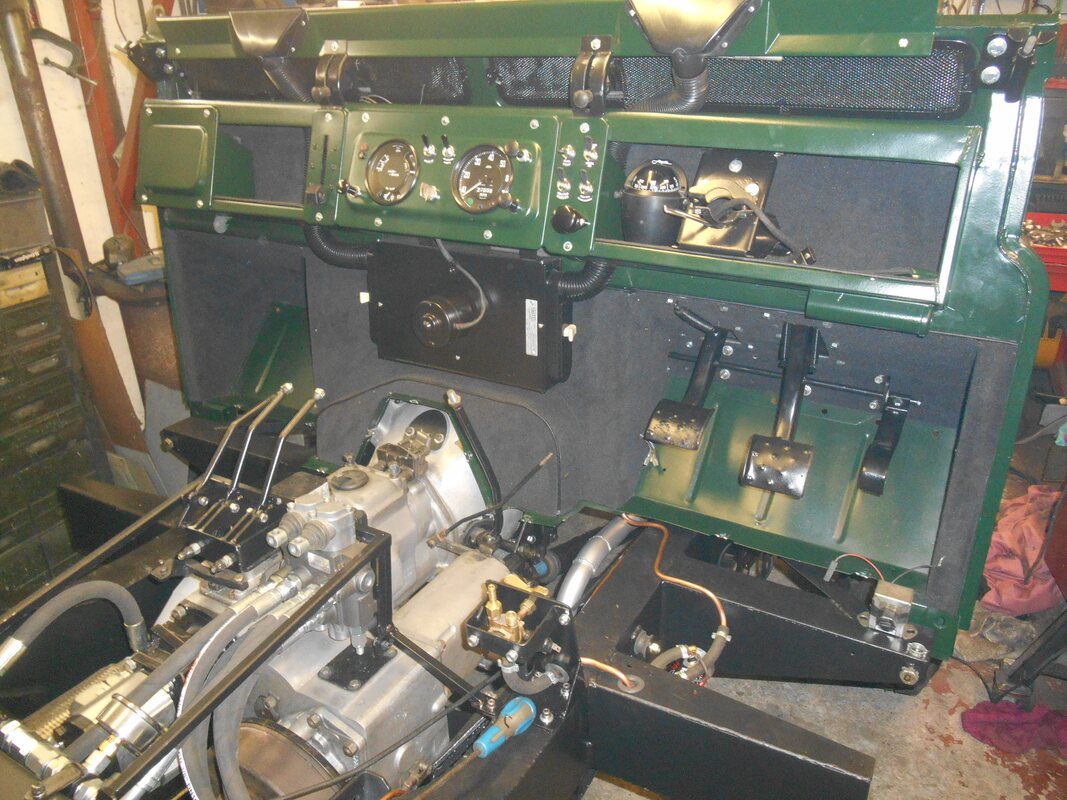
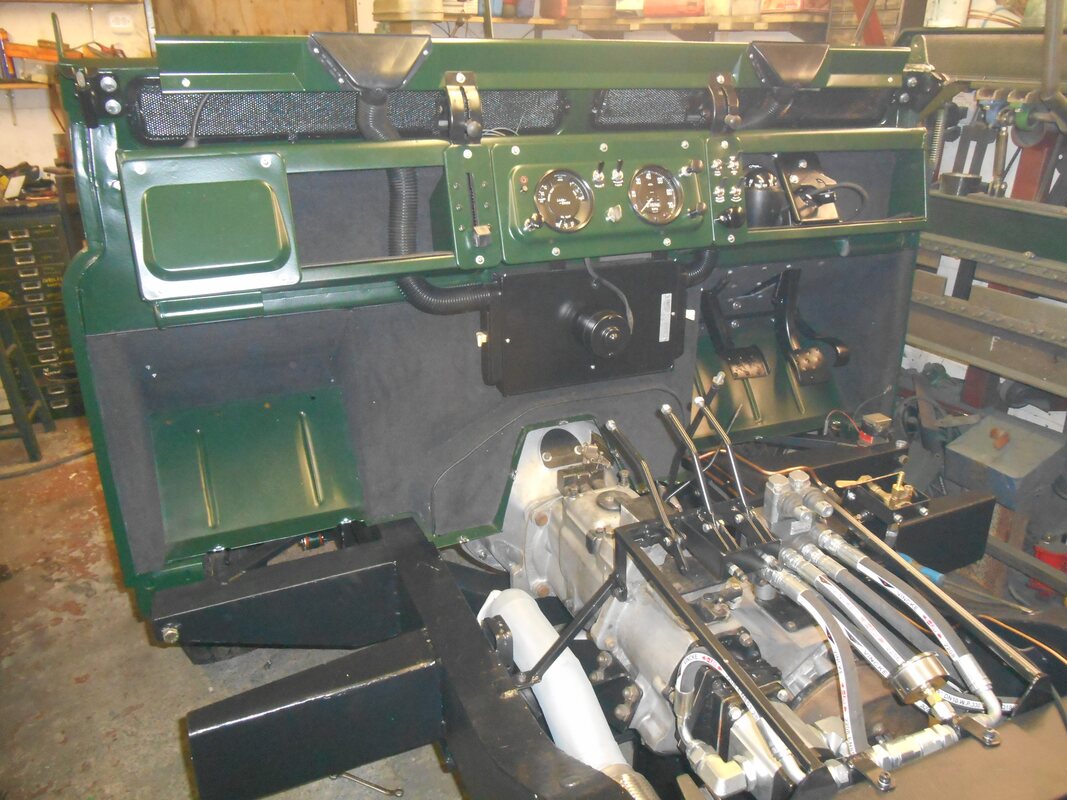
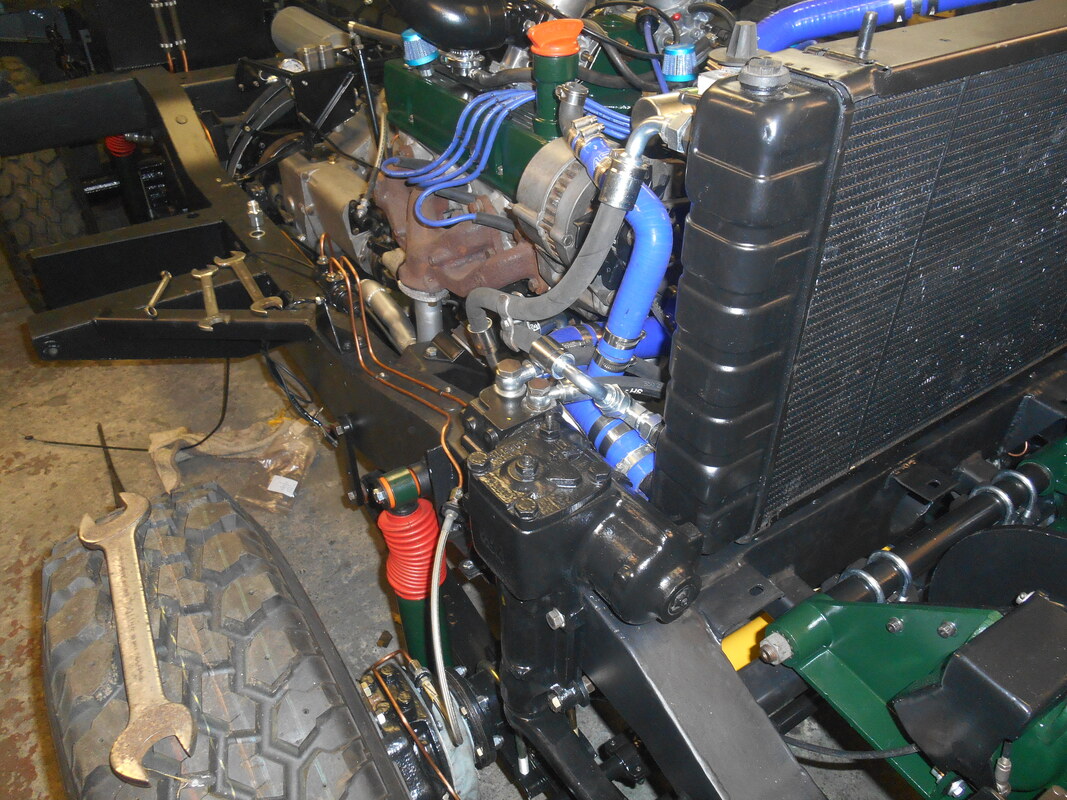
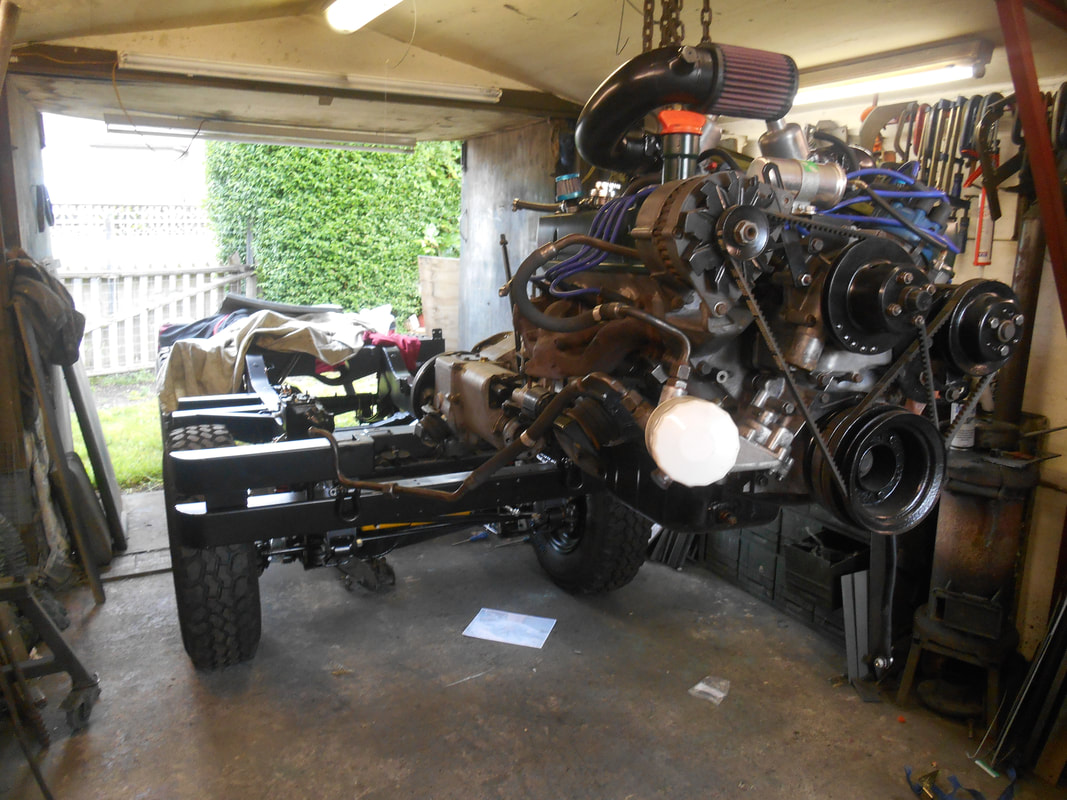
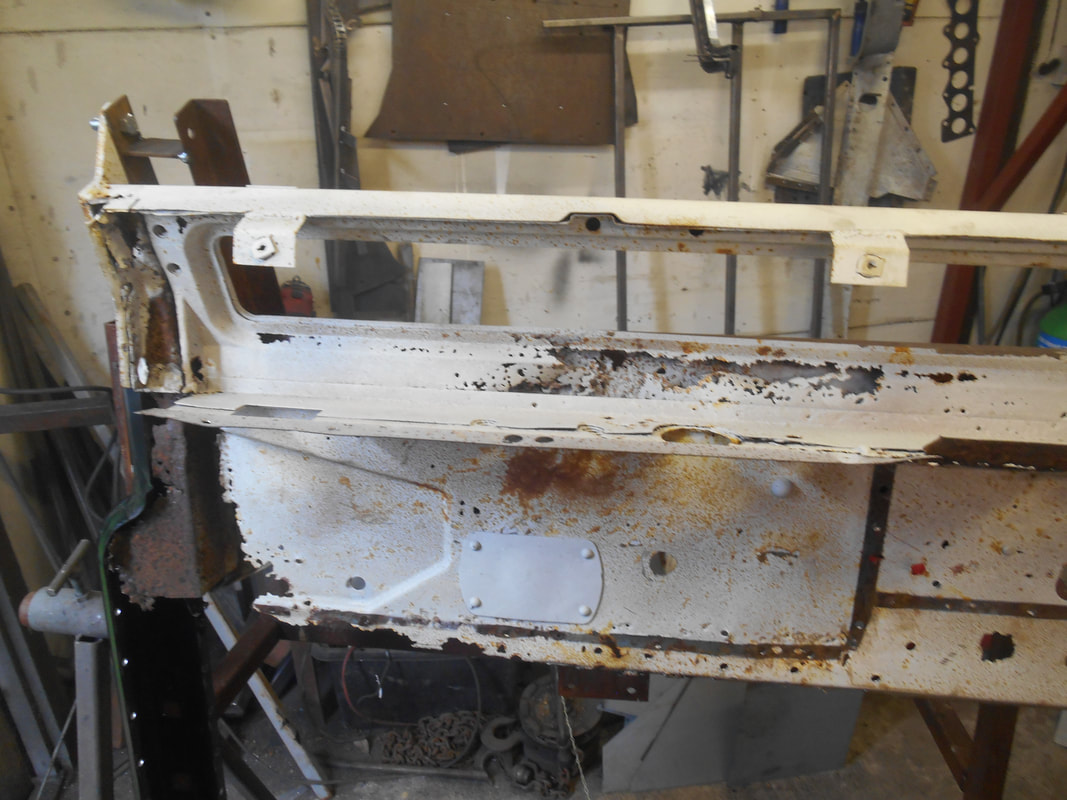
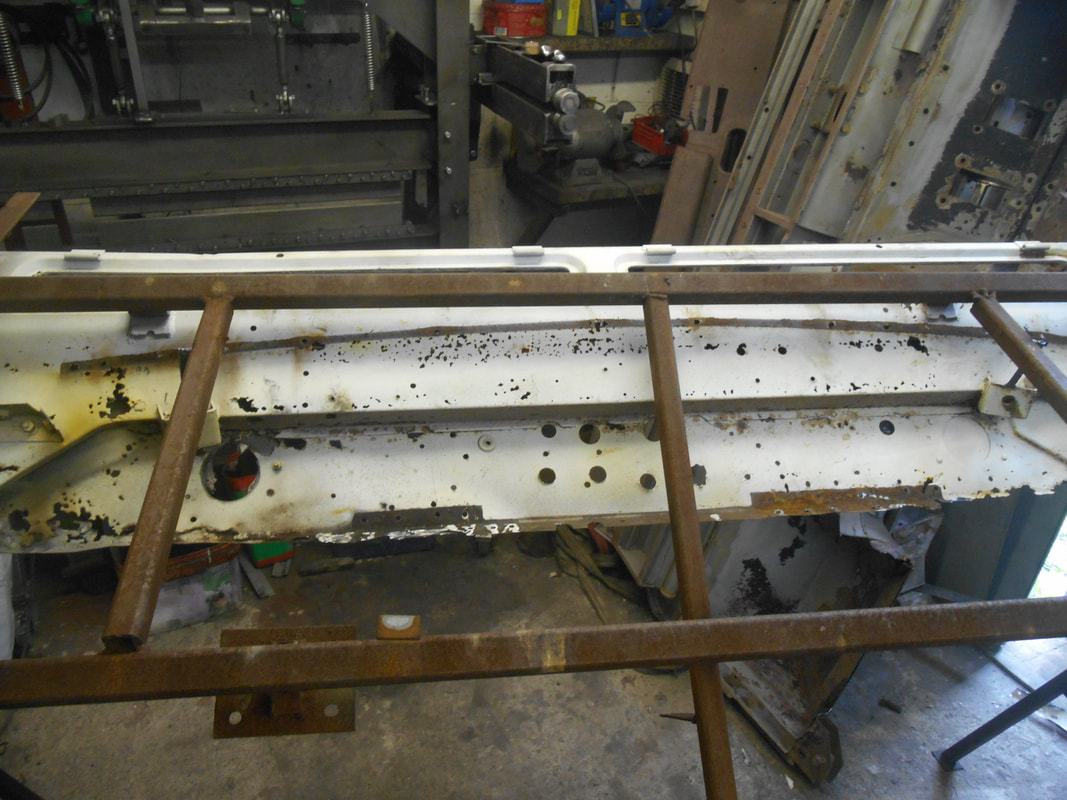
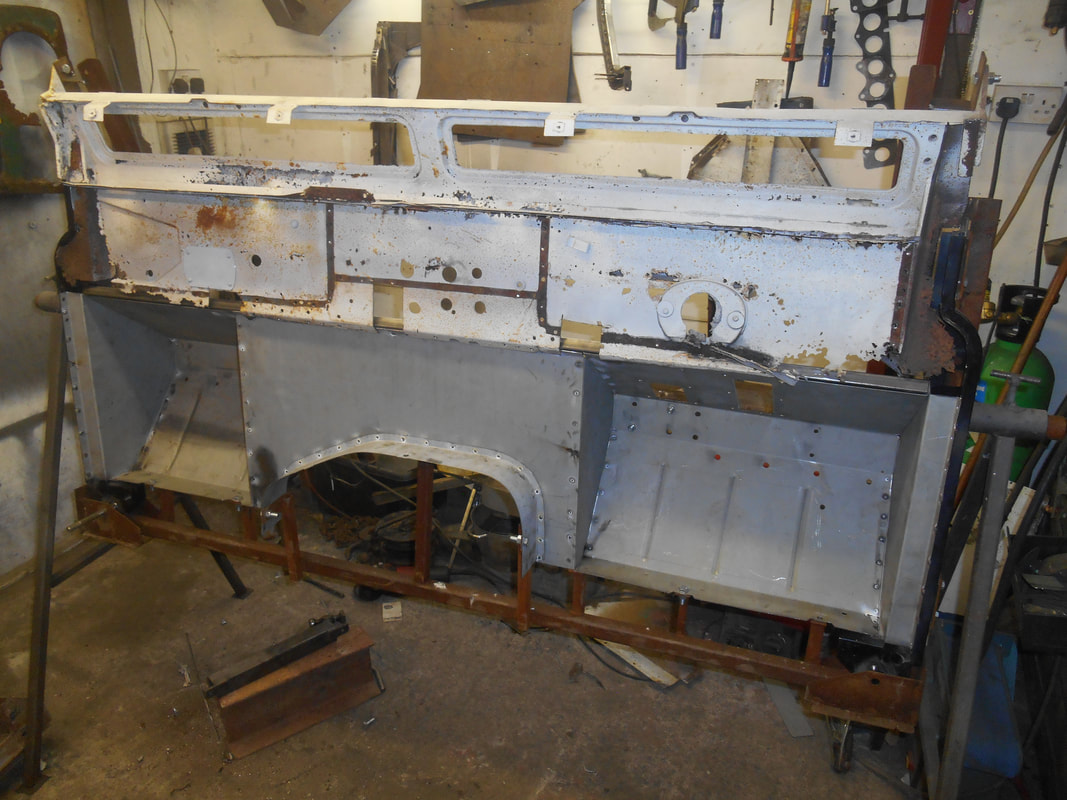
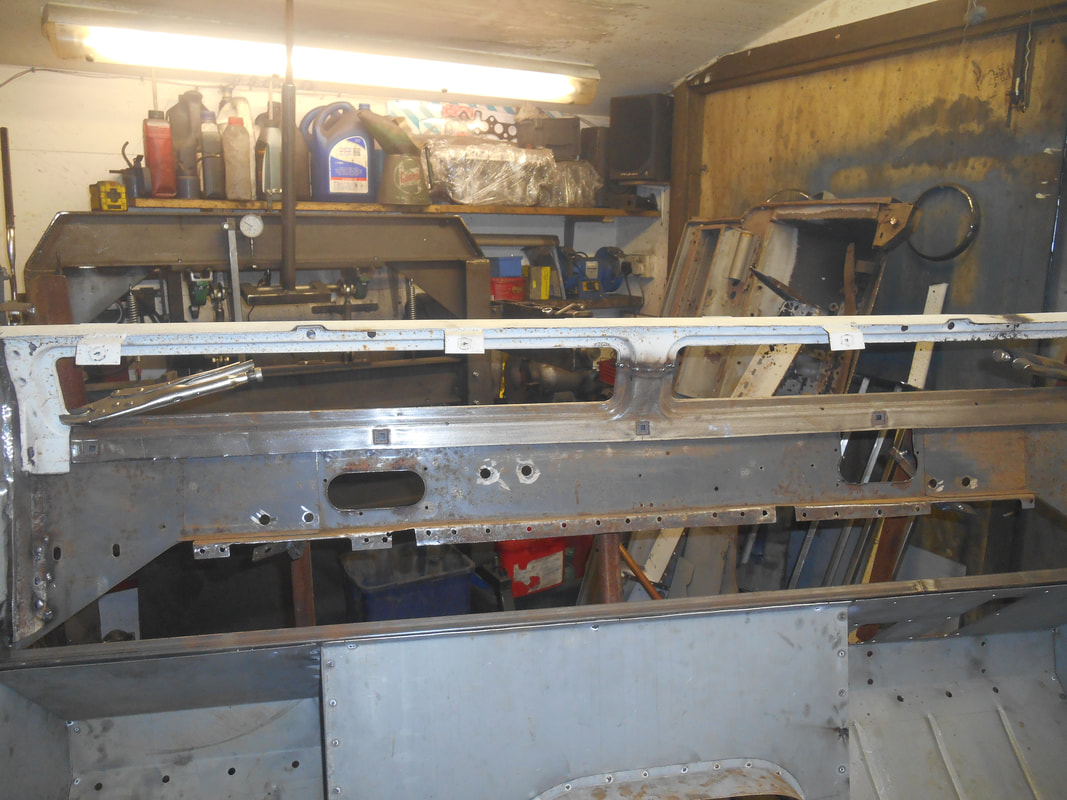
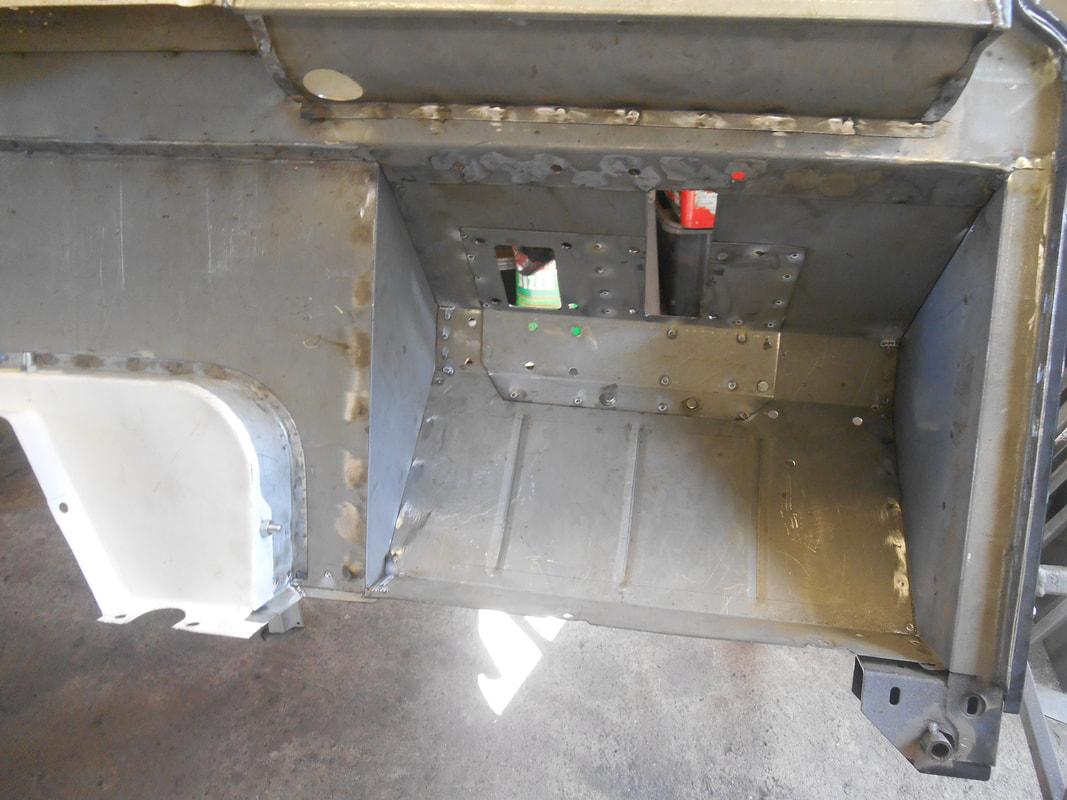
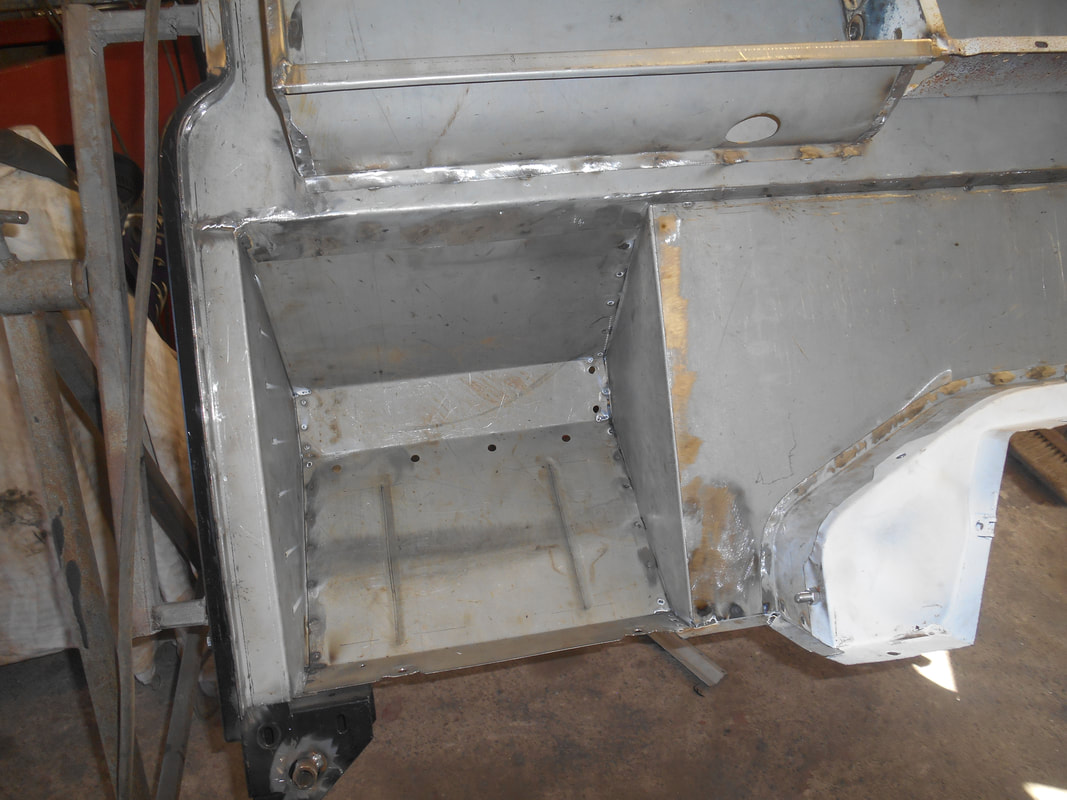
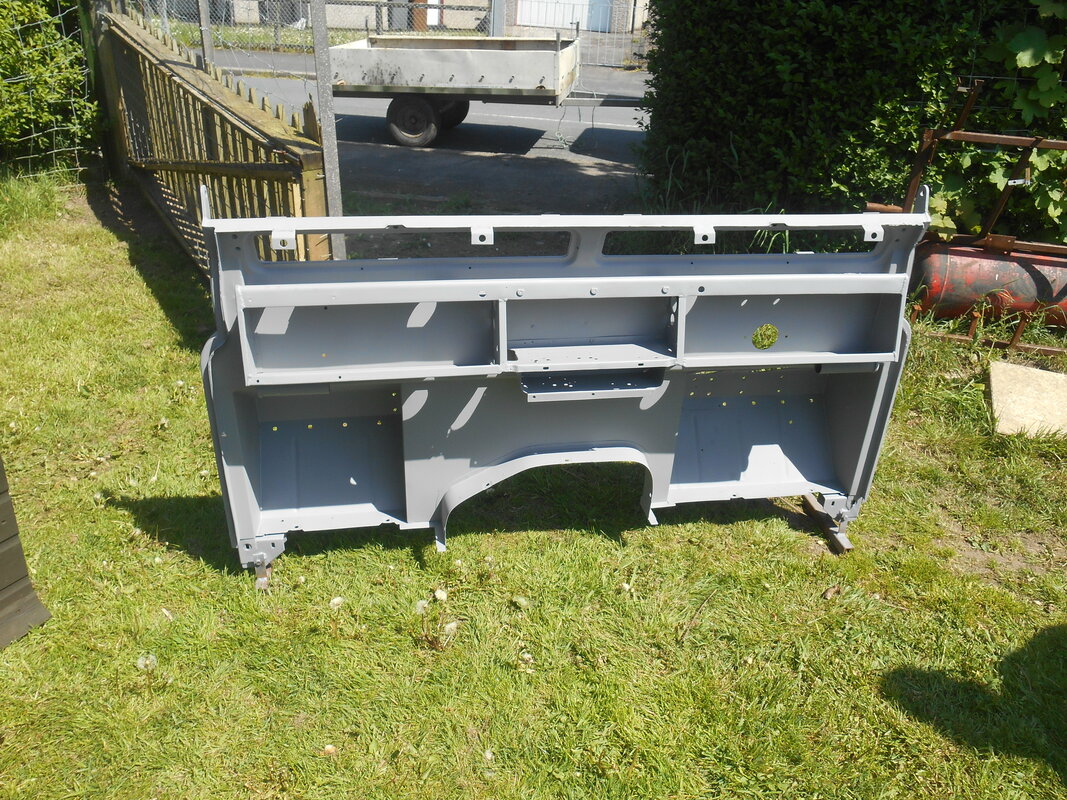
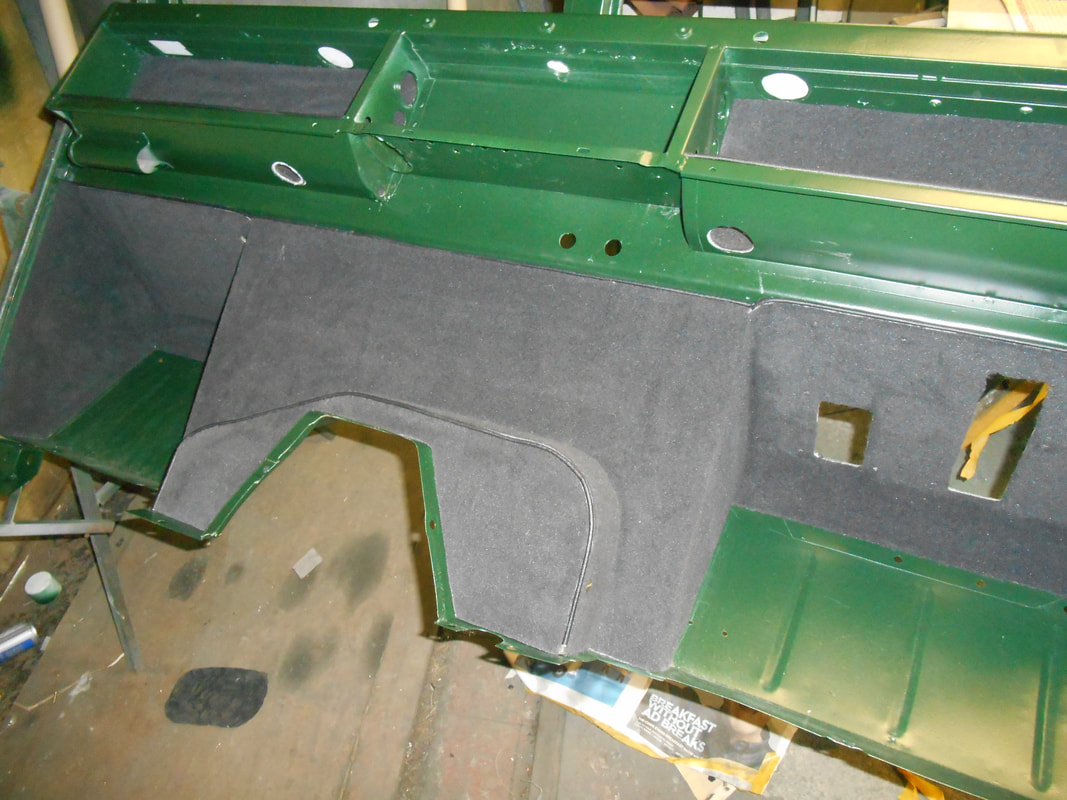
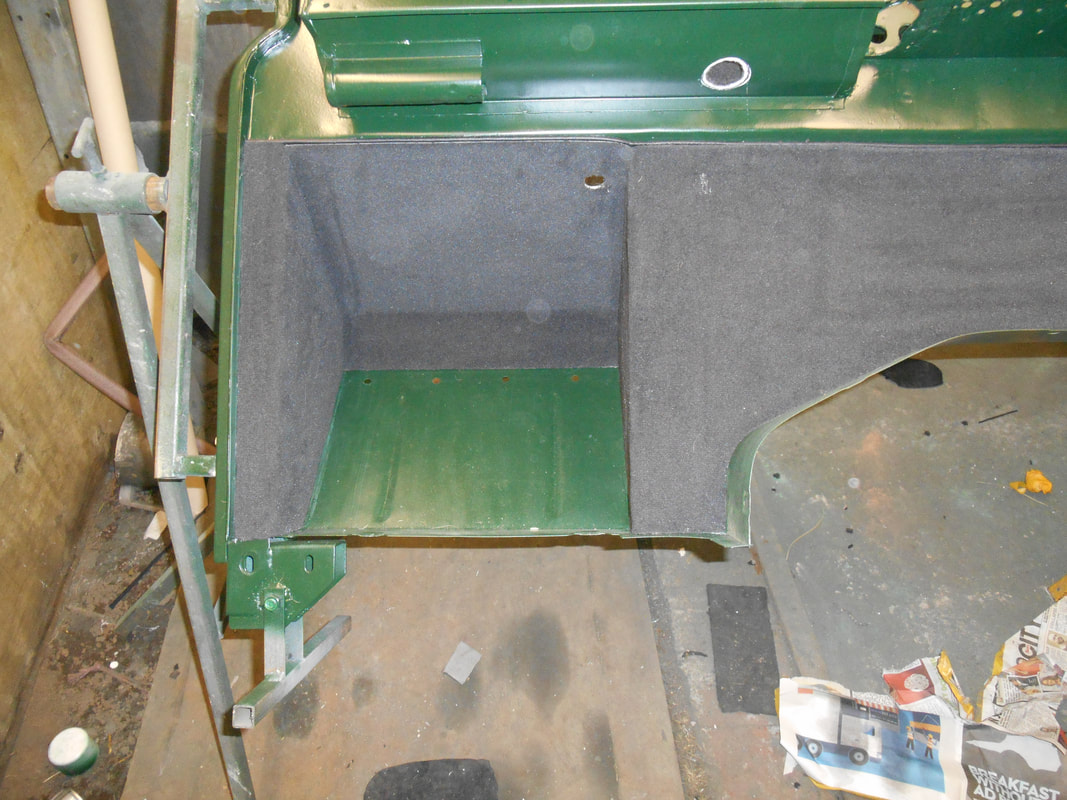
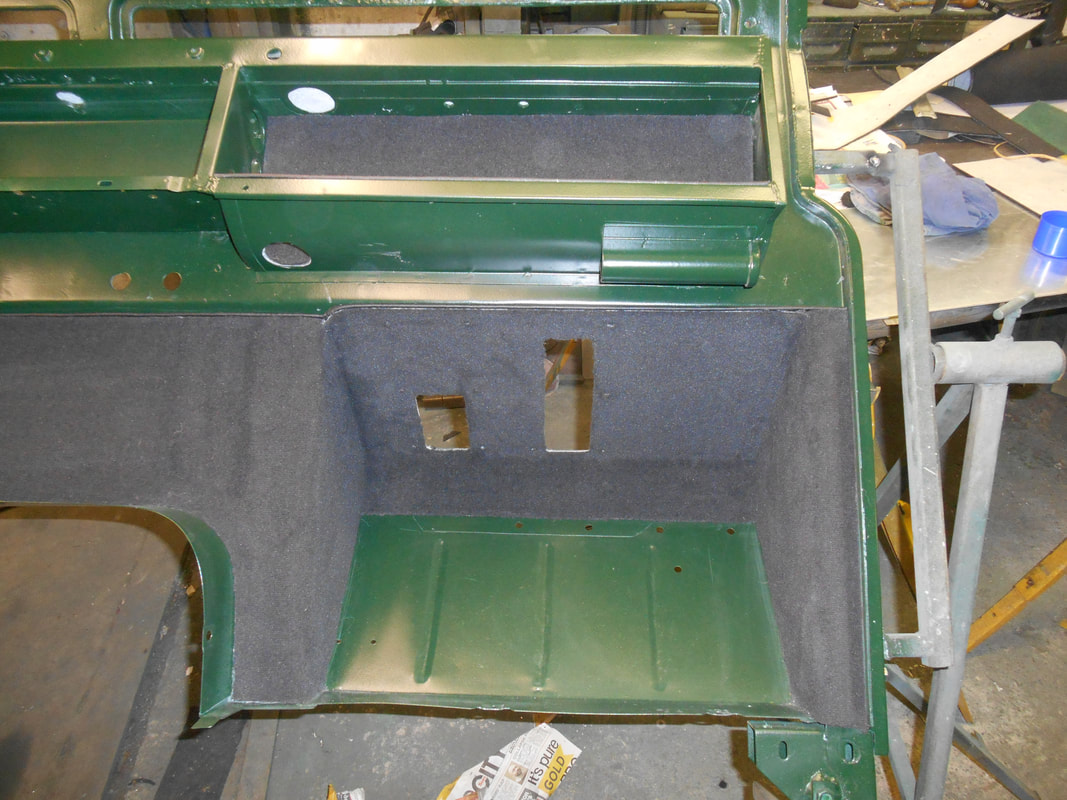
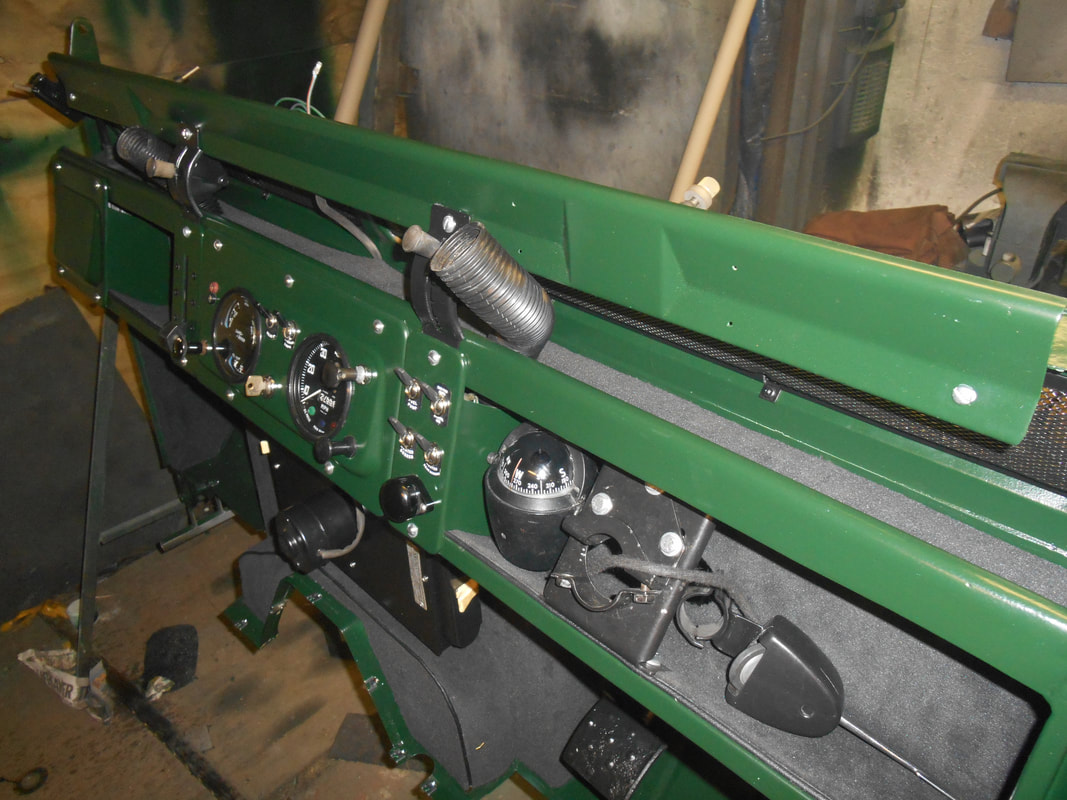
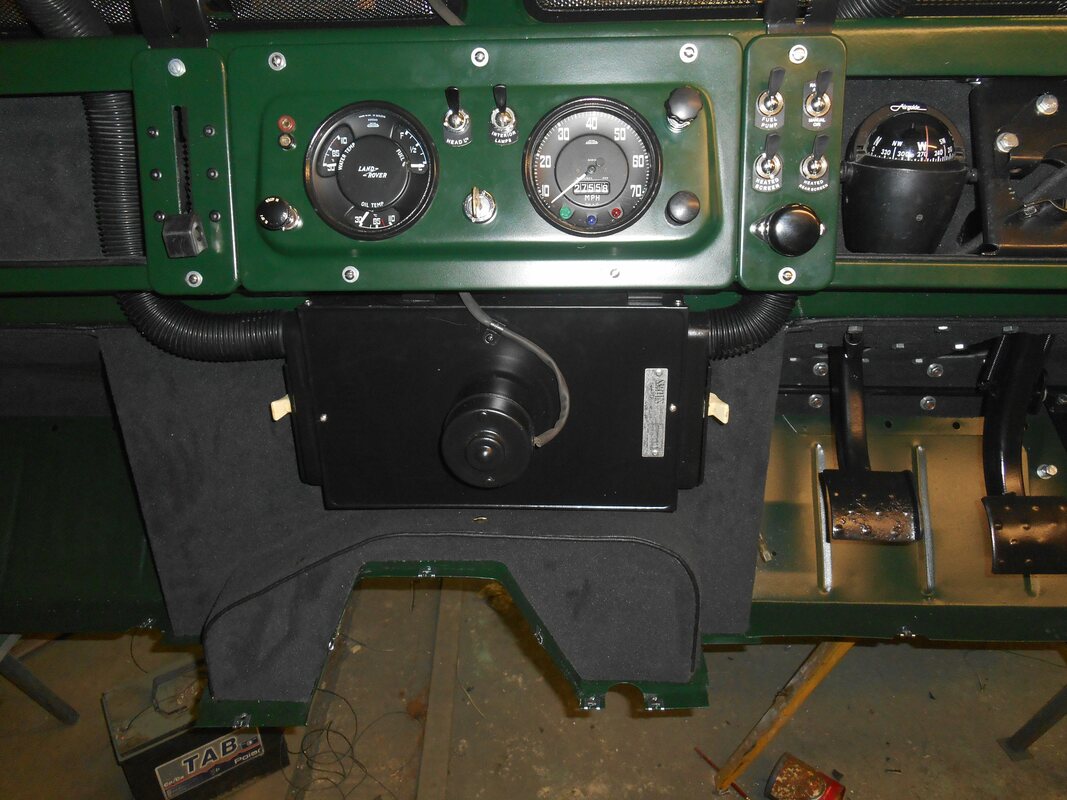
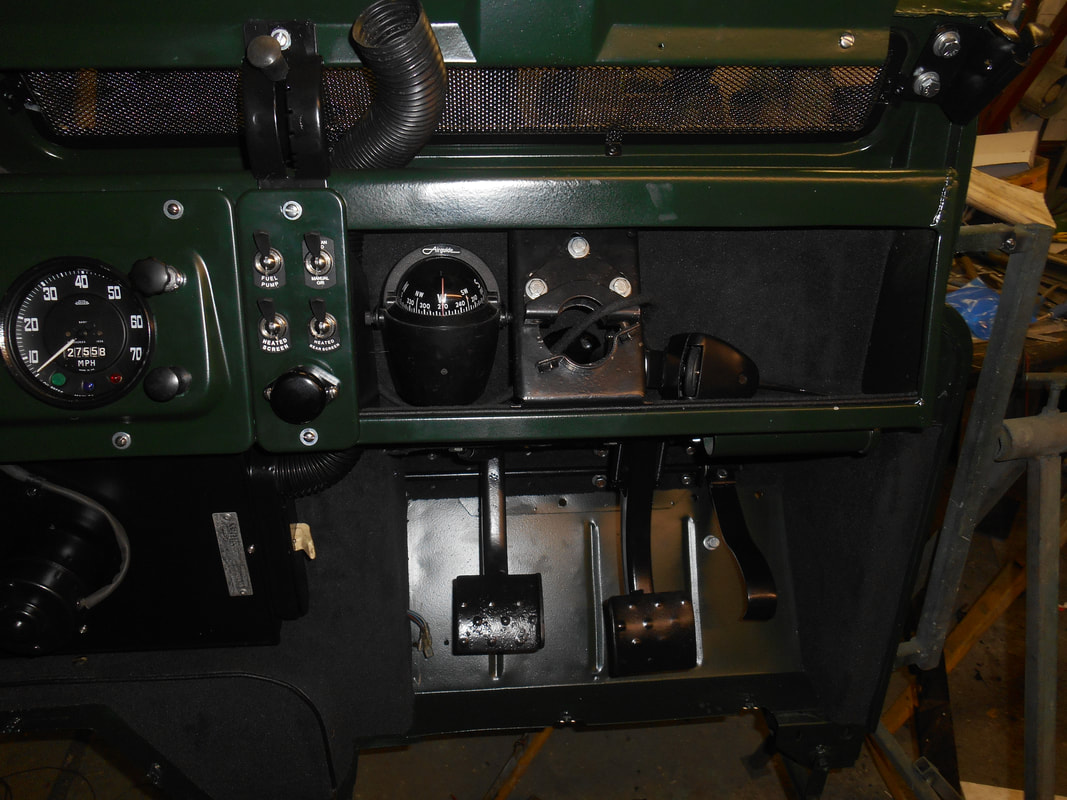
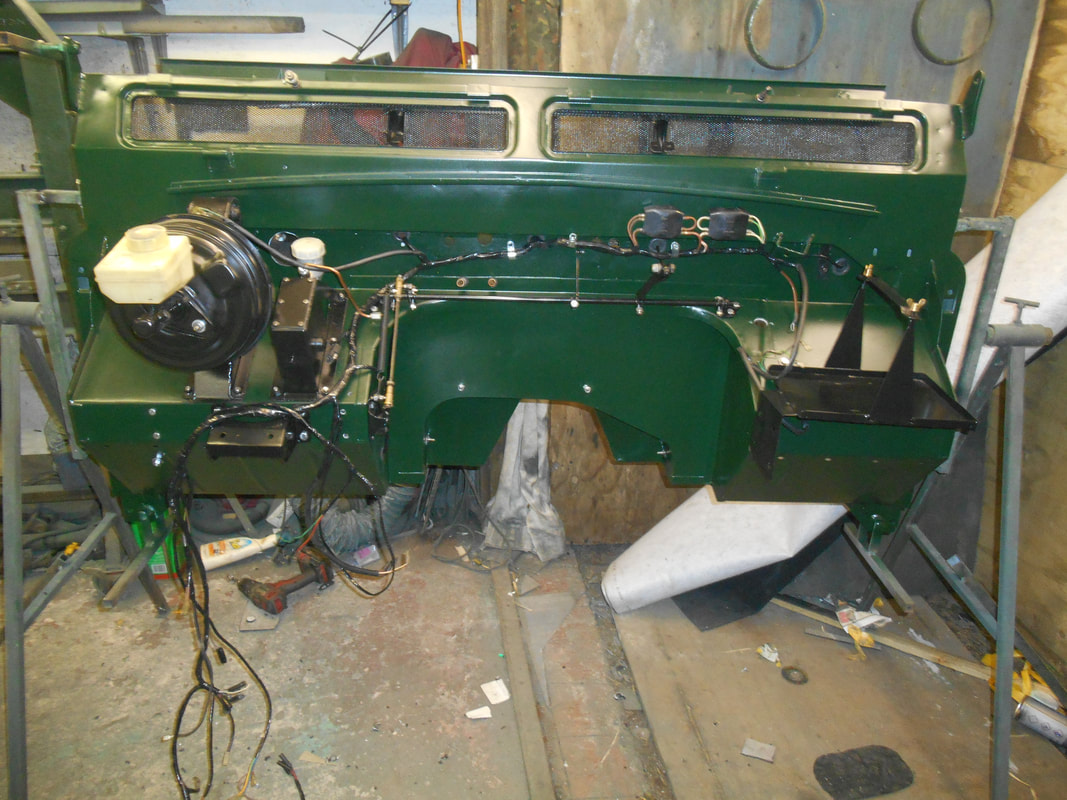
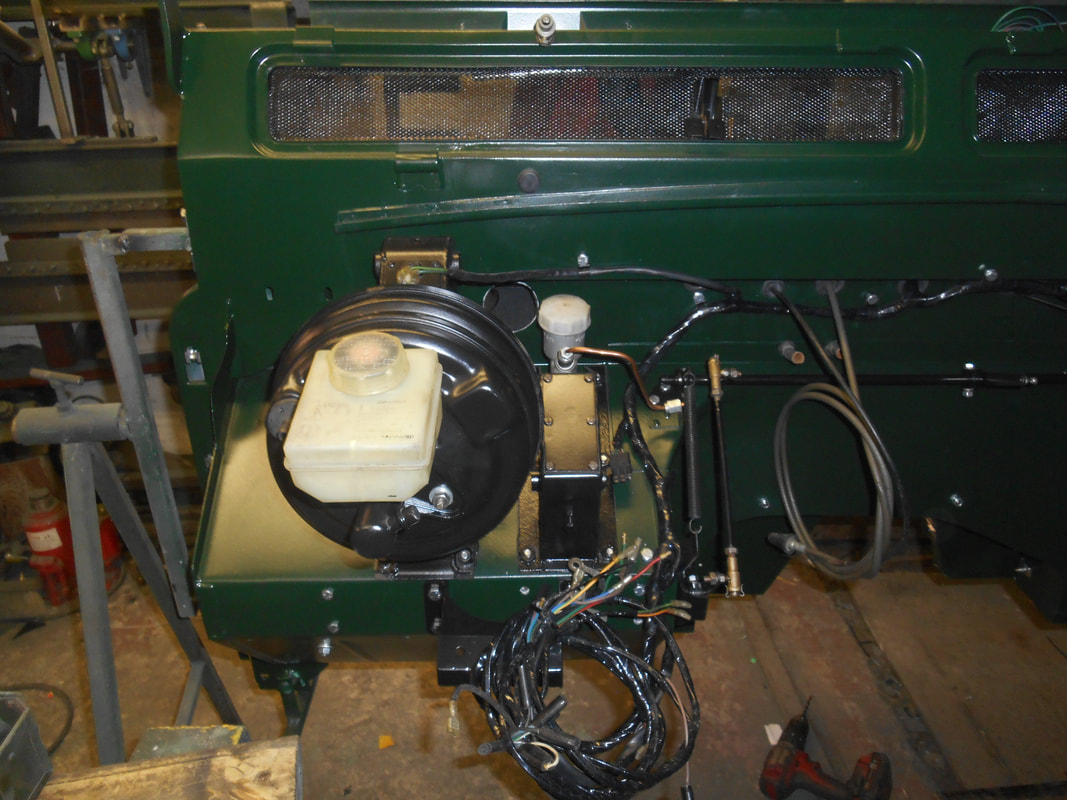
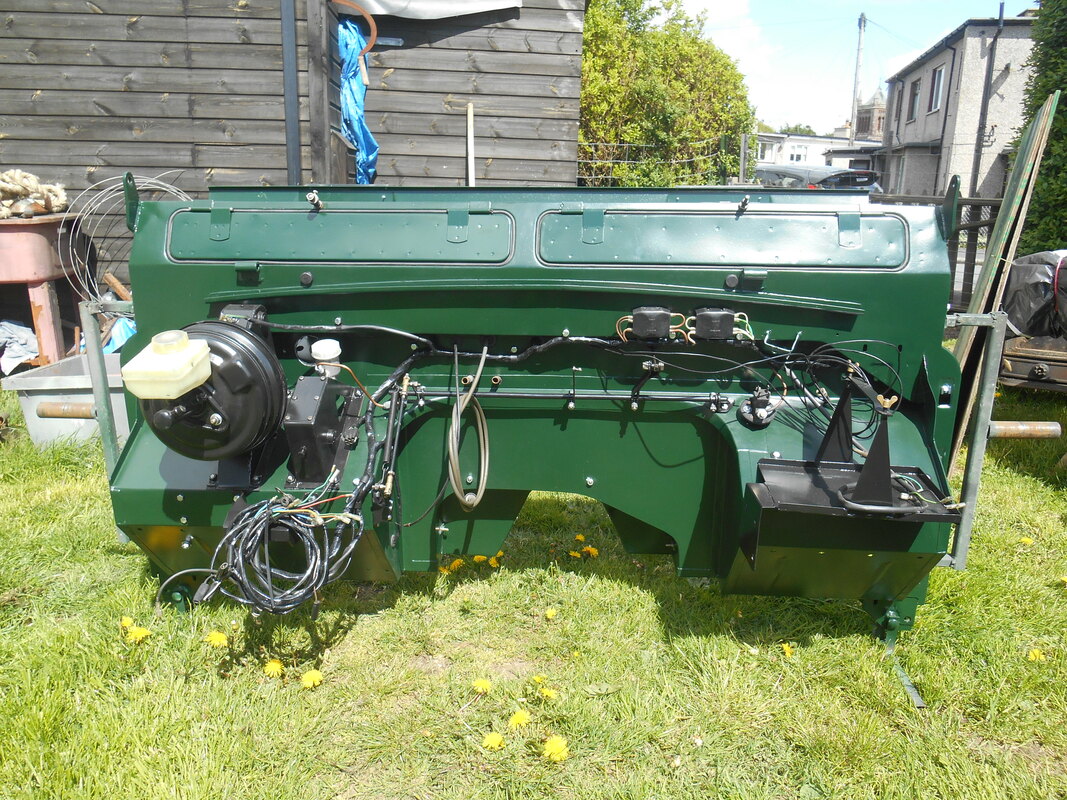
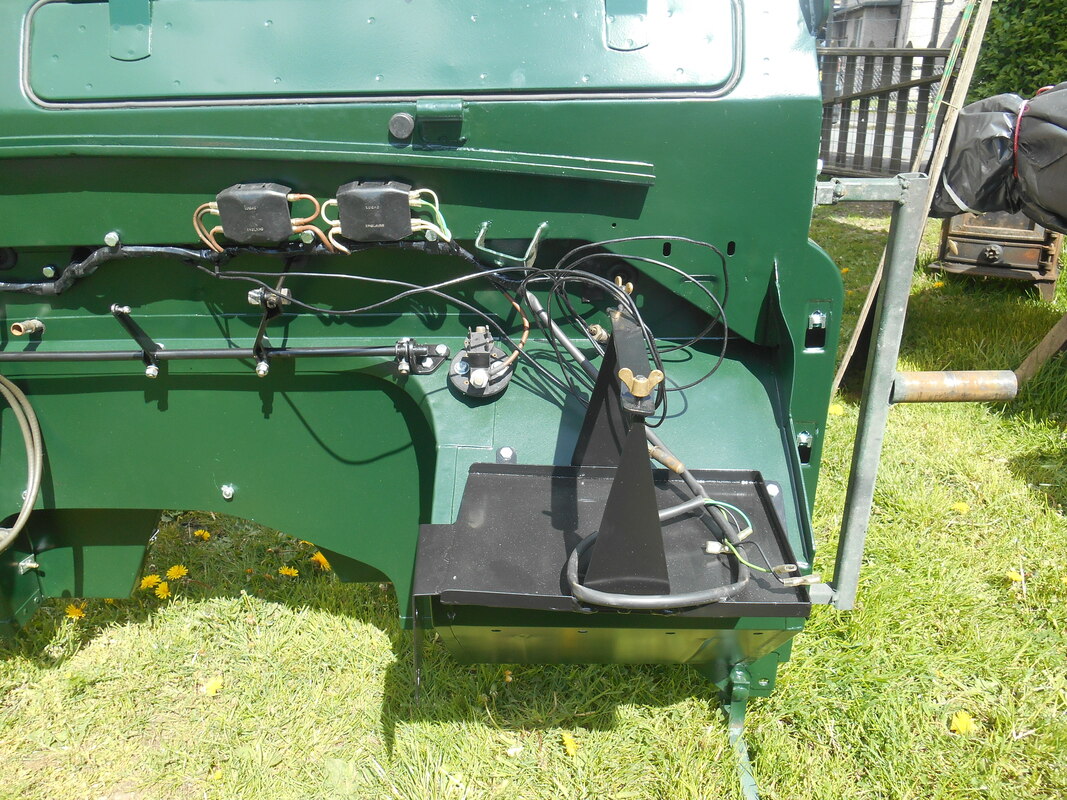
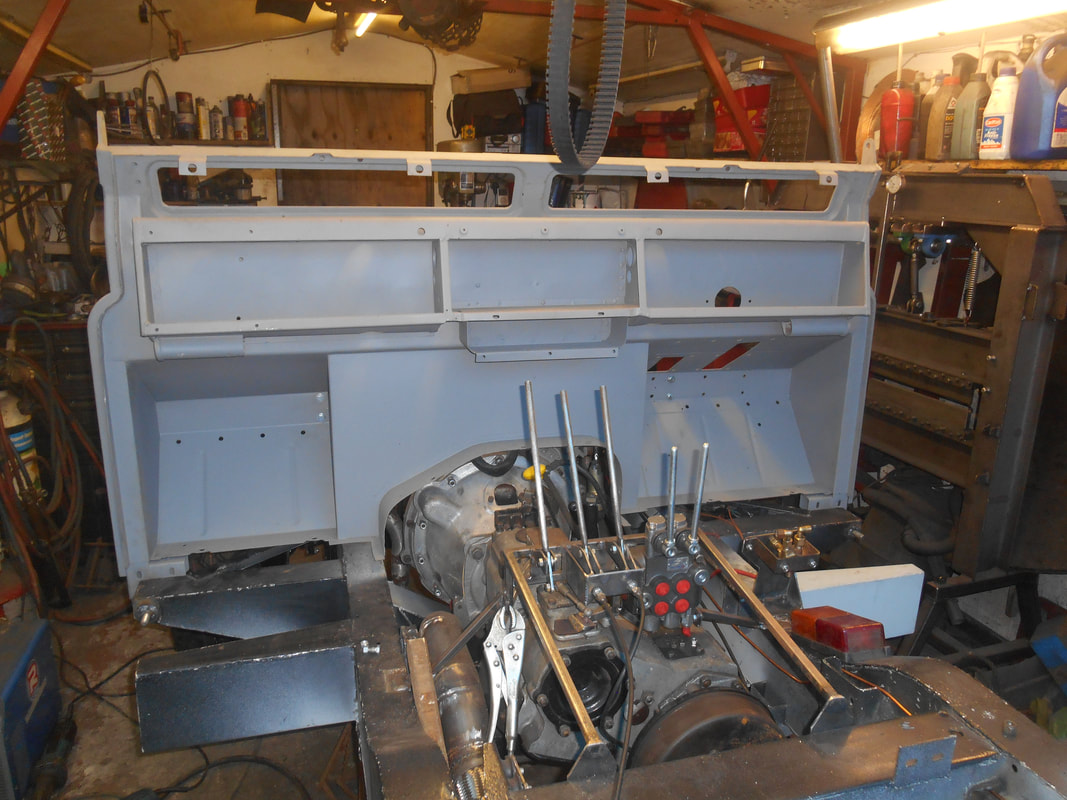
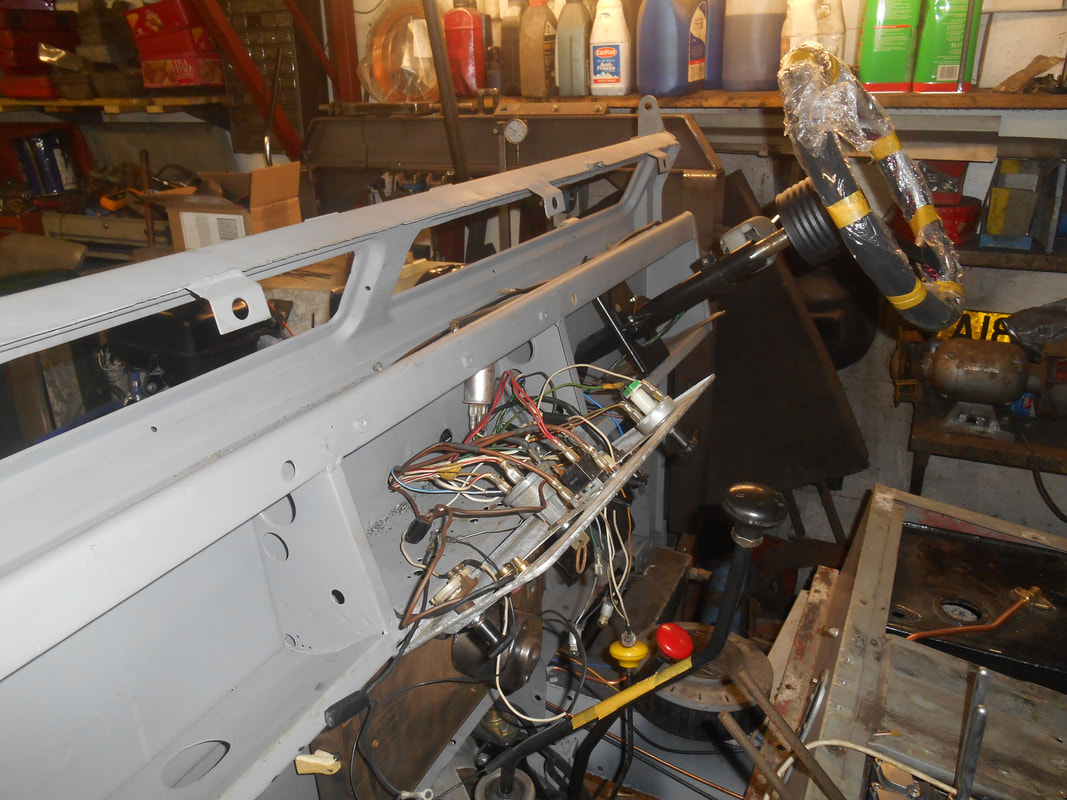
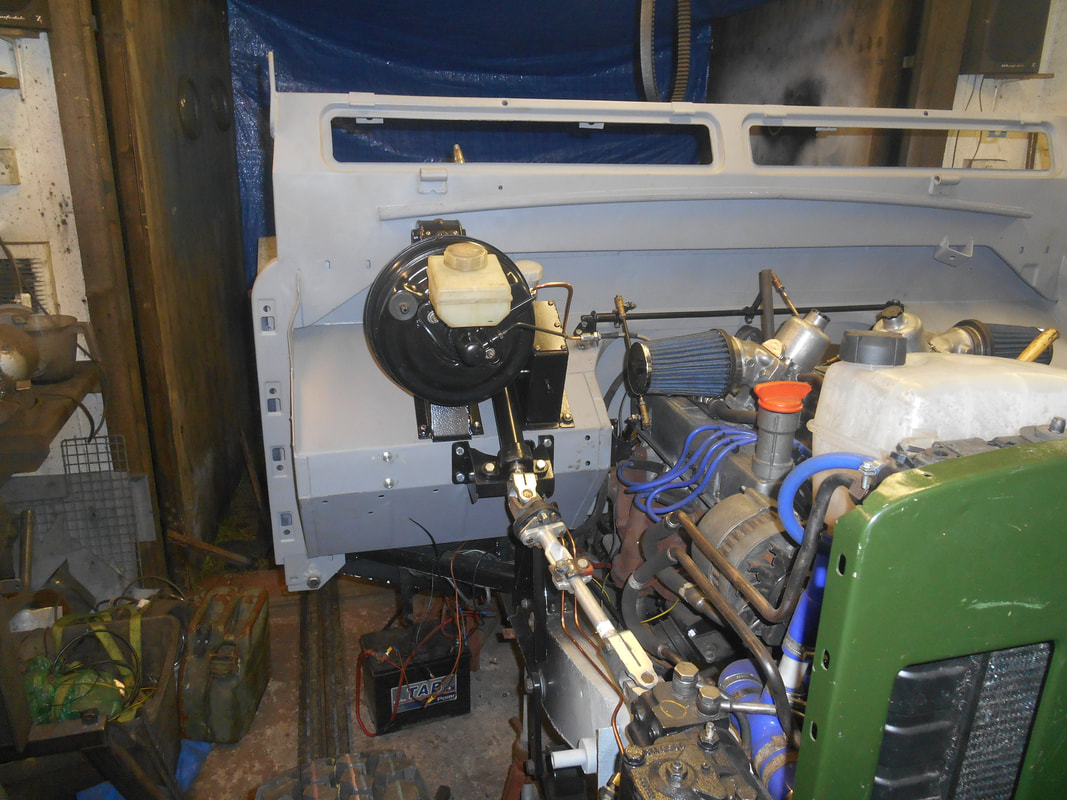
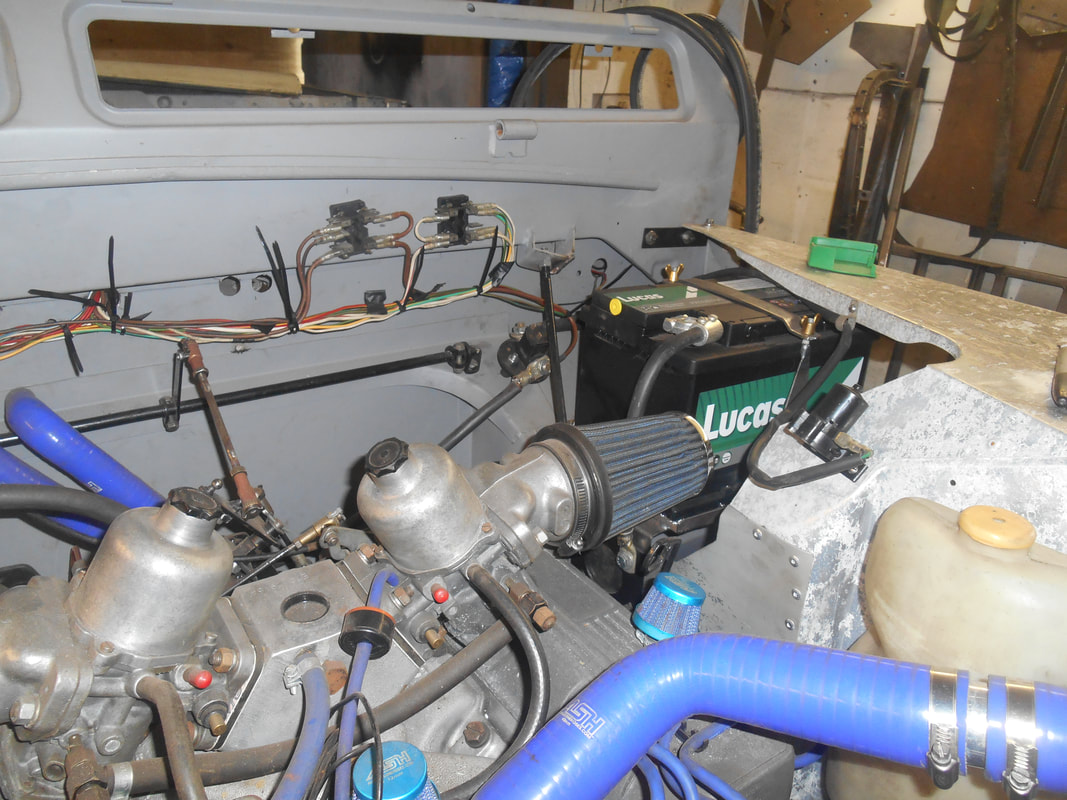
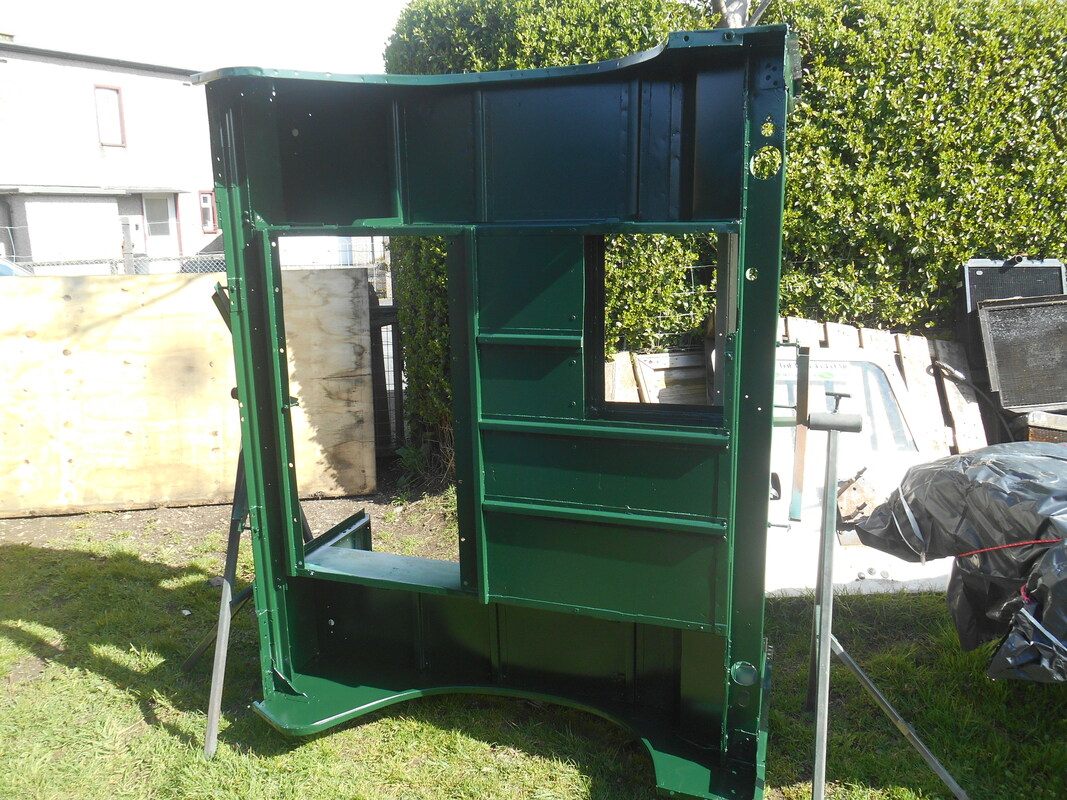
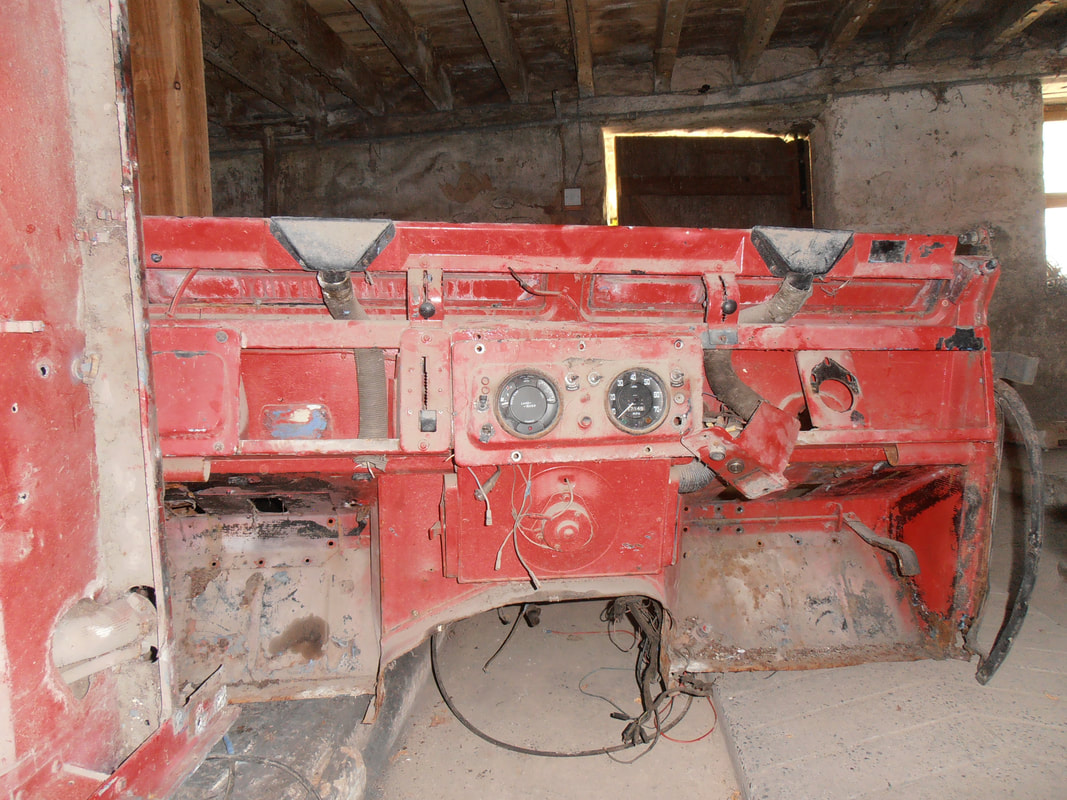
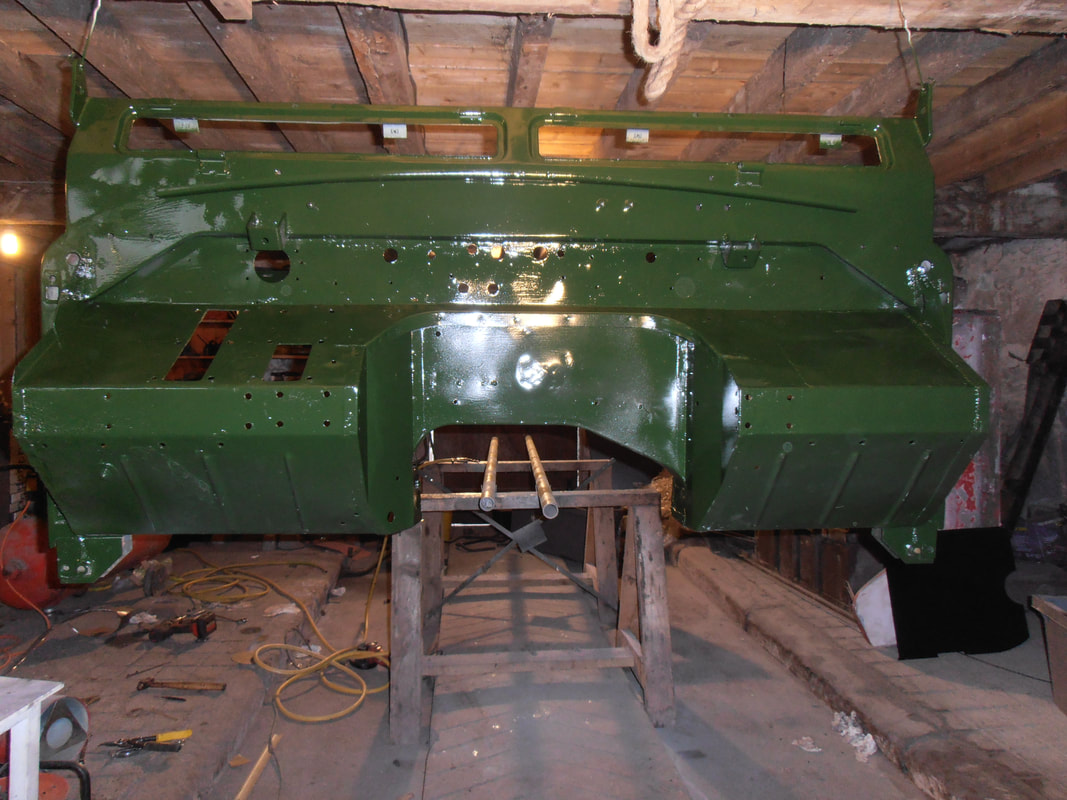
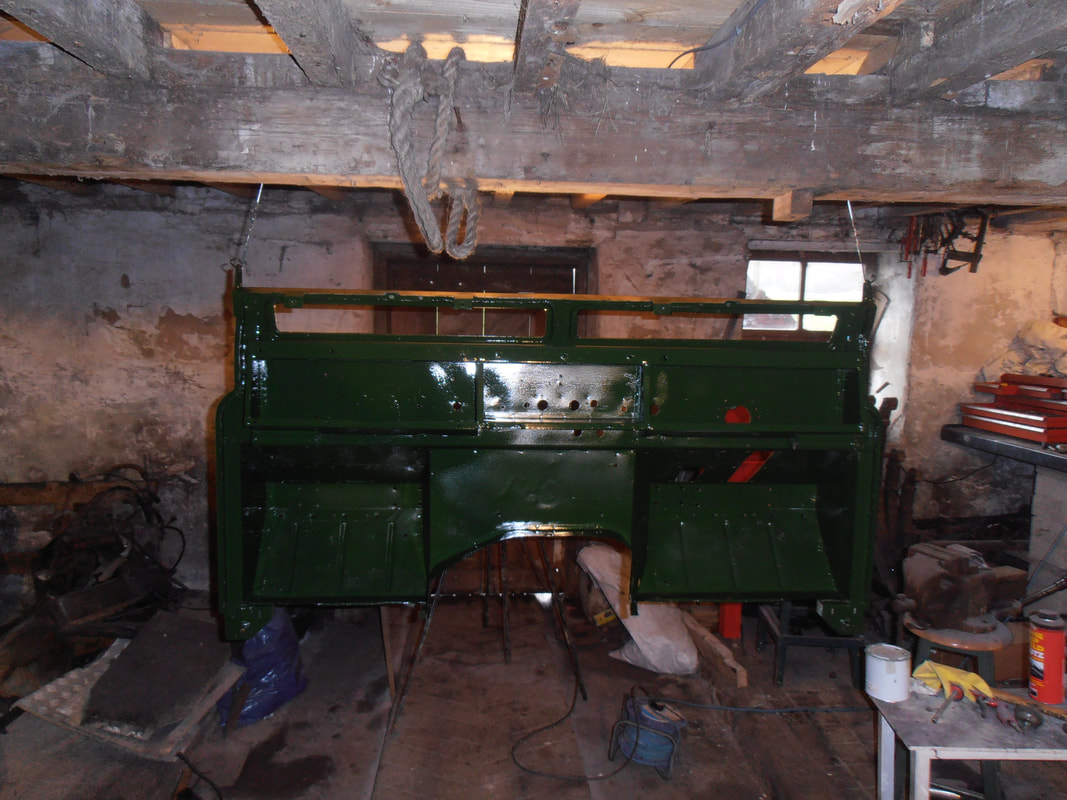
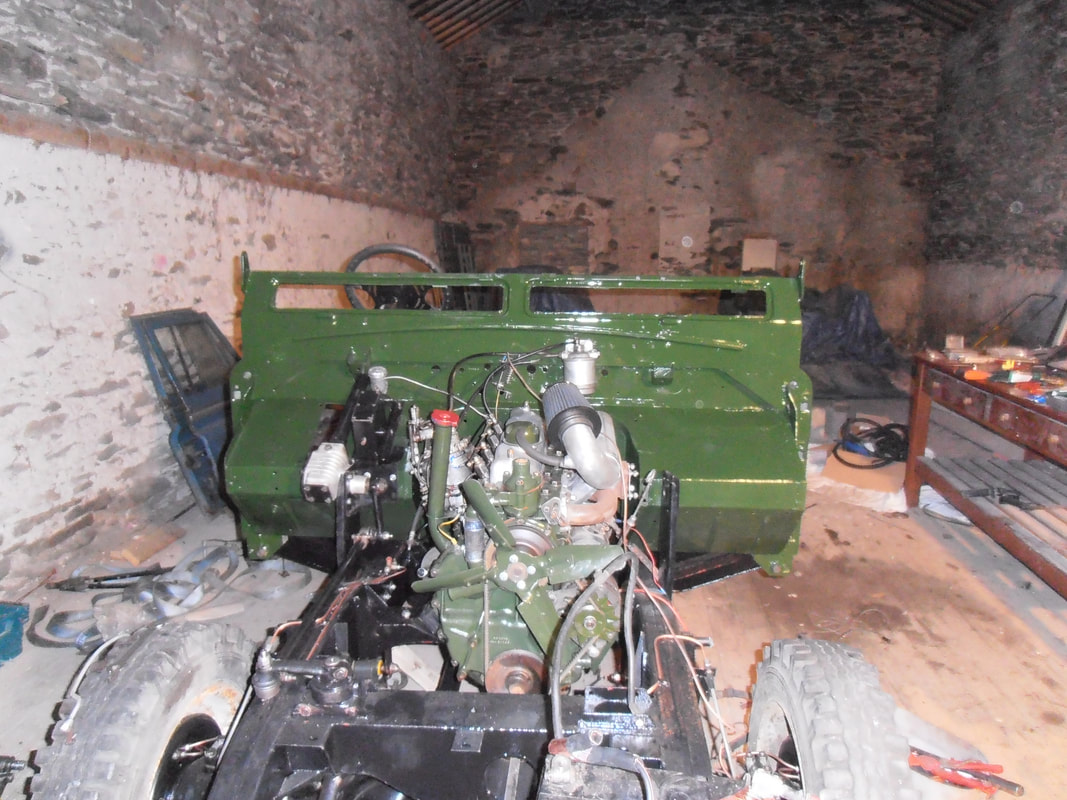
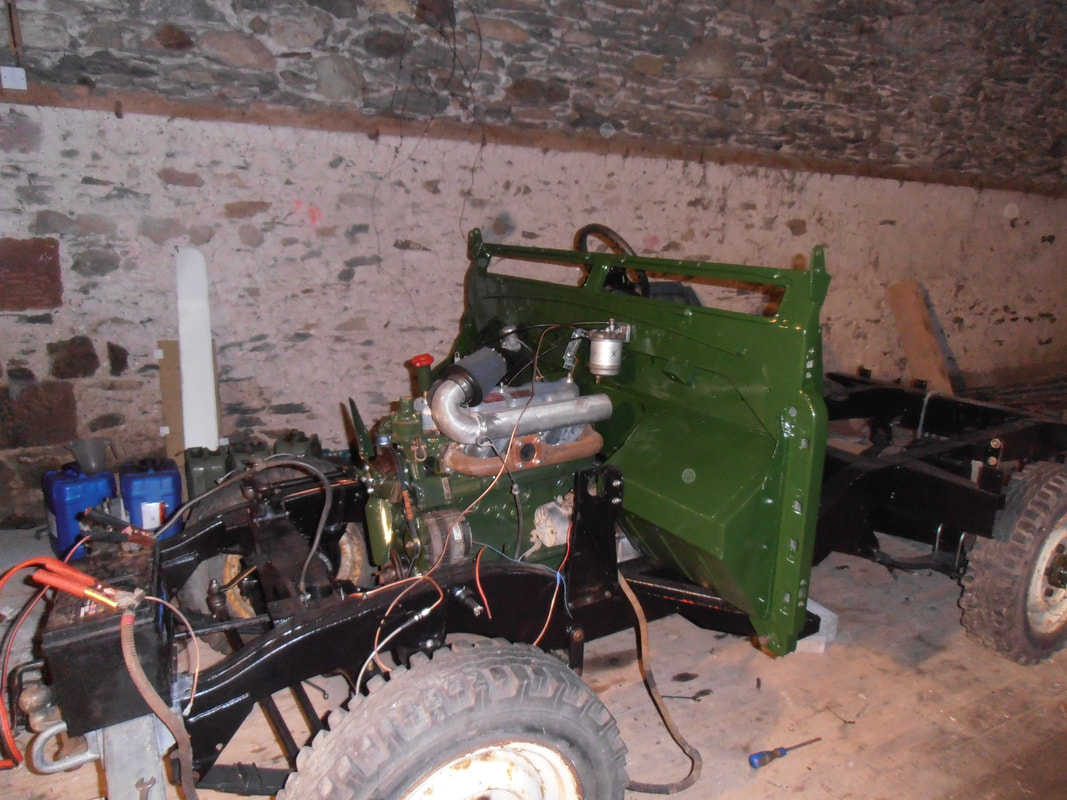
We got a different bulkhead as it needed rebuilding to fit a V8 Engine. The modified bulkhead was then sprayed and carpeted on the inside, before fitting all the restored components and the wrapped wiring loom.


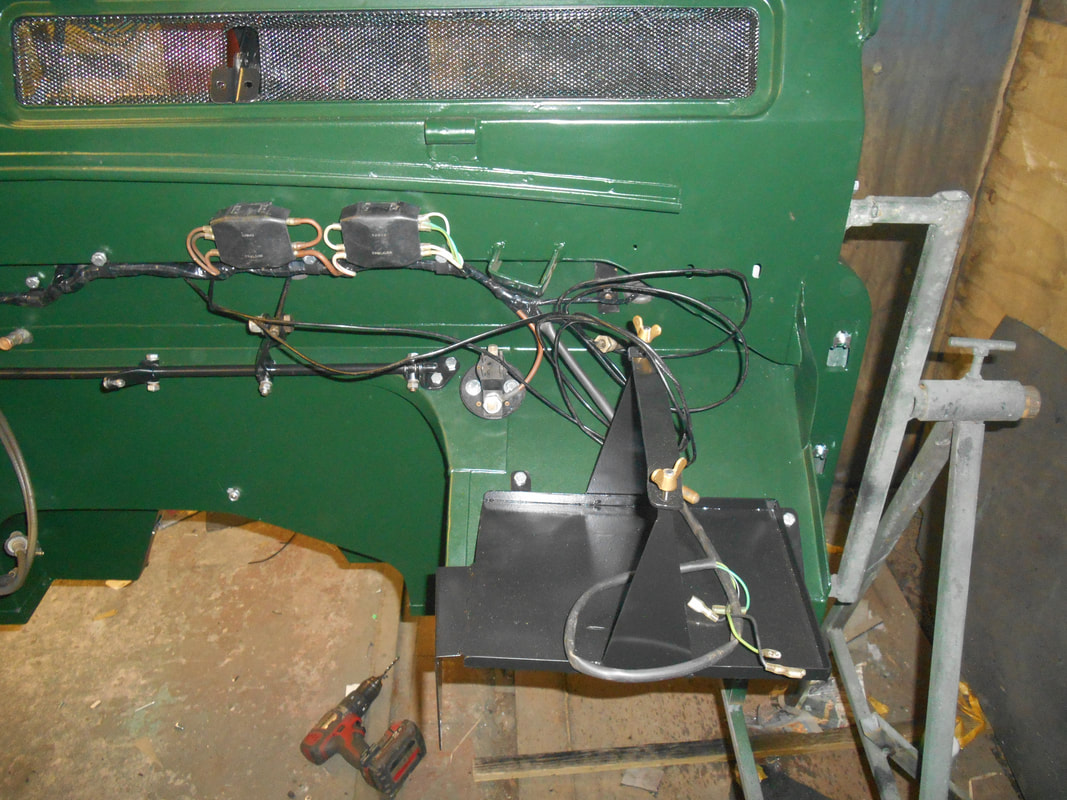
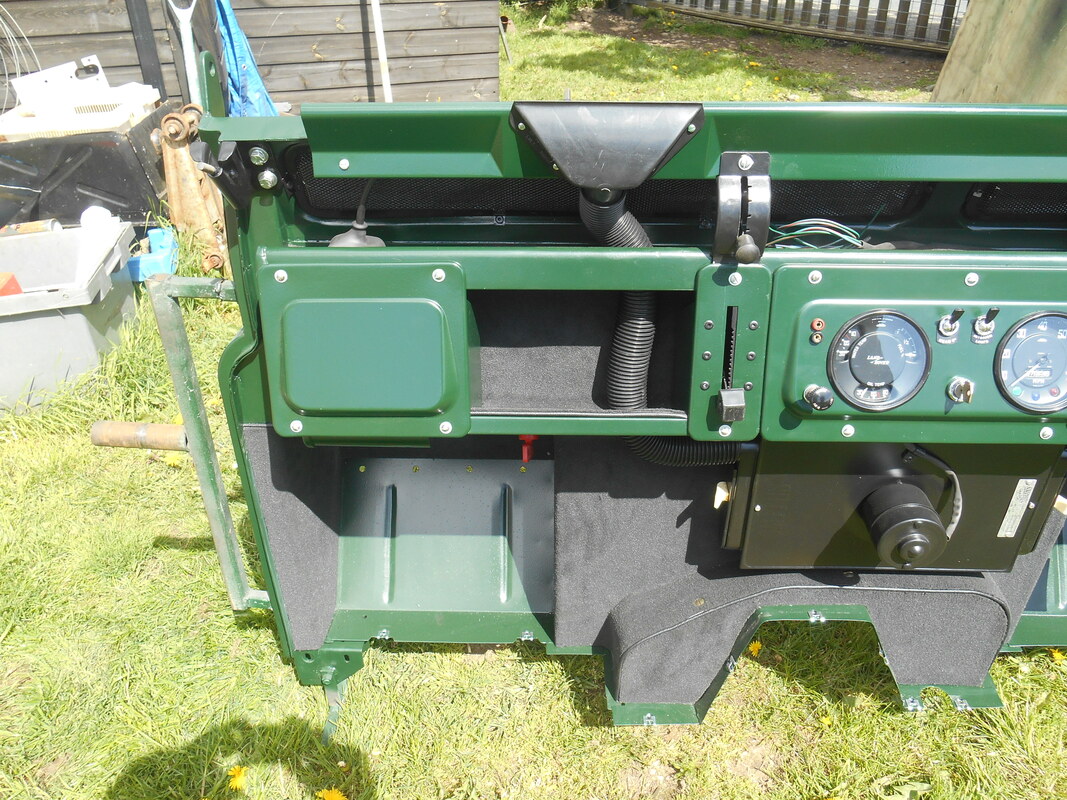
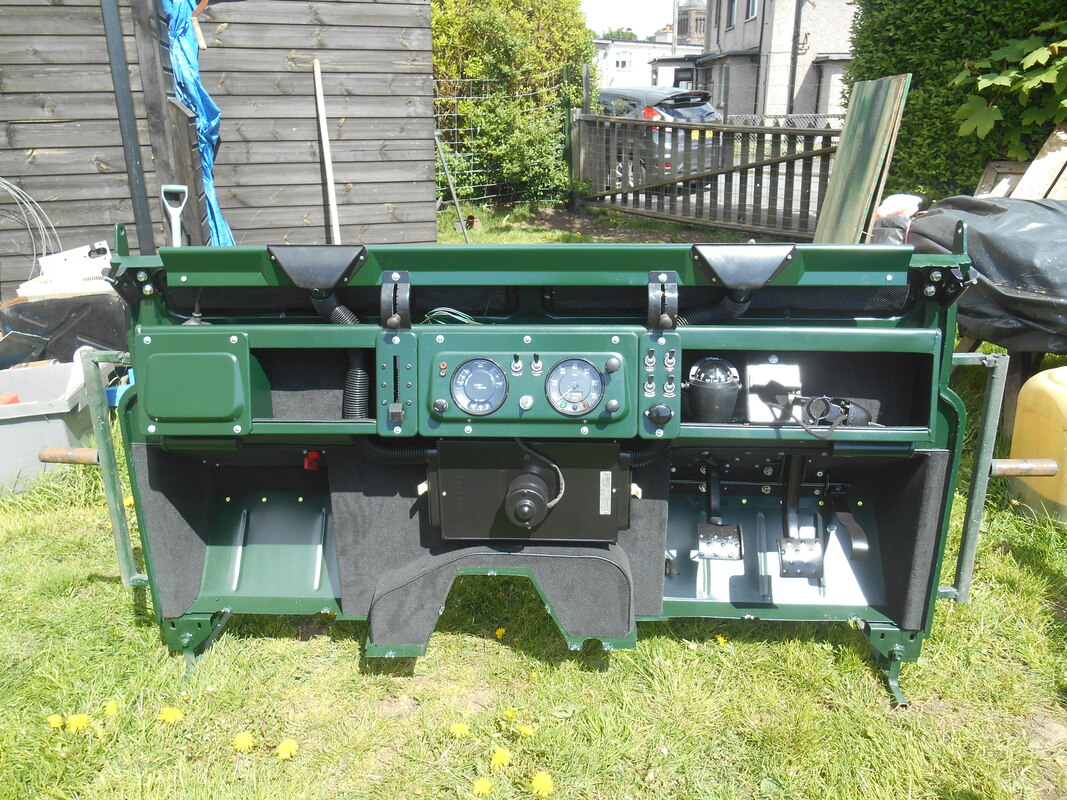
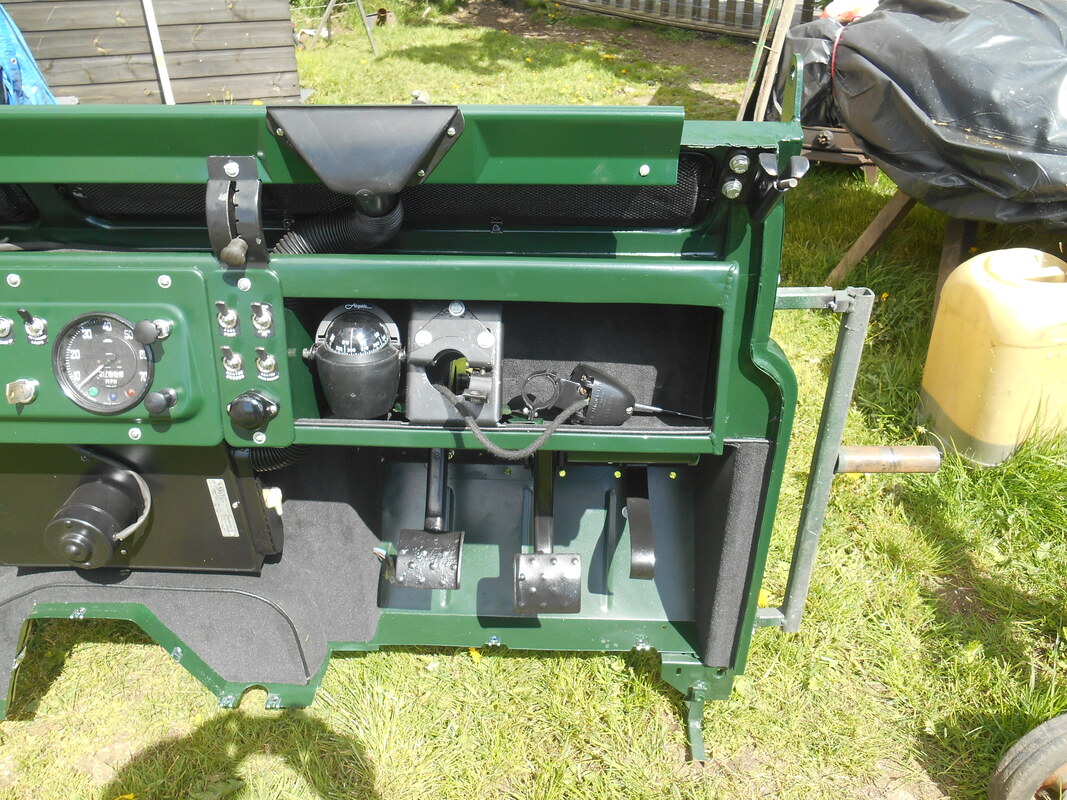
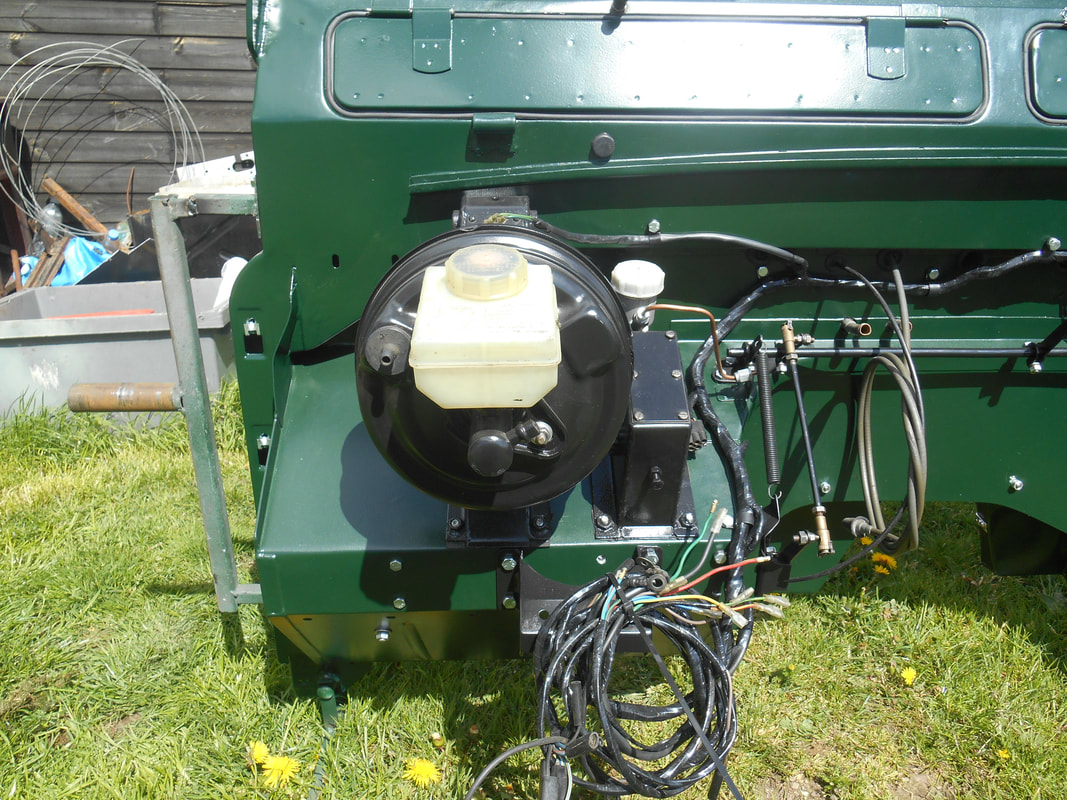
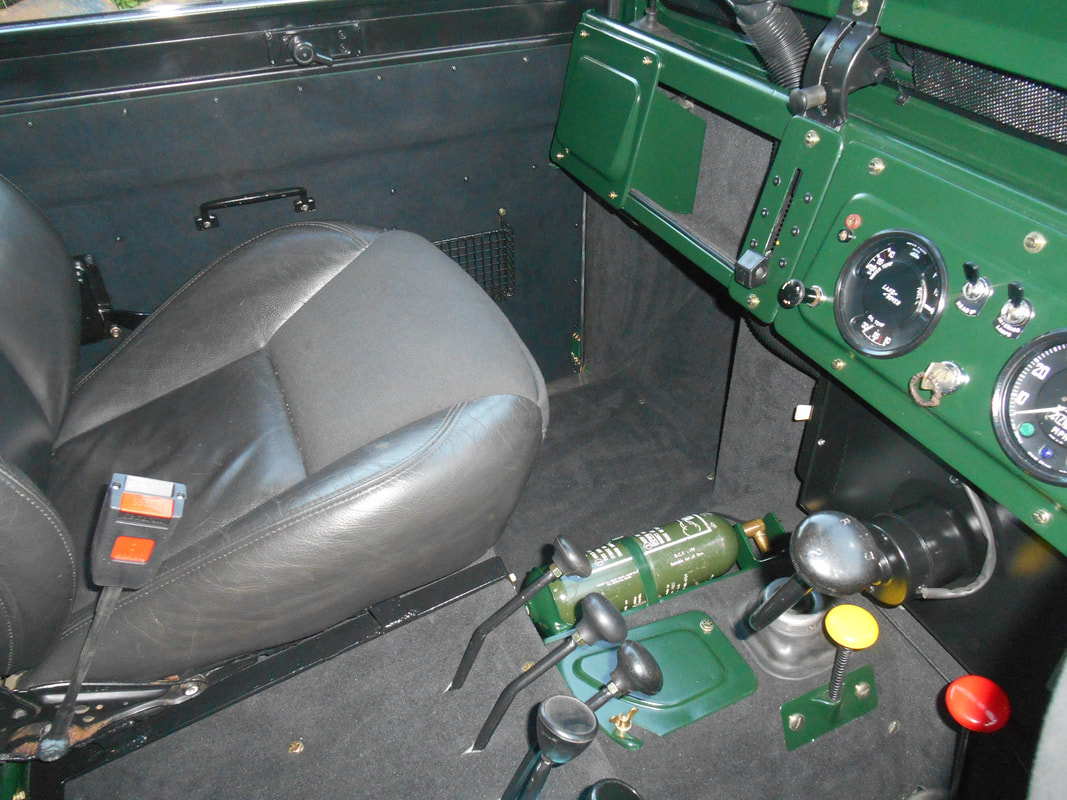
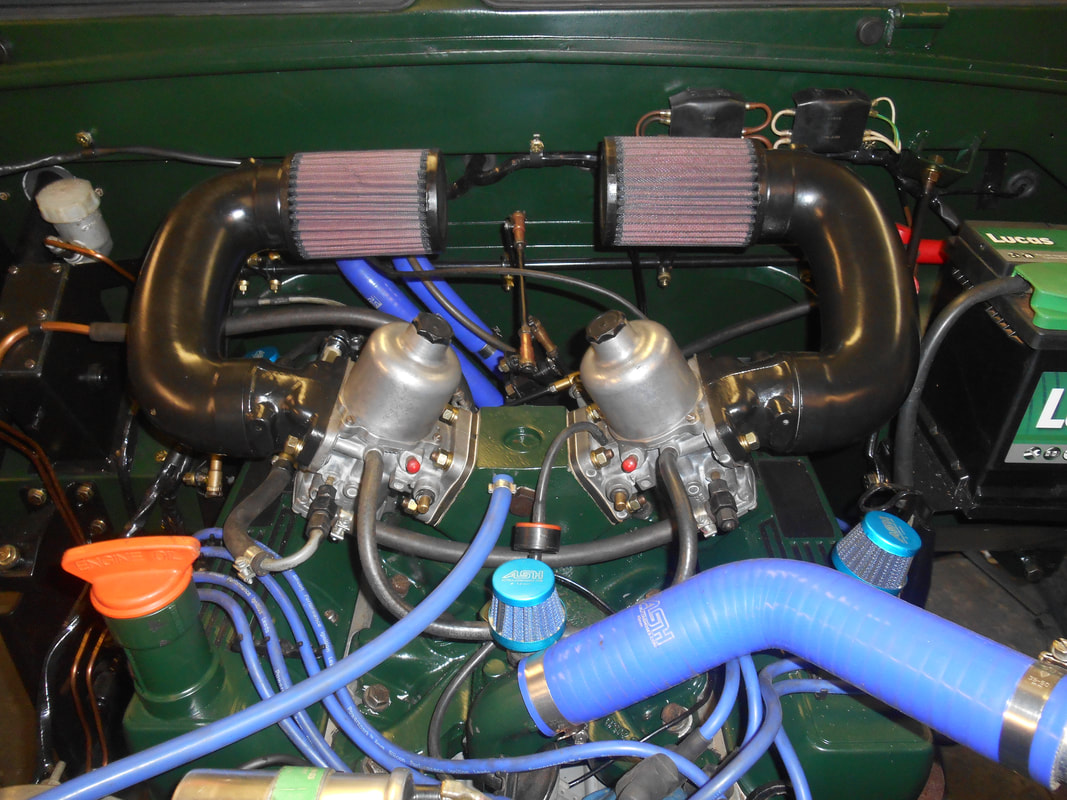
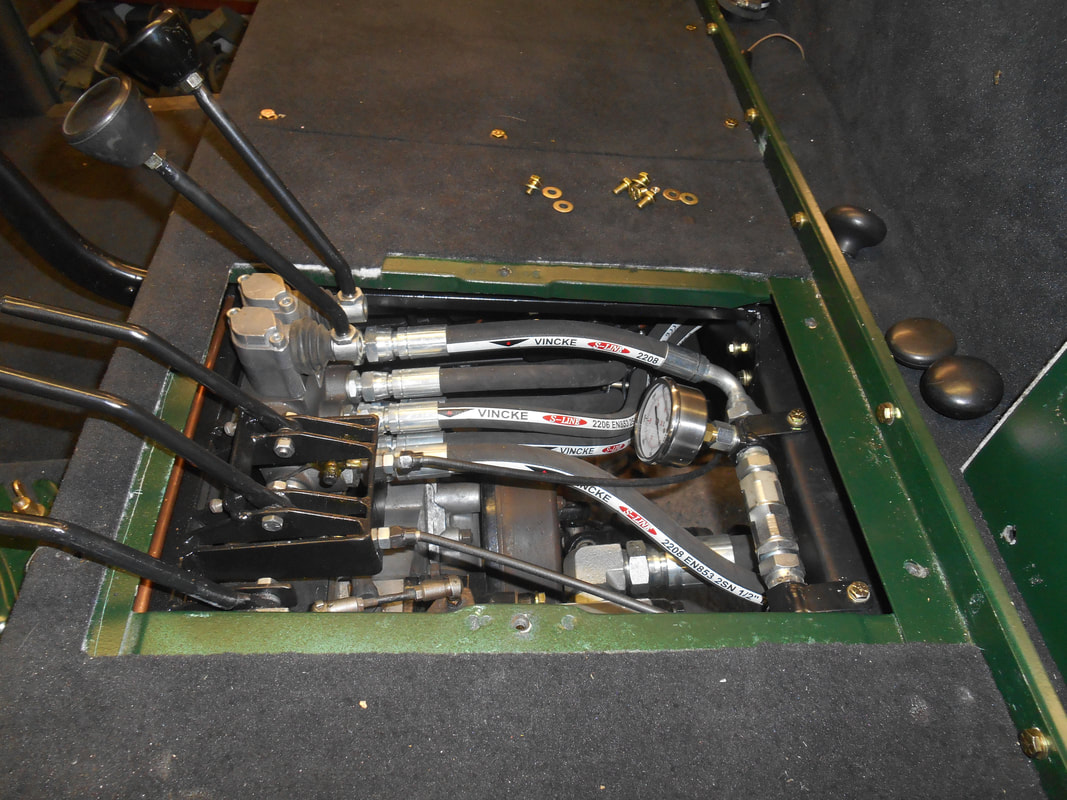
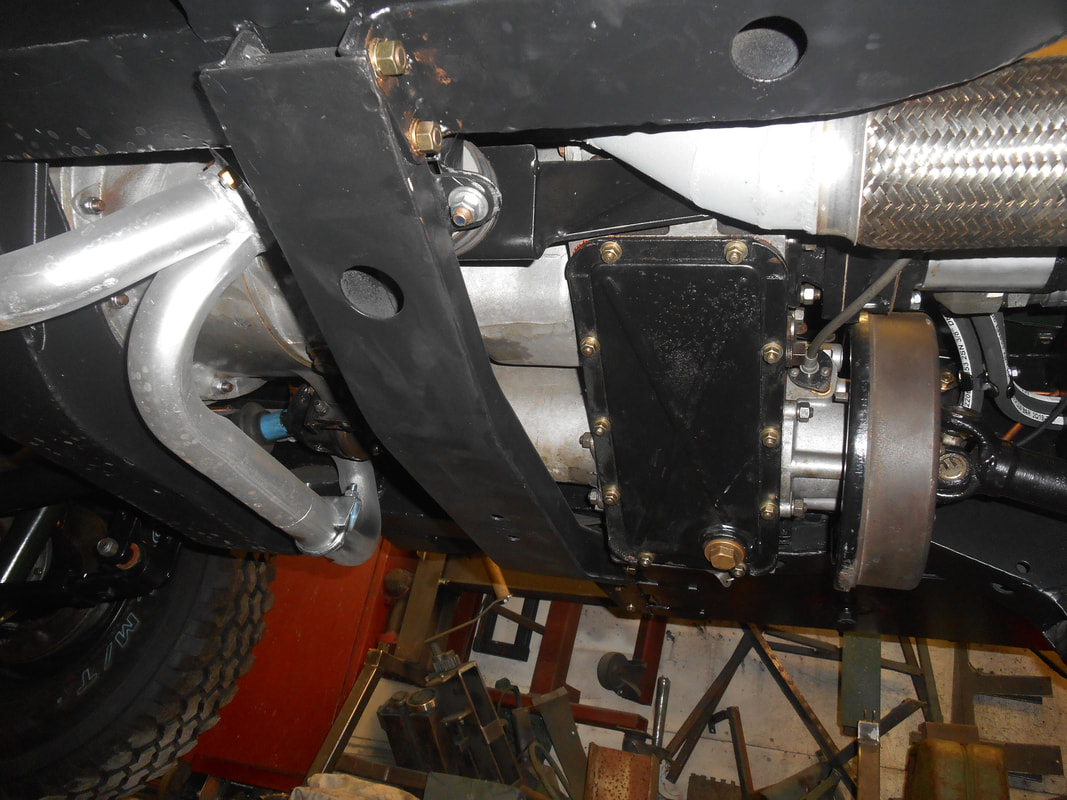
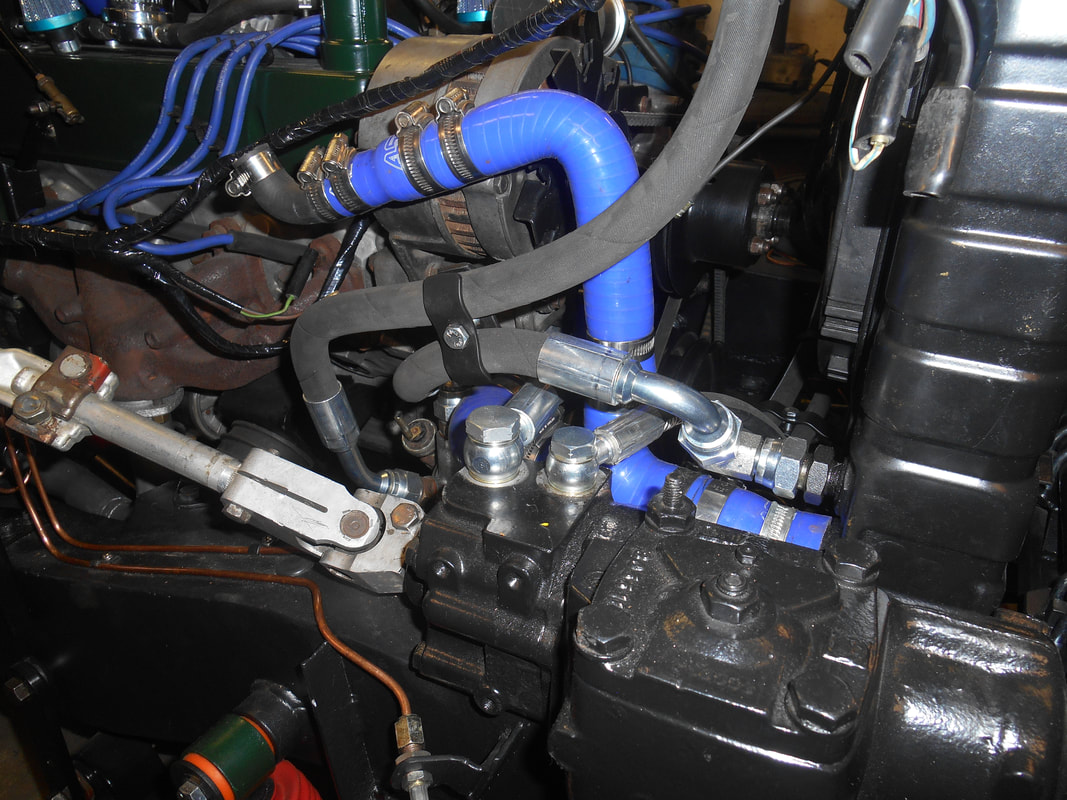
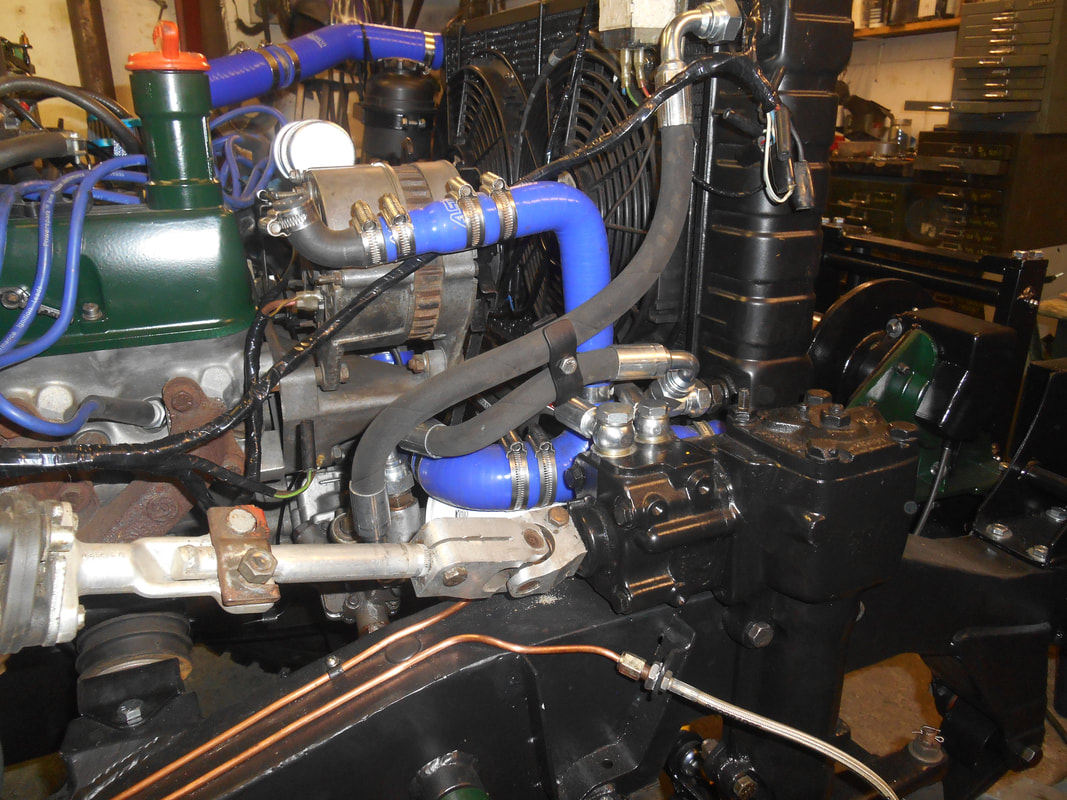
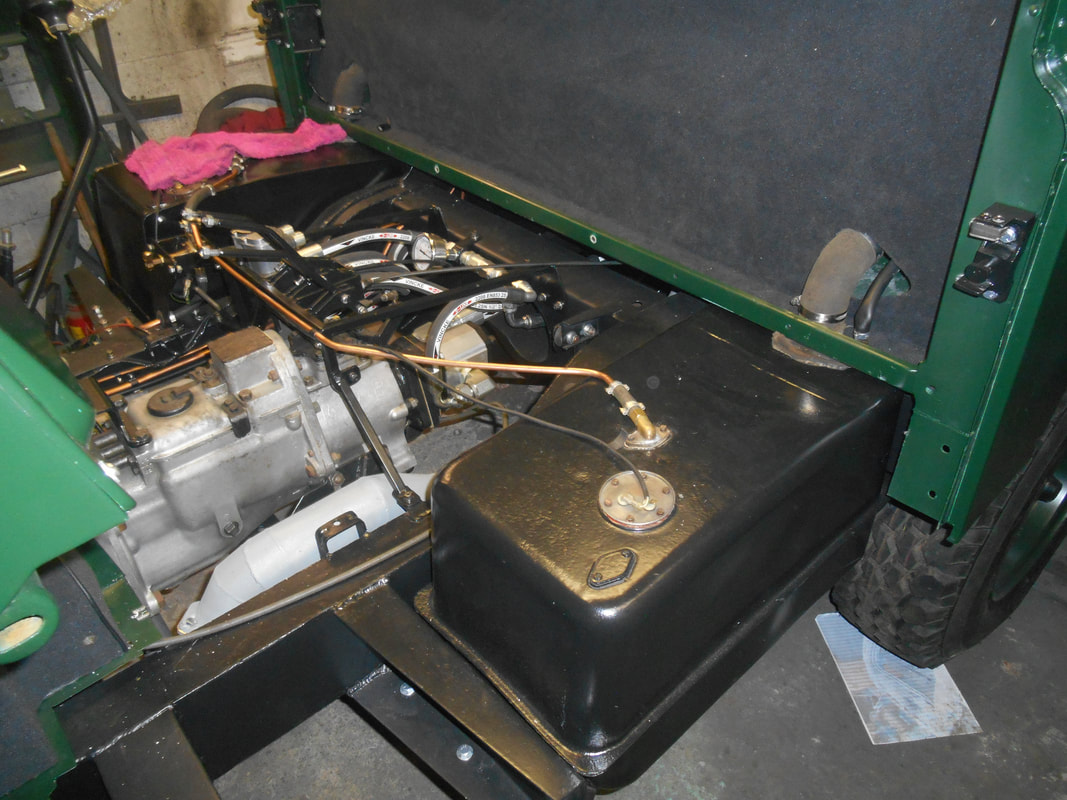
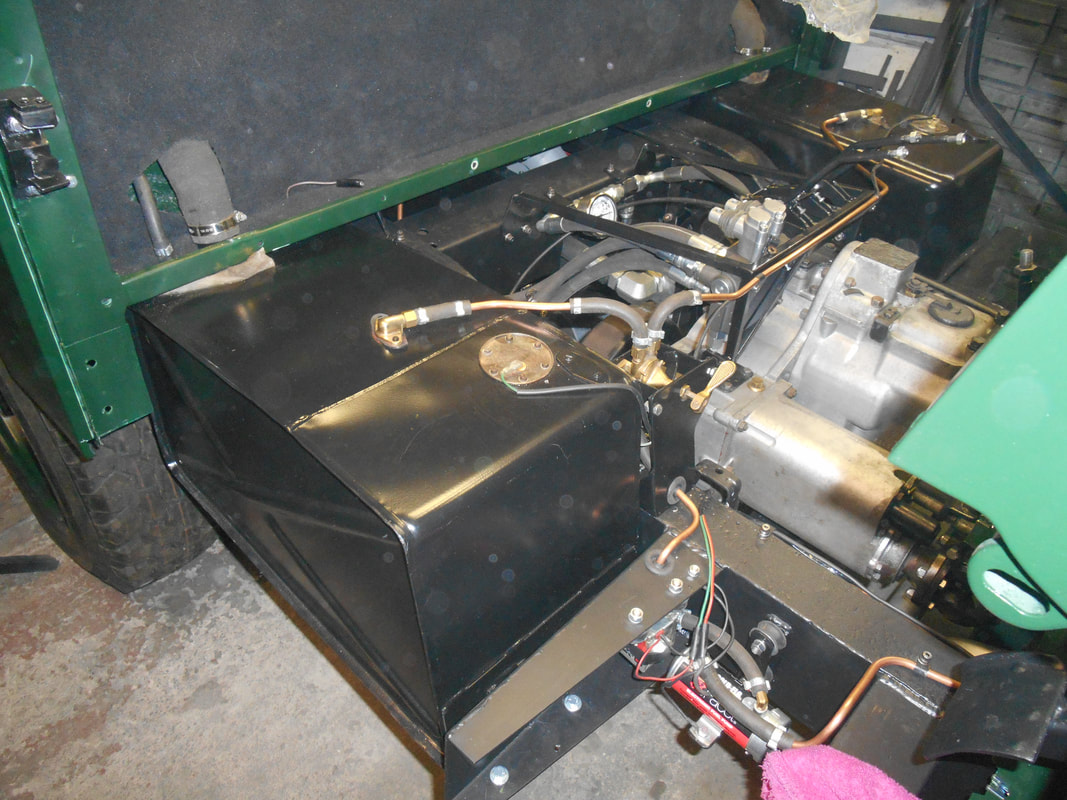
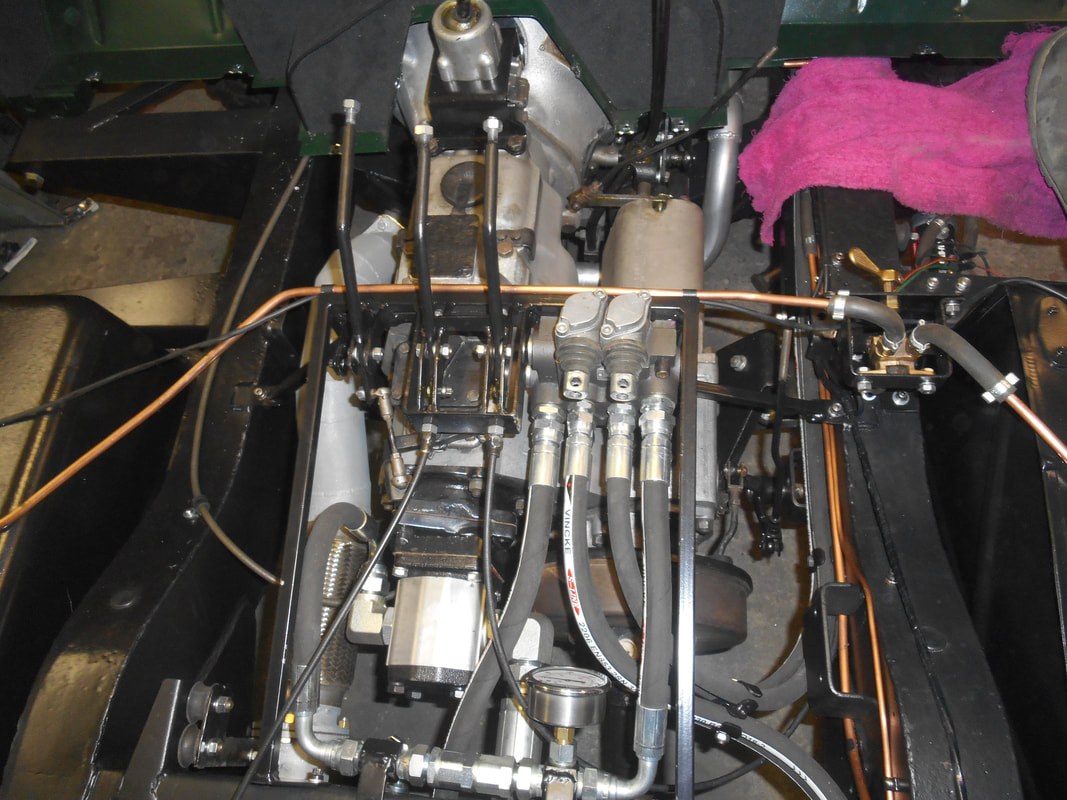
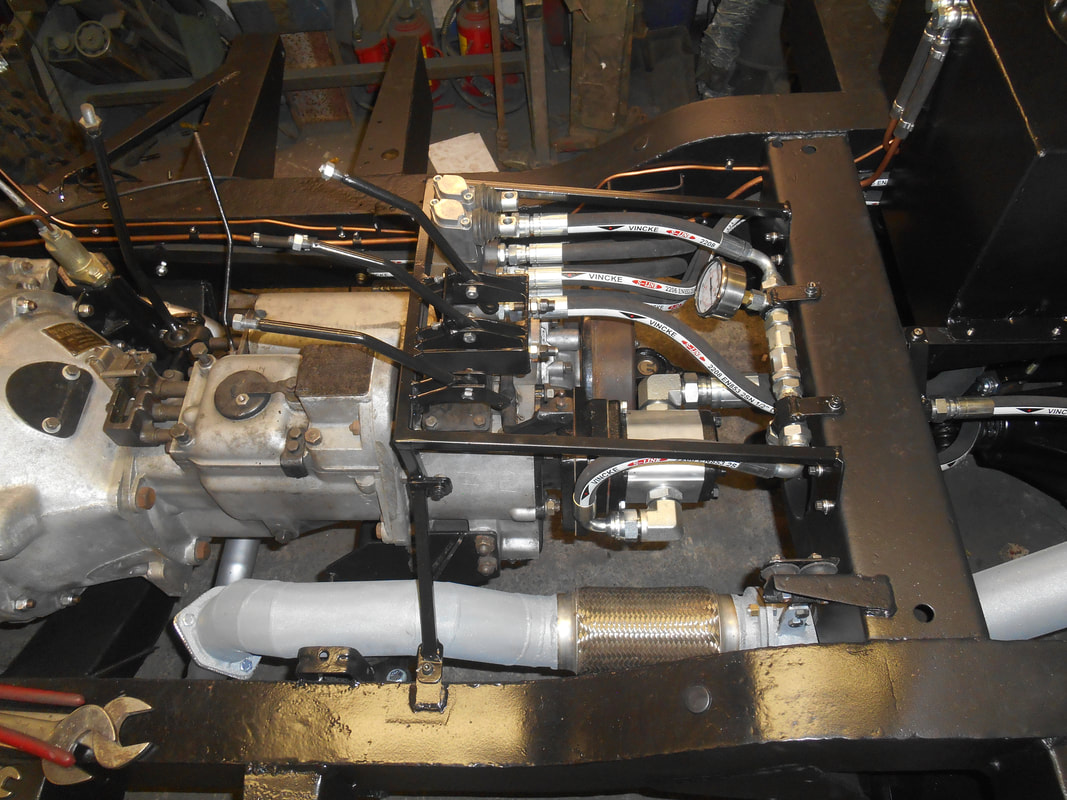
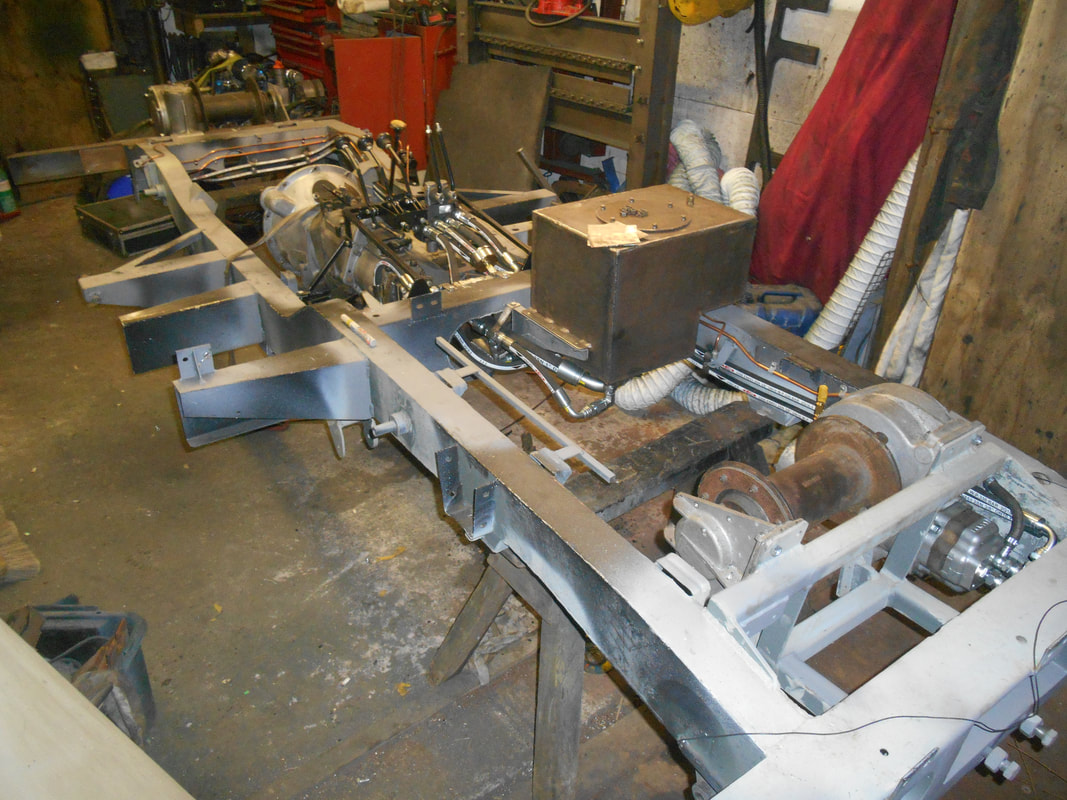
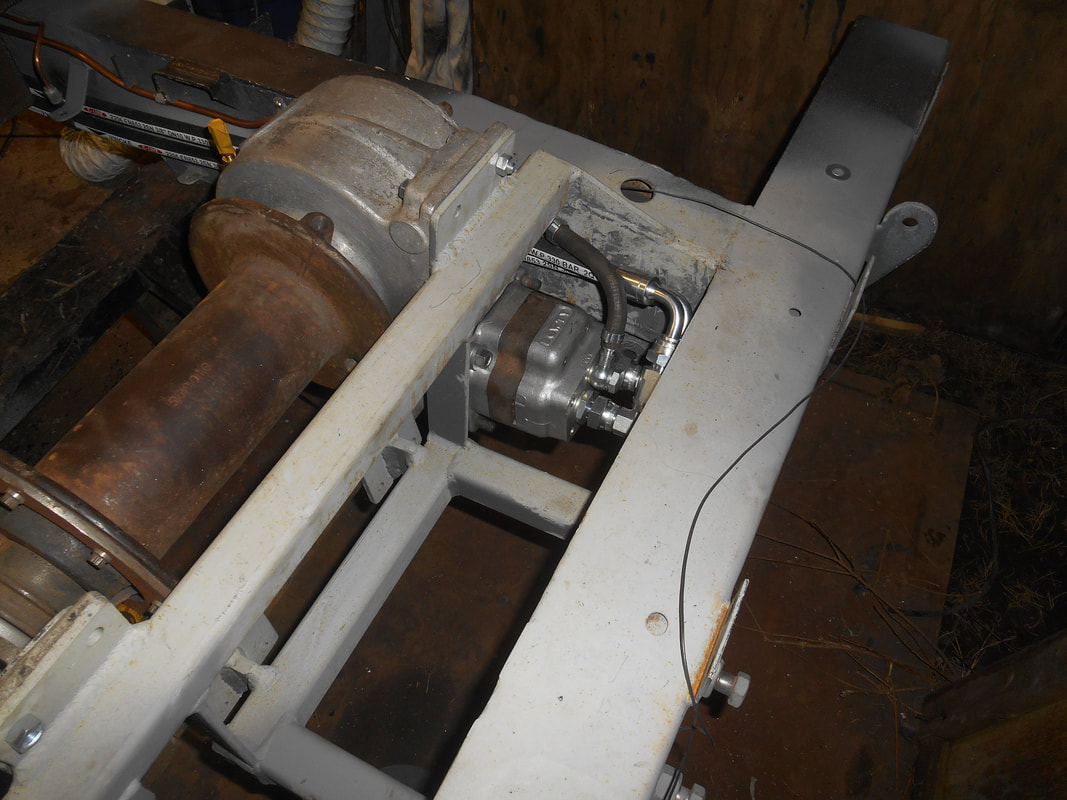
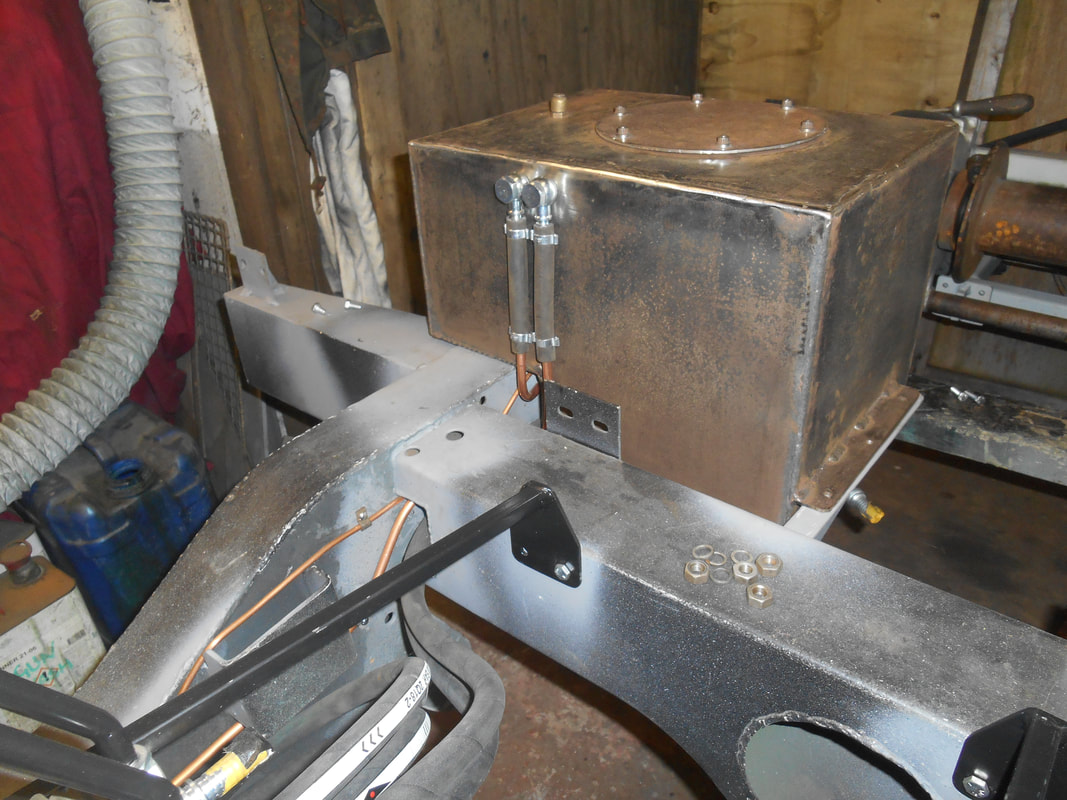
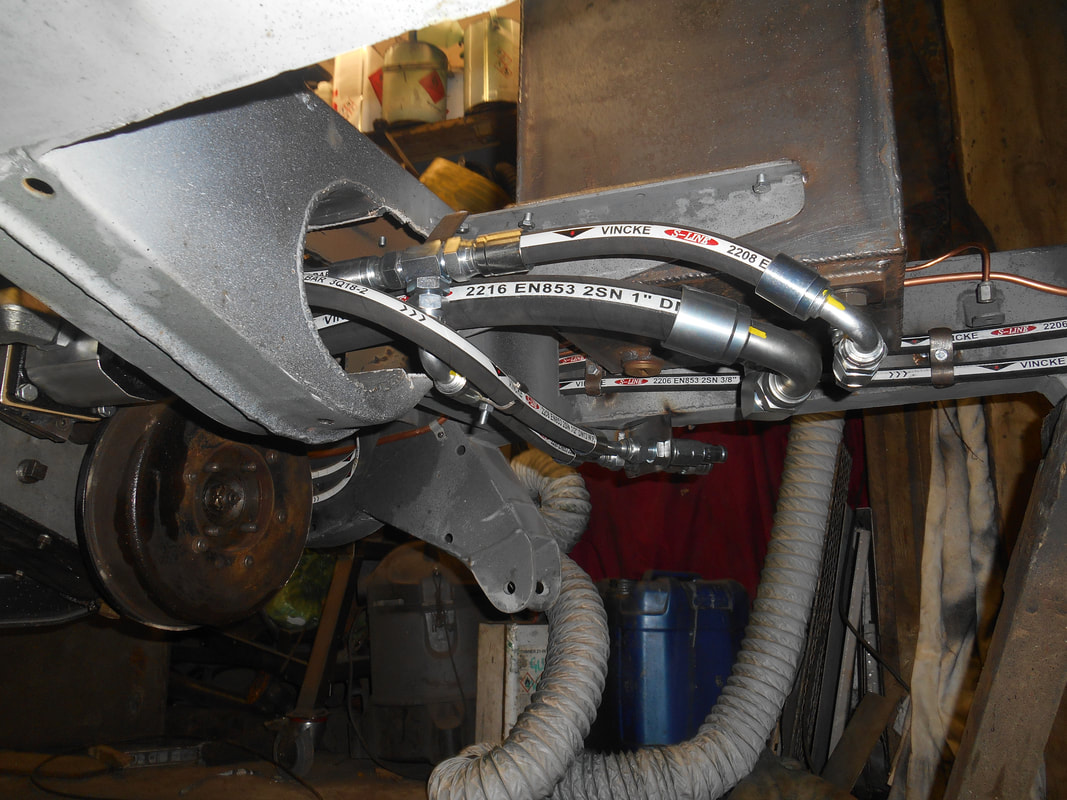
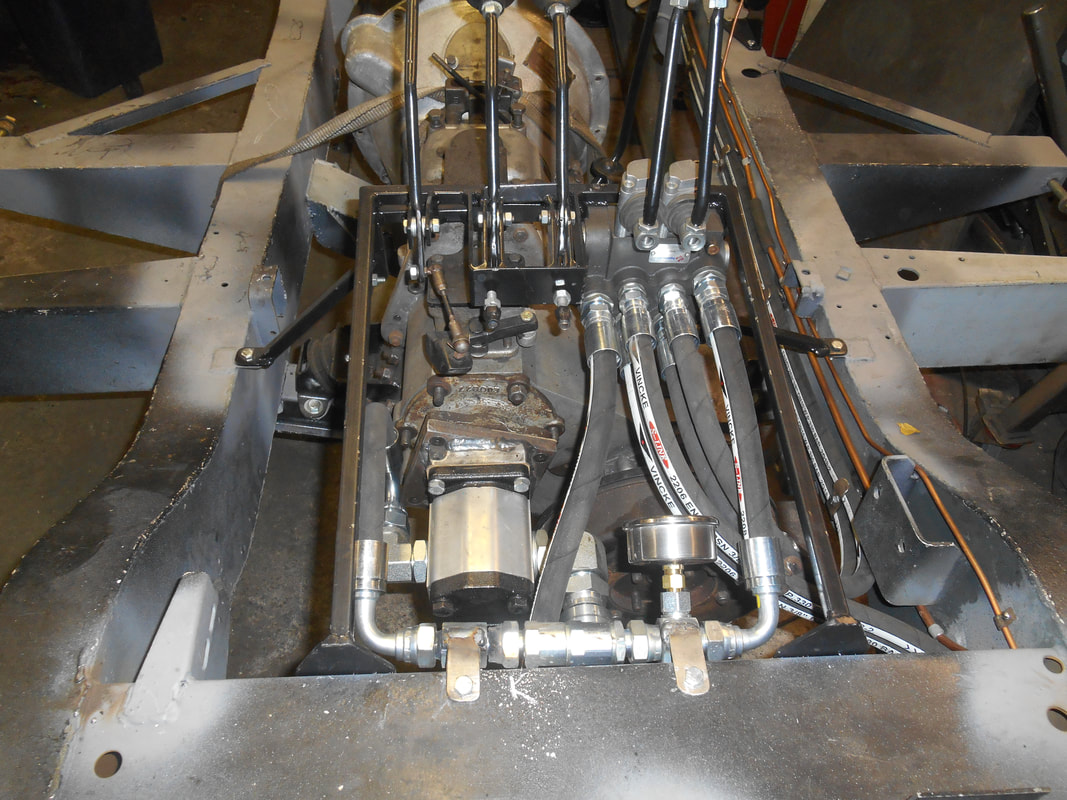
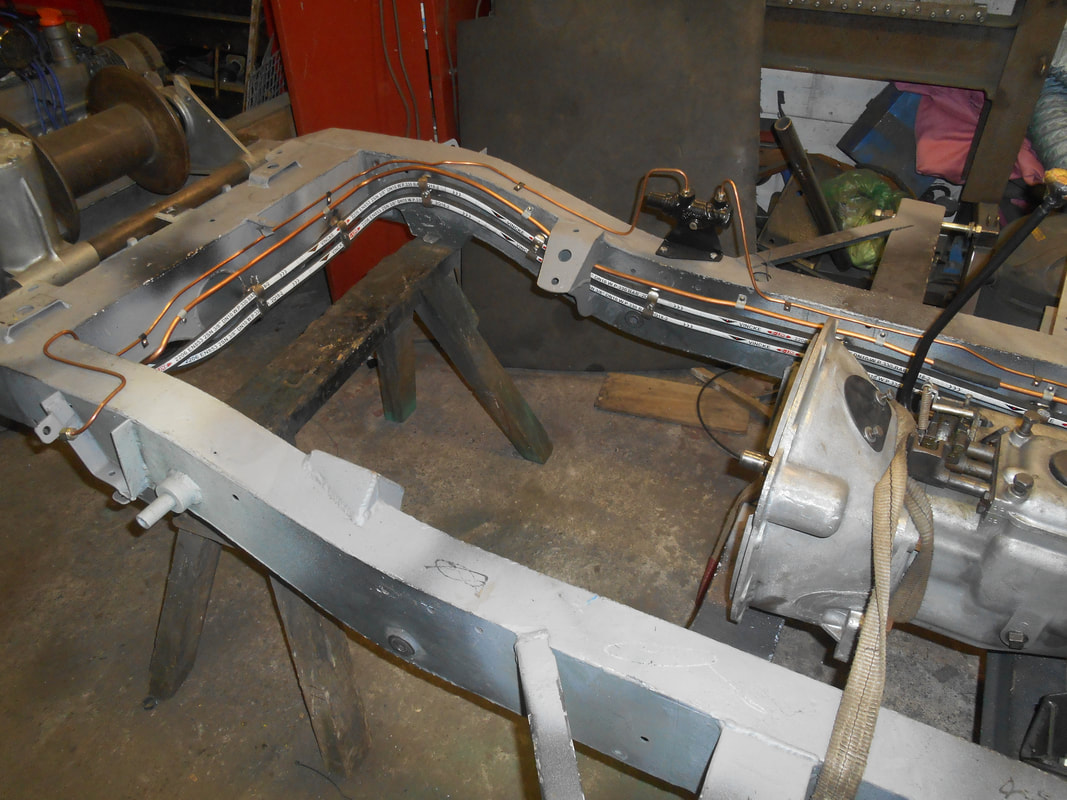
The hydraulic system was a challenge and took some time. Pipes had to be put in (as well as clamps to hold them in place were made), a tank had to be fabricated and levers for the free spools on the winches had to be made and fitted. An adaptor plate was made to fit a modern hydraulic pump to the Land Rover Series adaptor.
Everything had to be test fitted to ensure it fits and then taken off again to make required alterations.
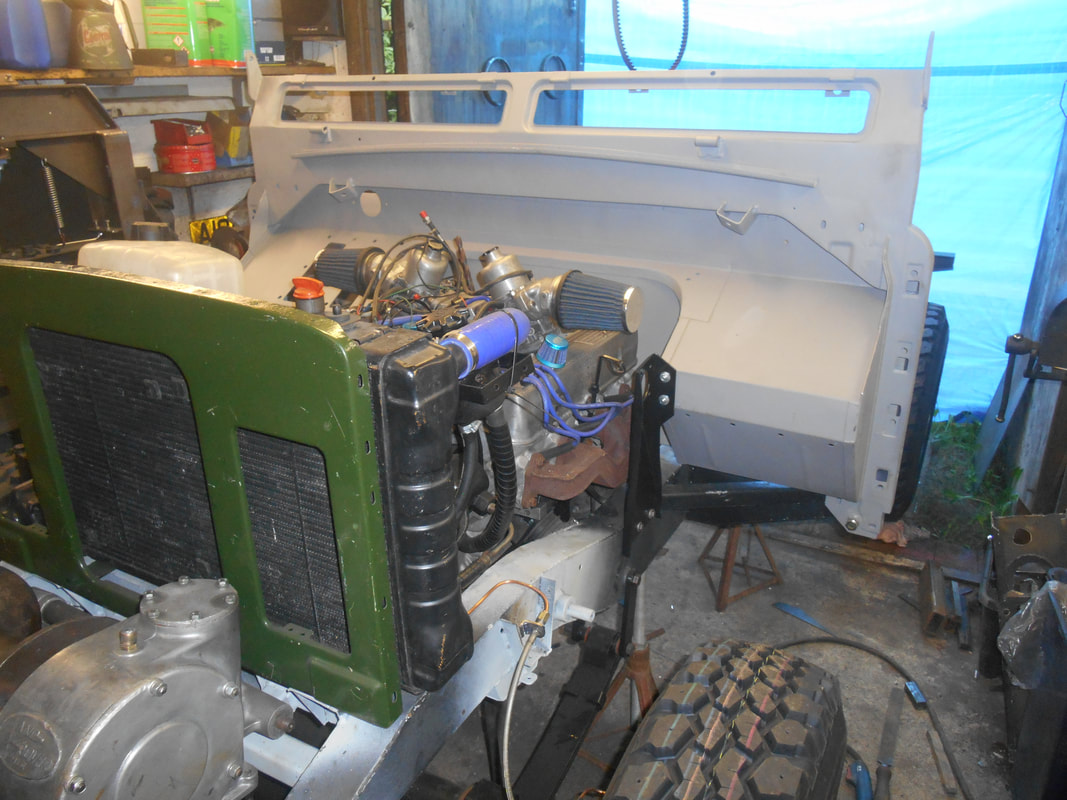
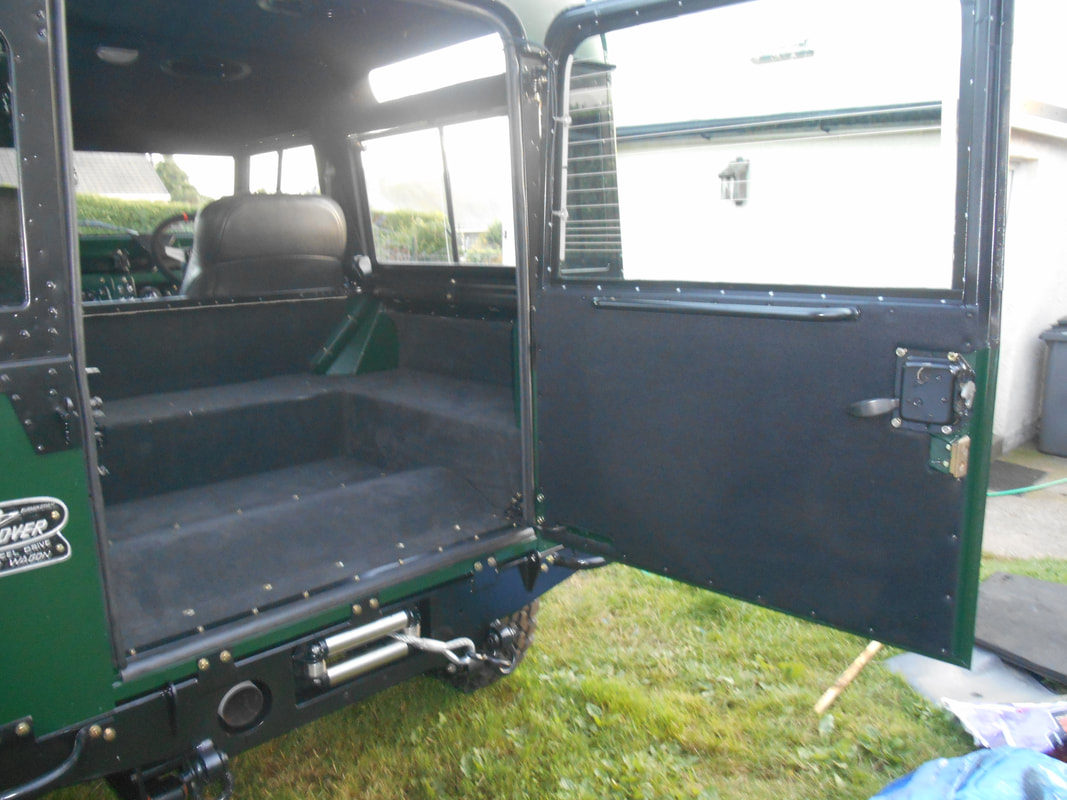
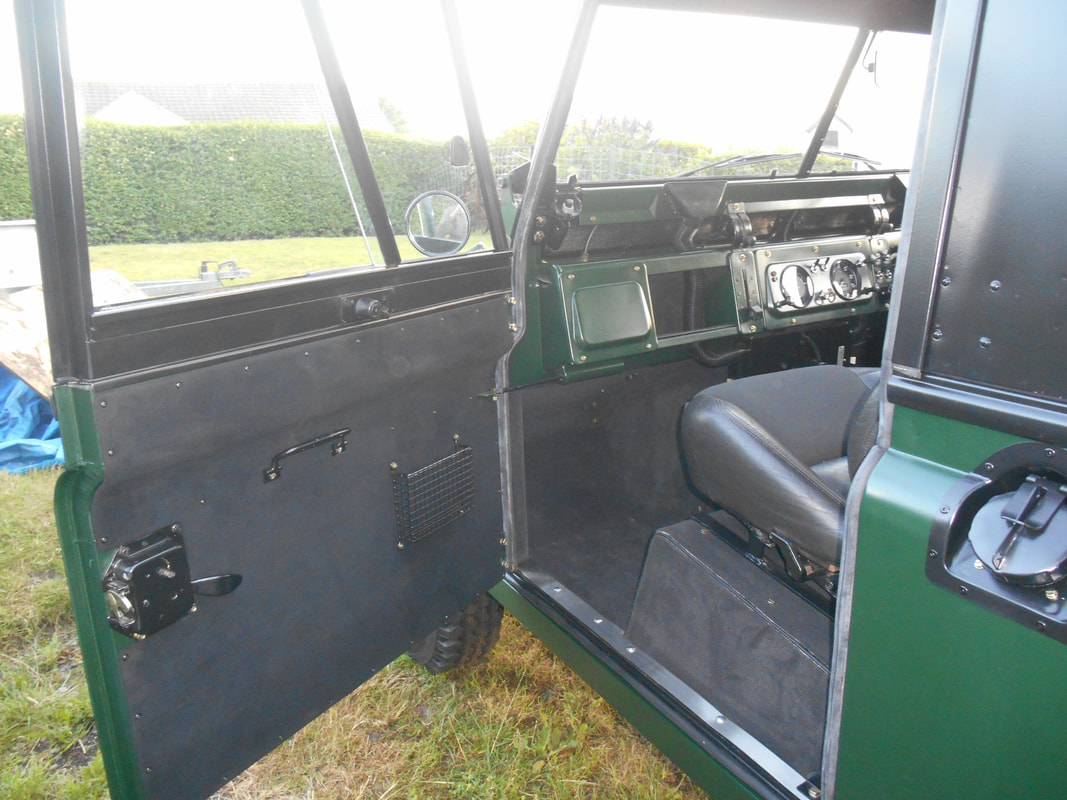
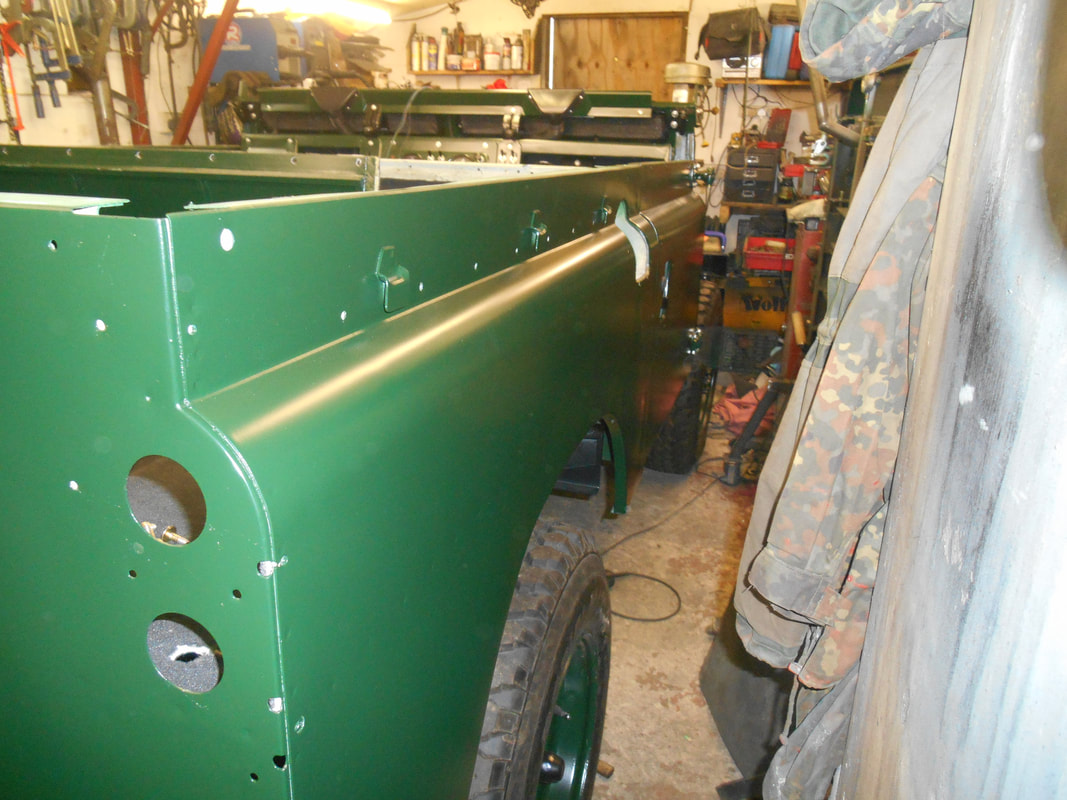
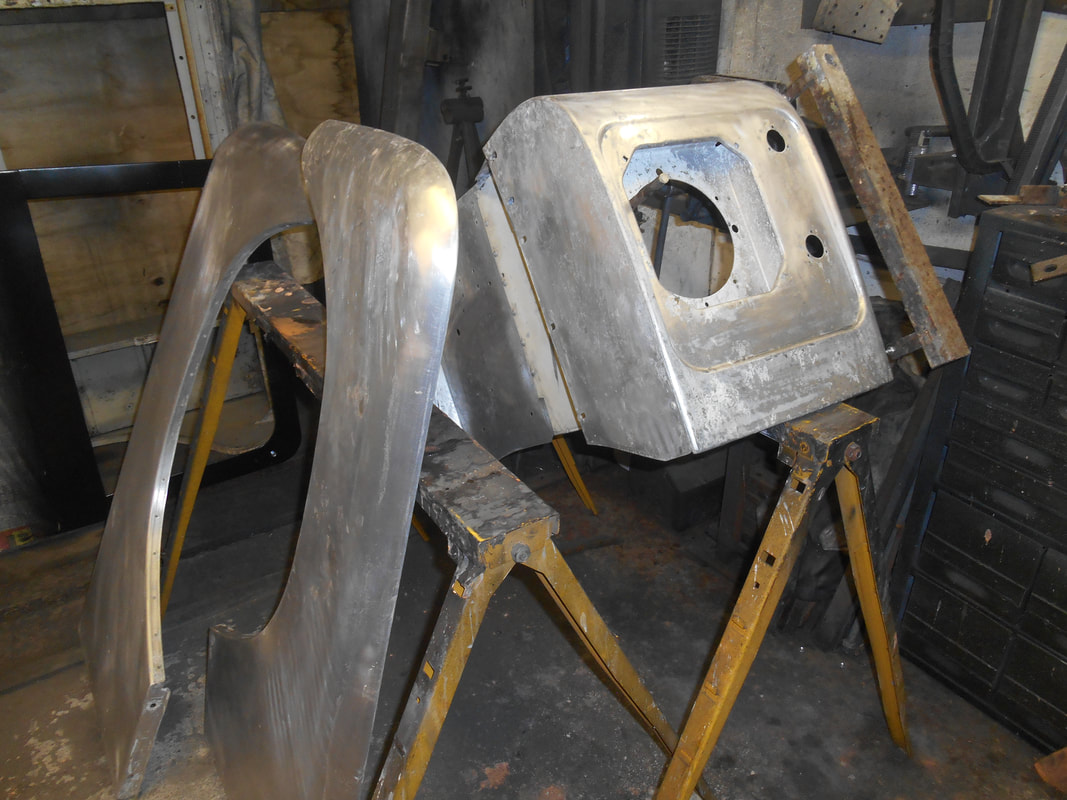
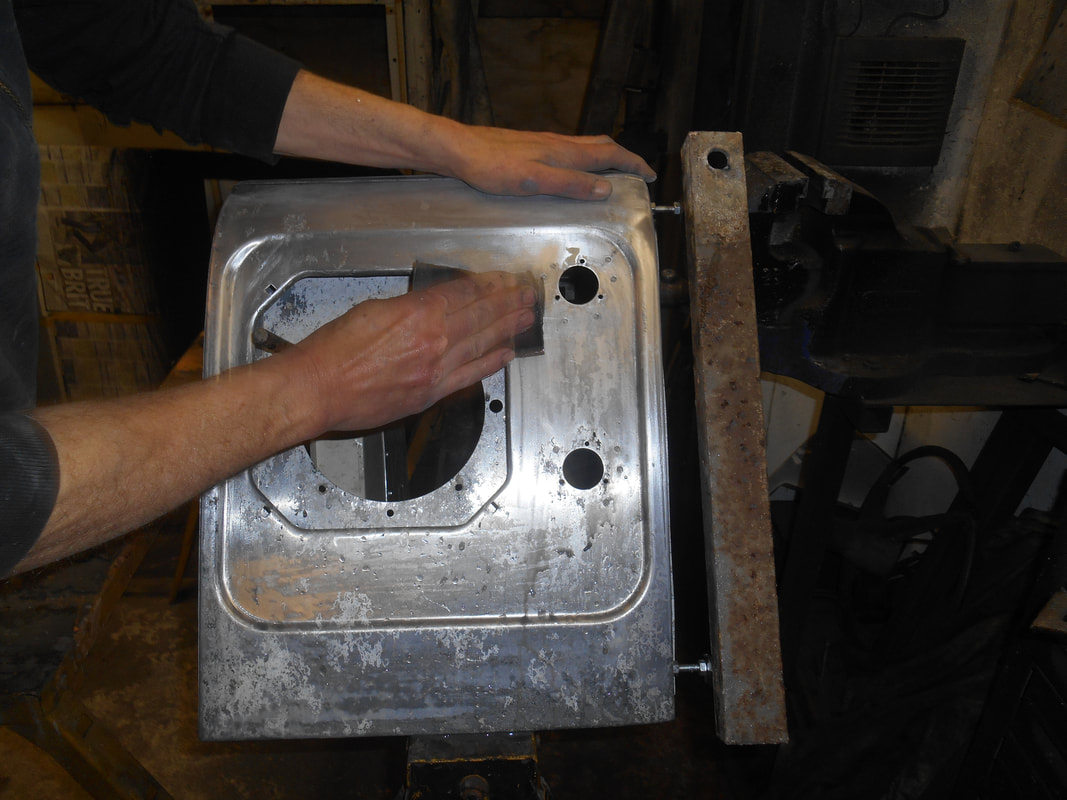
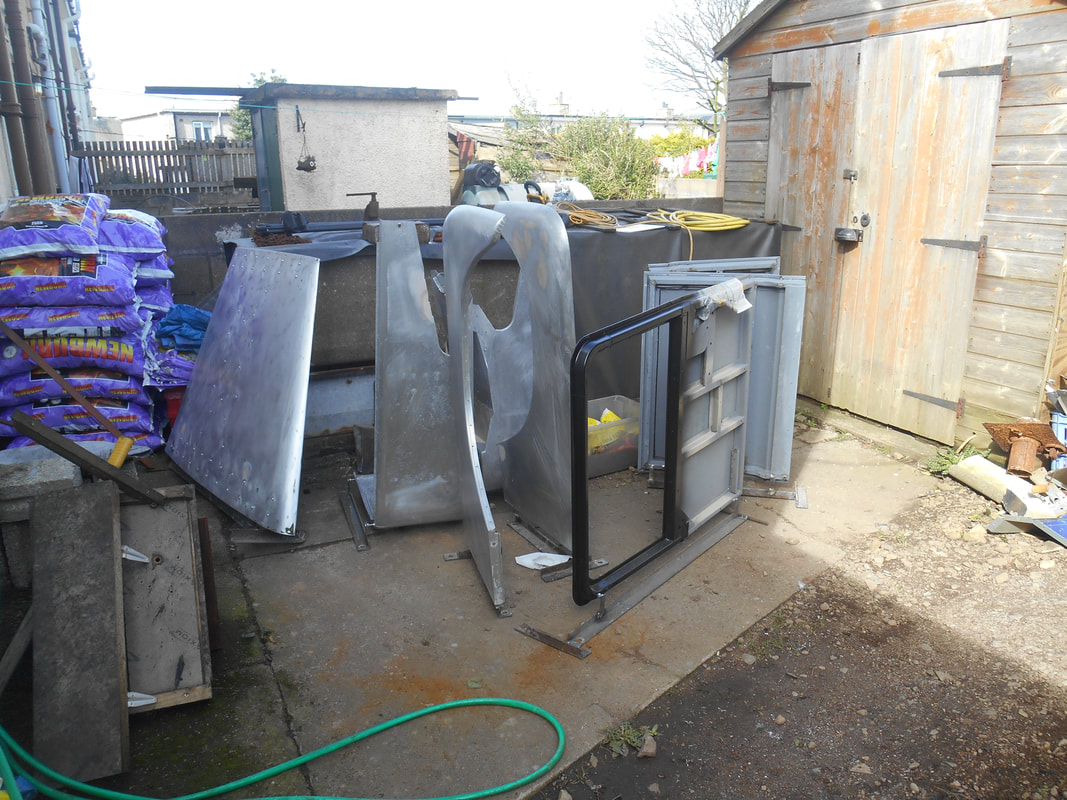
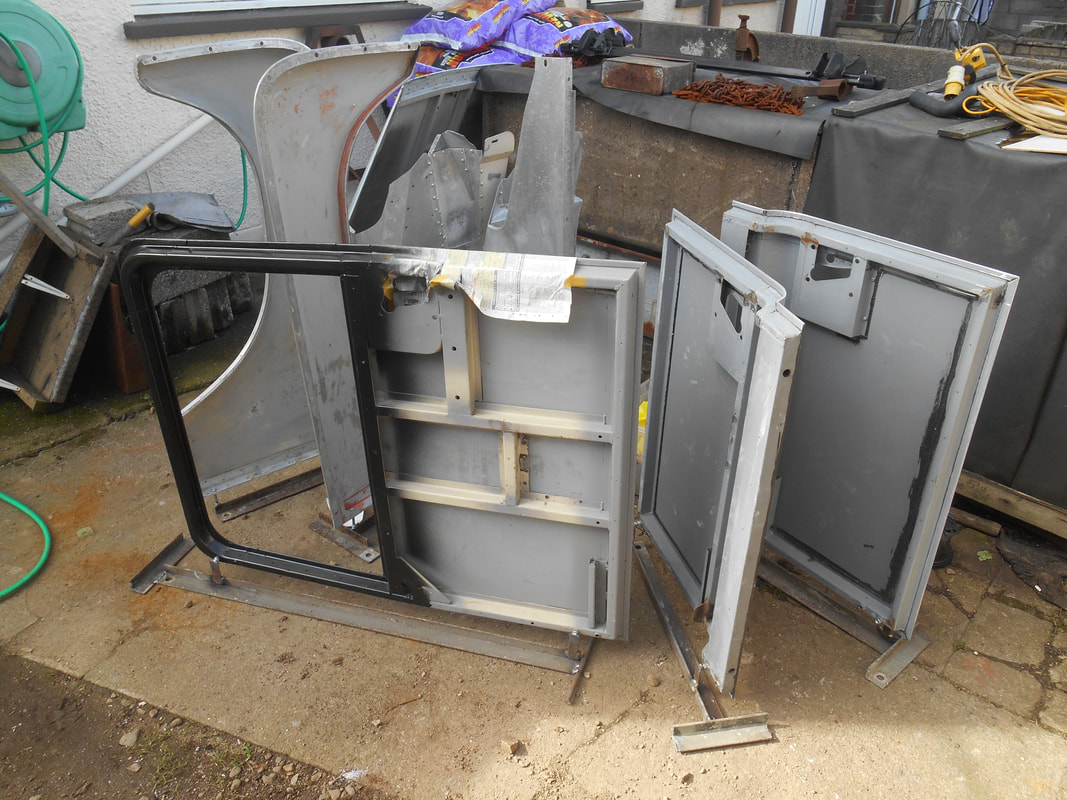
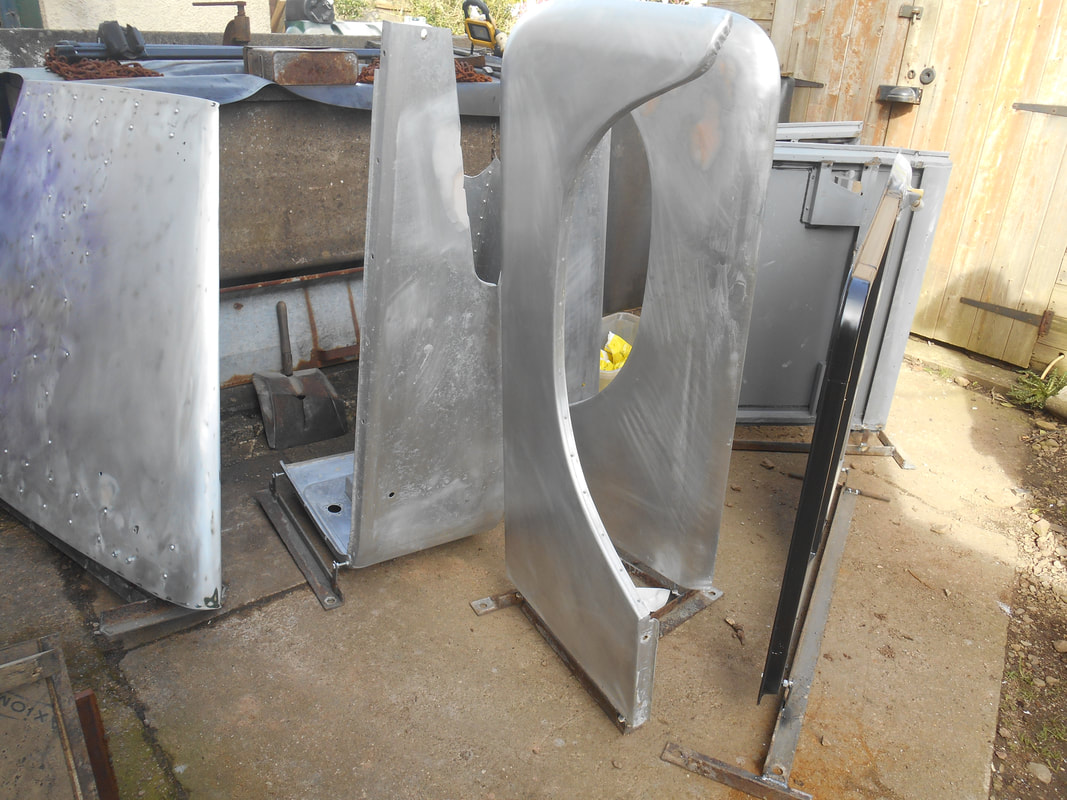
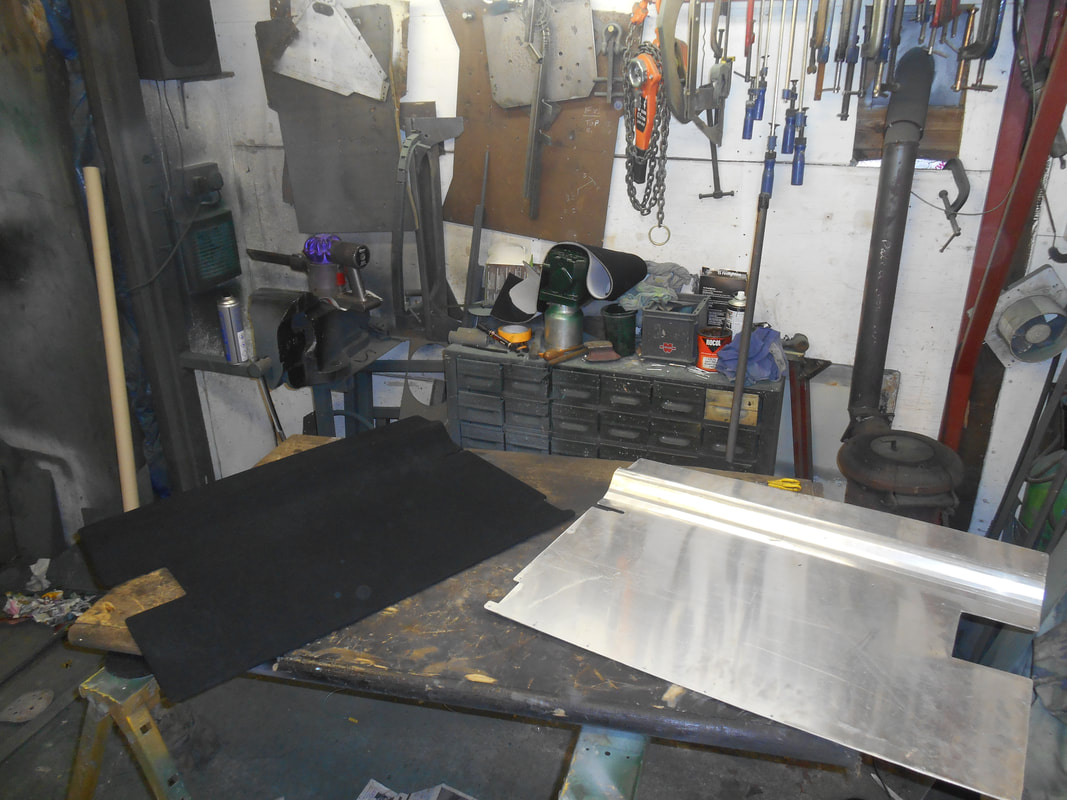
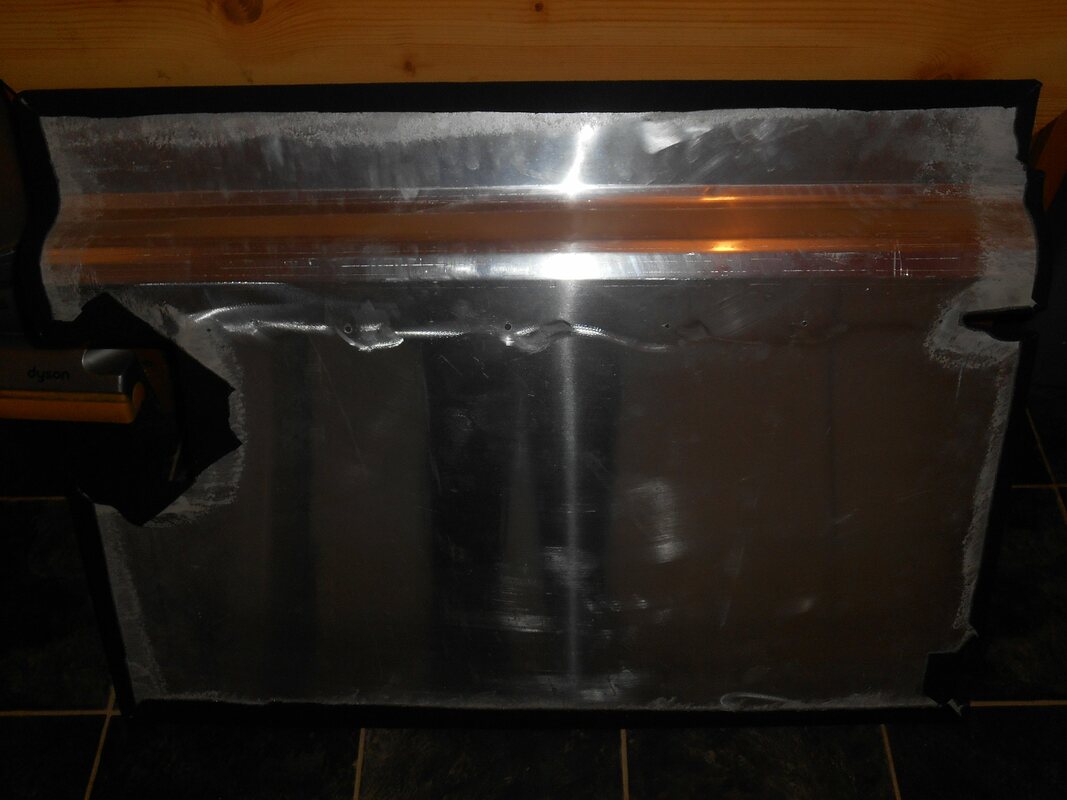
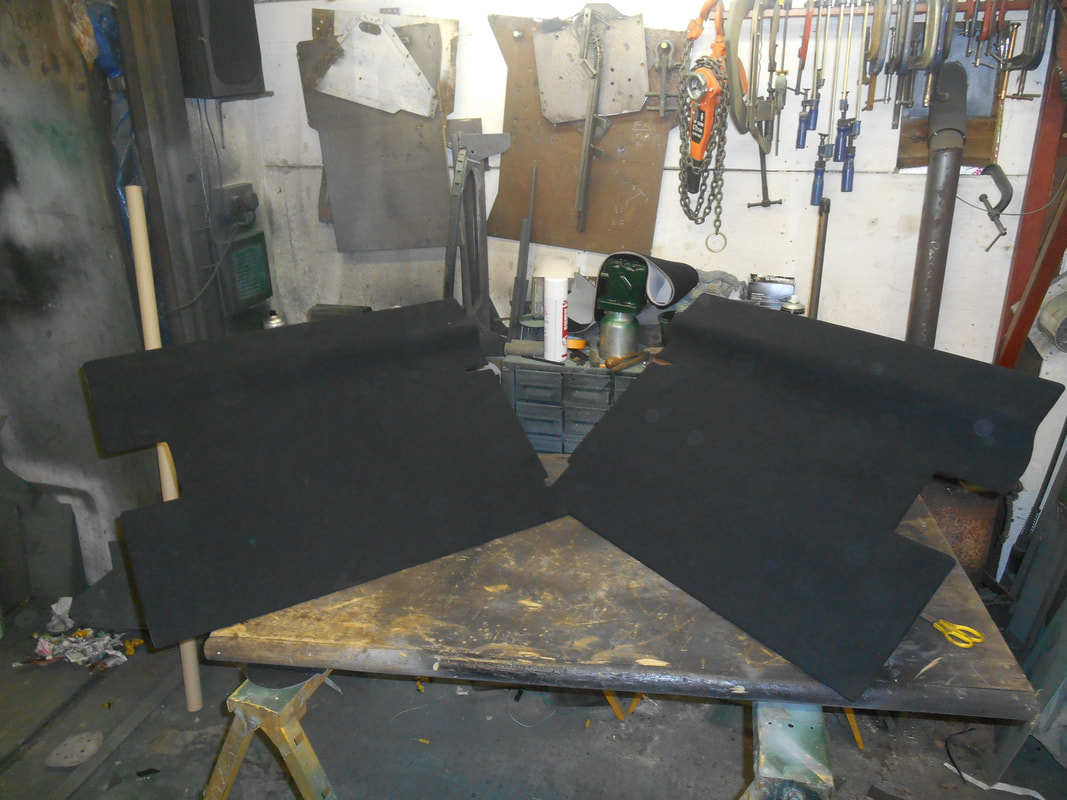
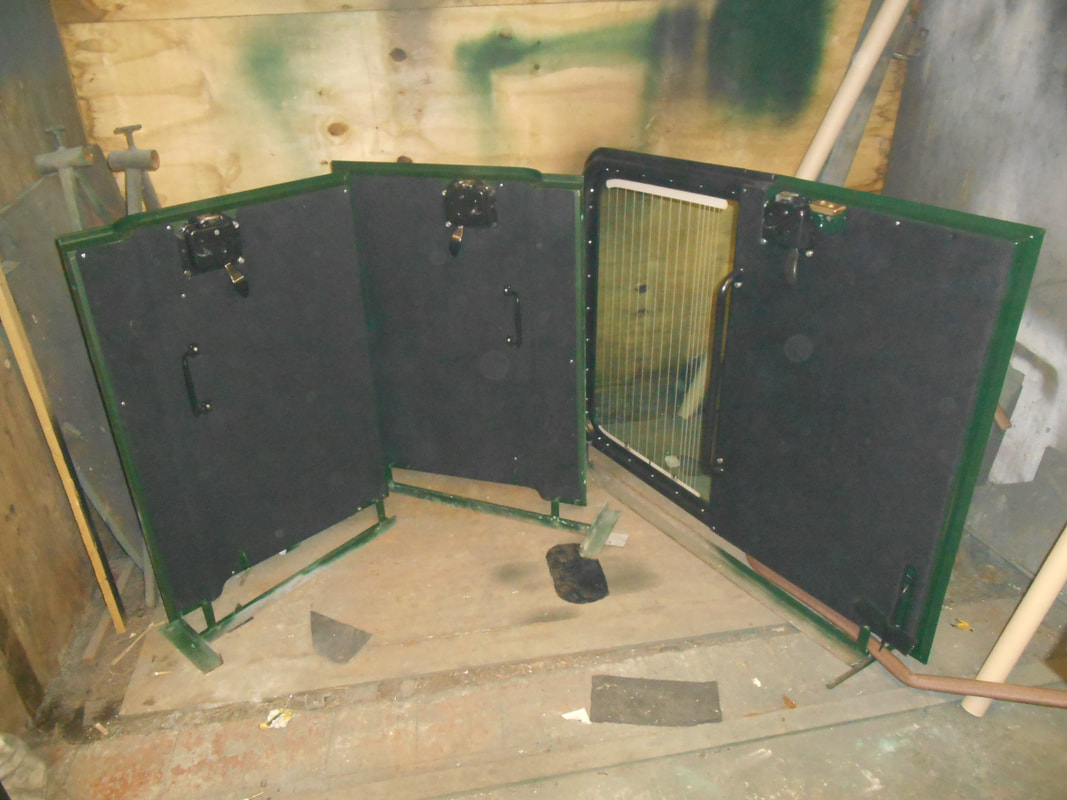
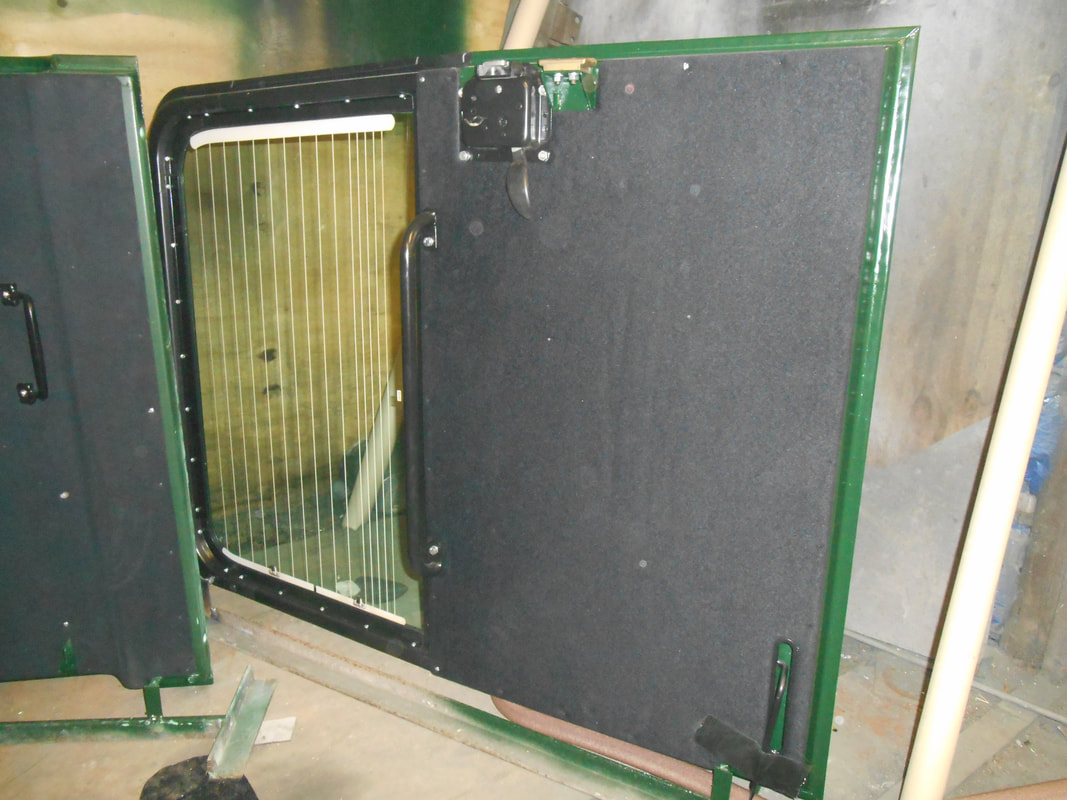
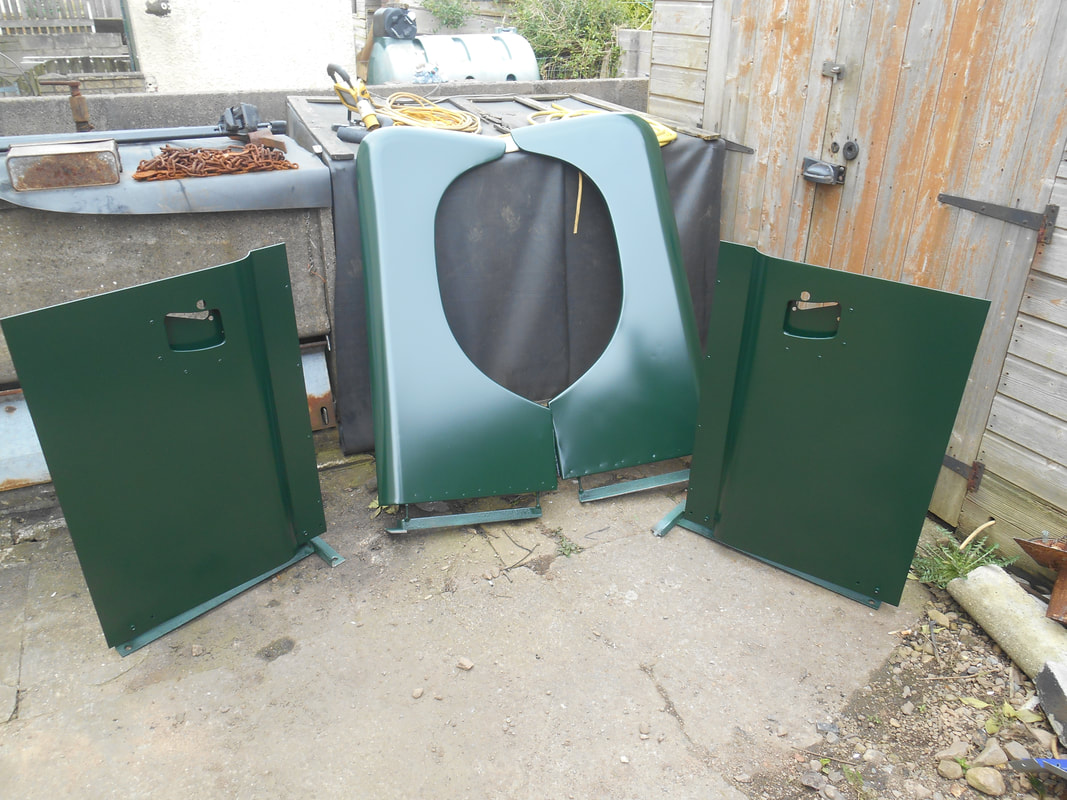
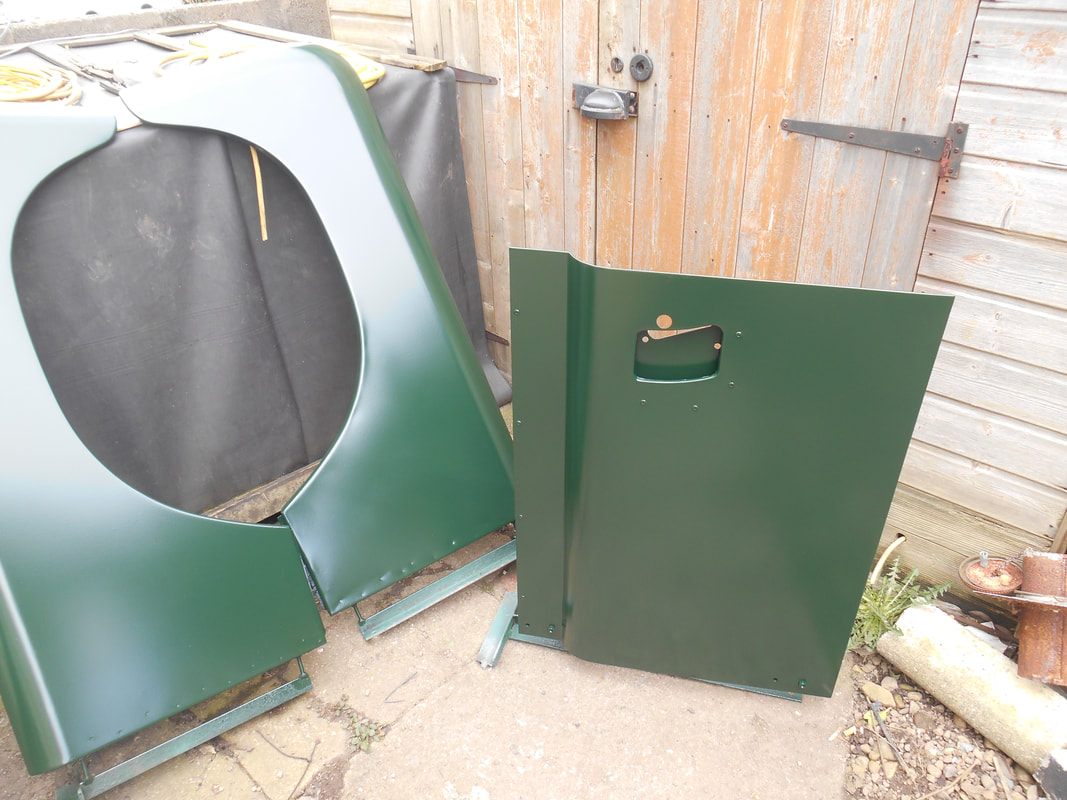
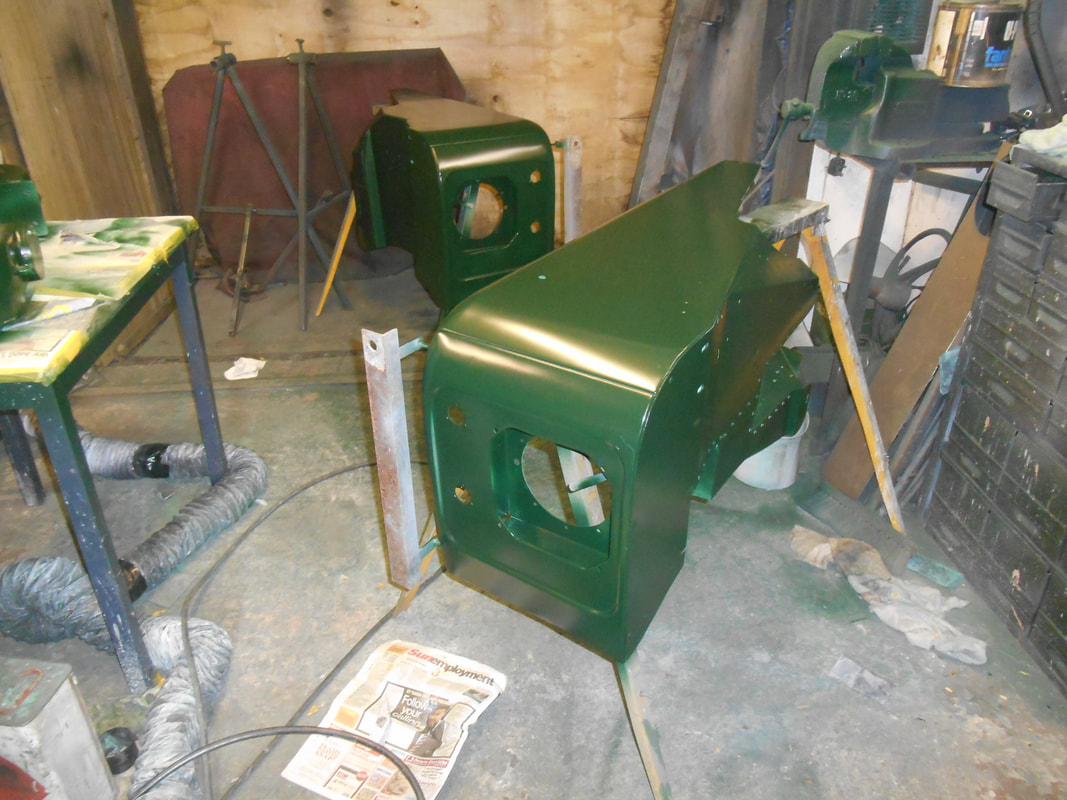
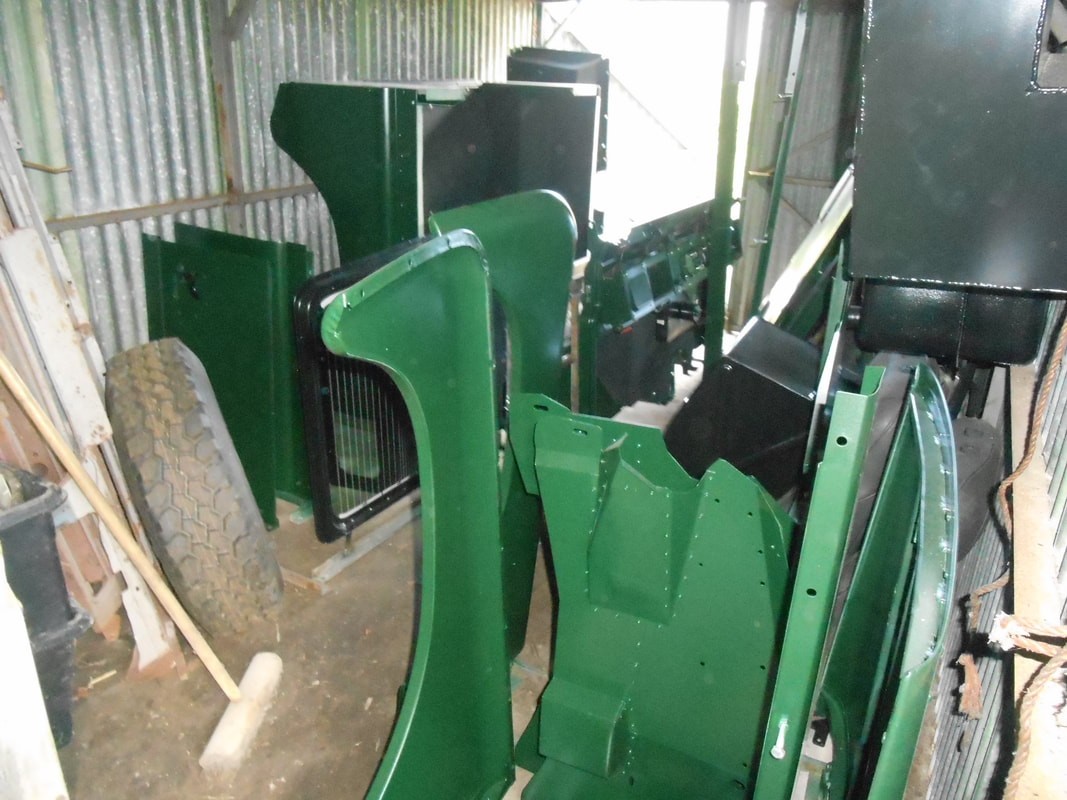
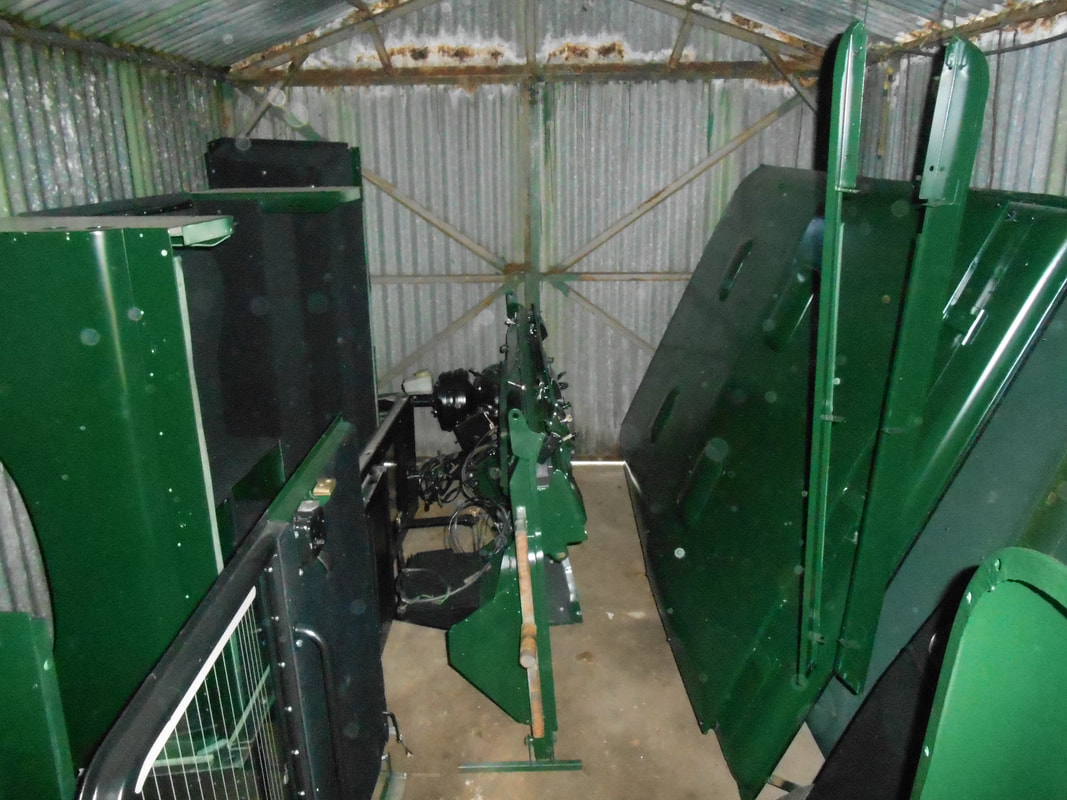
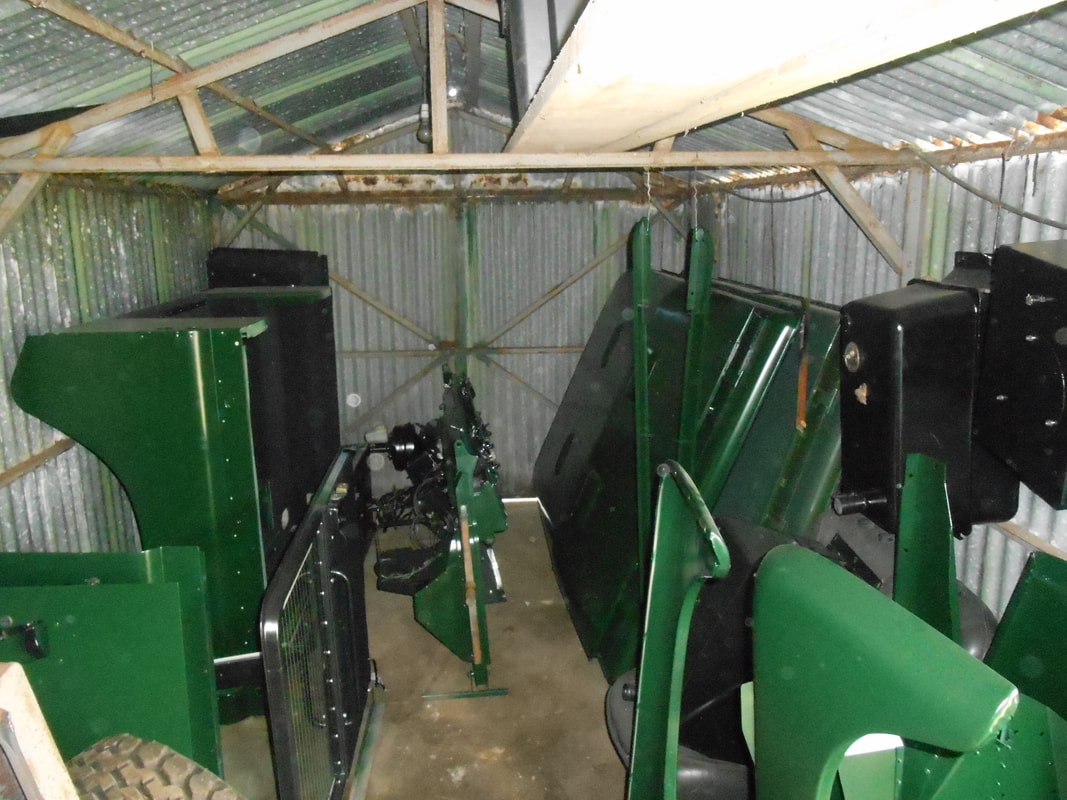
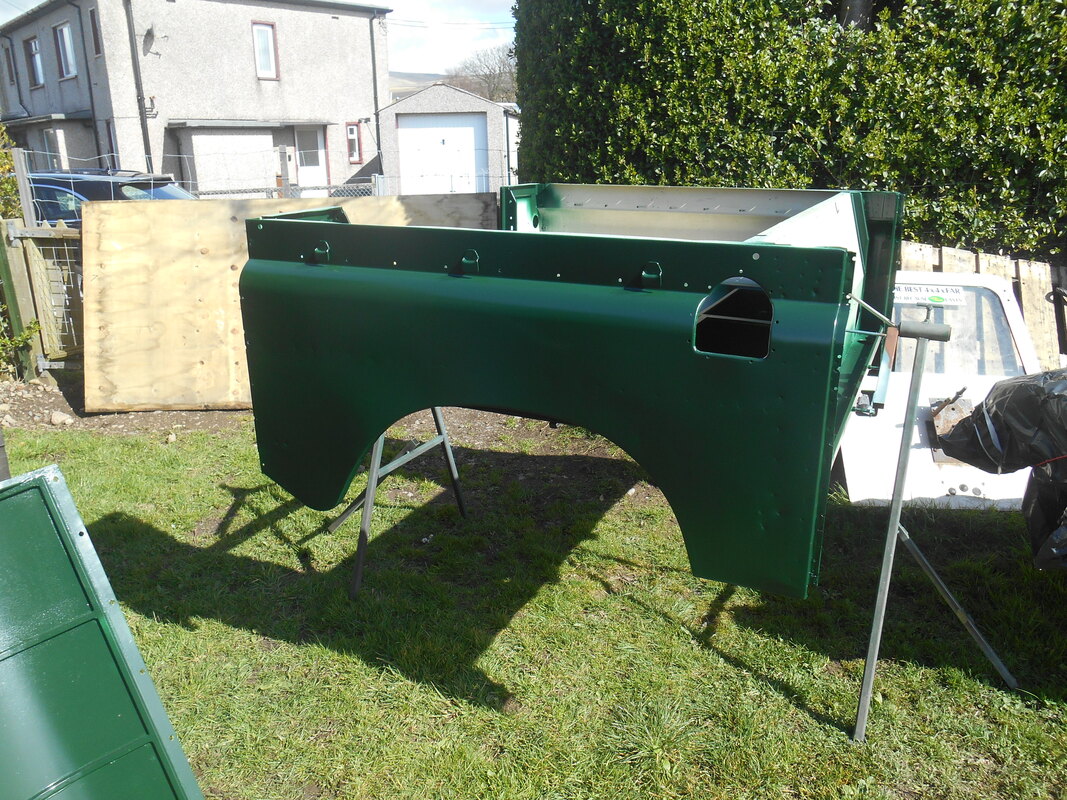
Preparing the body panels for painting. Due to the lack of drying space we had to get creative: simple 'feet' were made so we could stand the panels up to let them dry in the smallest possible space. Each panel was sanded thoroughly. All panels were then primed and painted in dark green. We made door cards from sheet aluminium for the front and rear doors which were covered in roof lining material. All finished body panels and parts were stored in a garage until fitting.


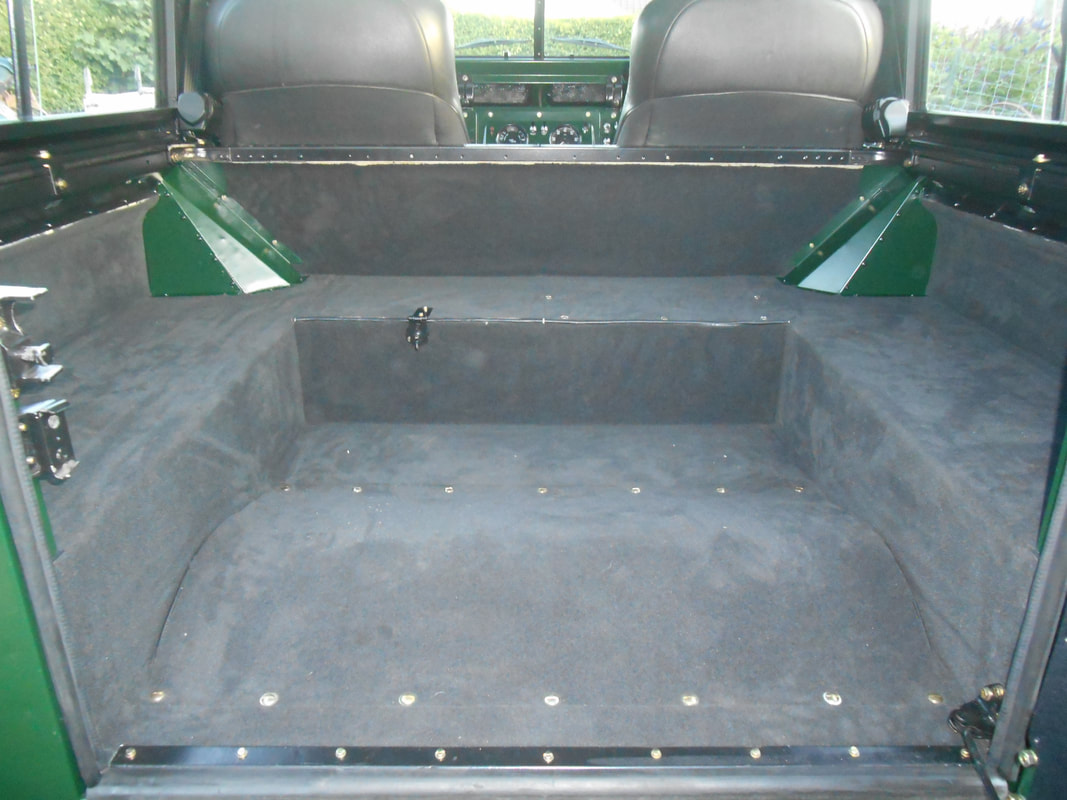
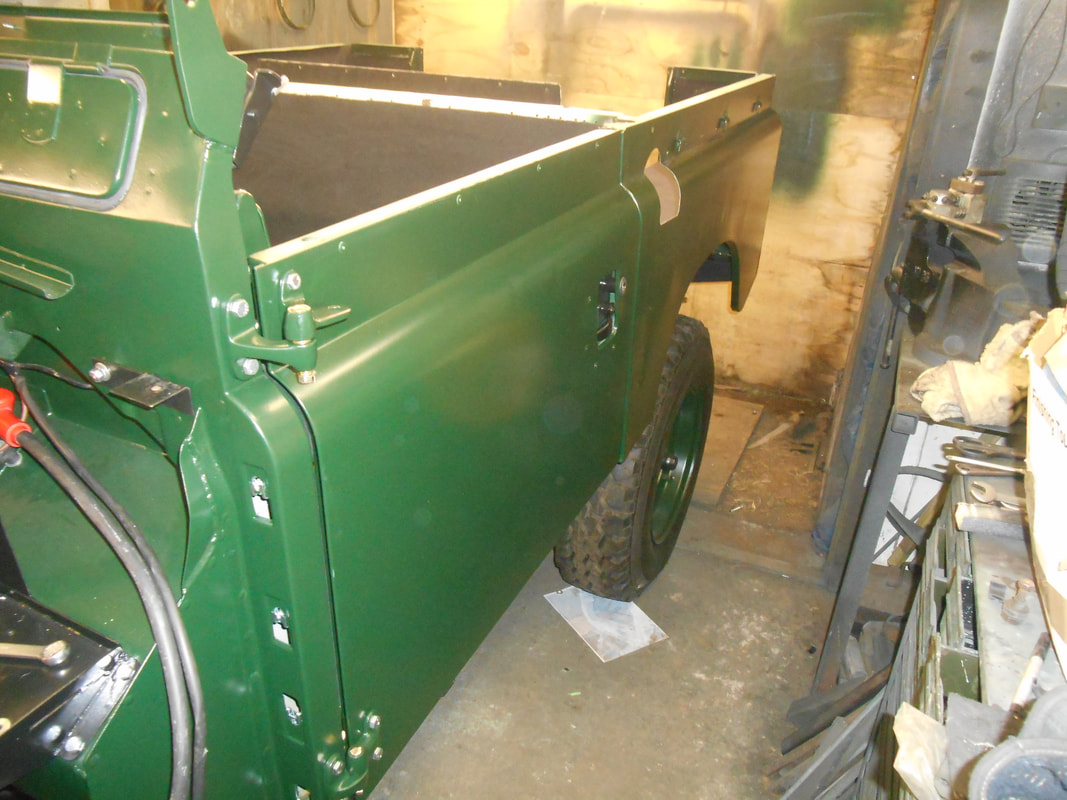
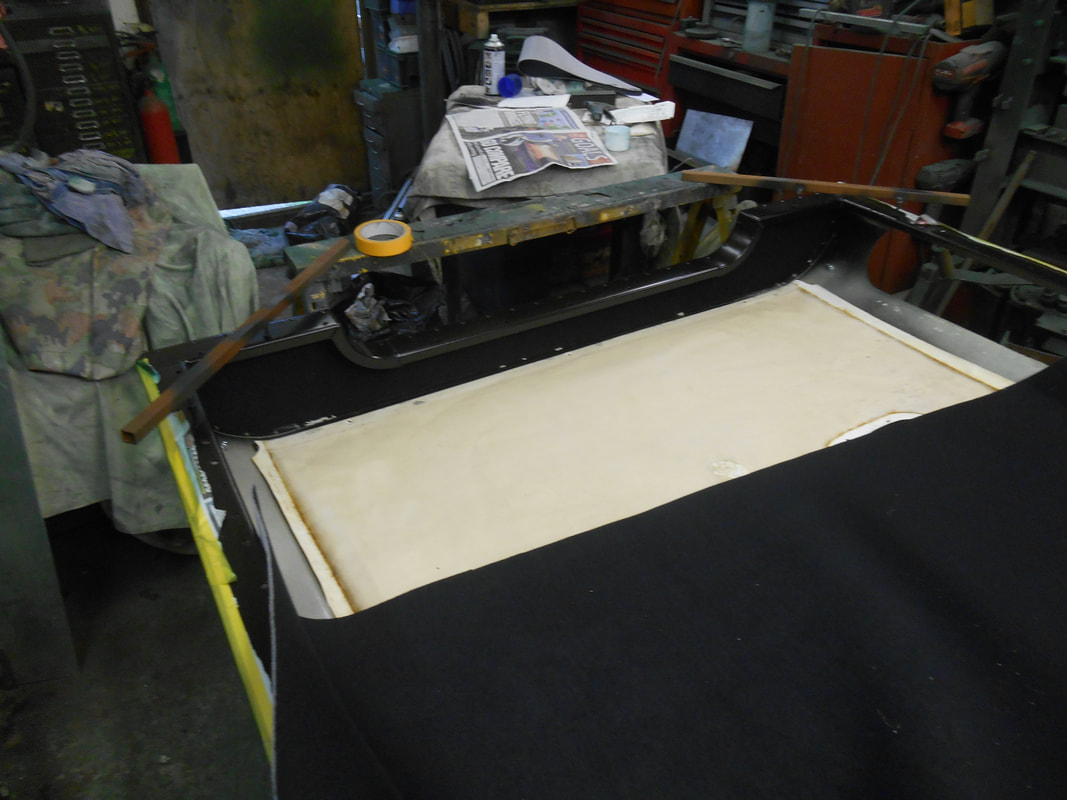
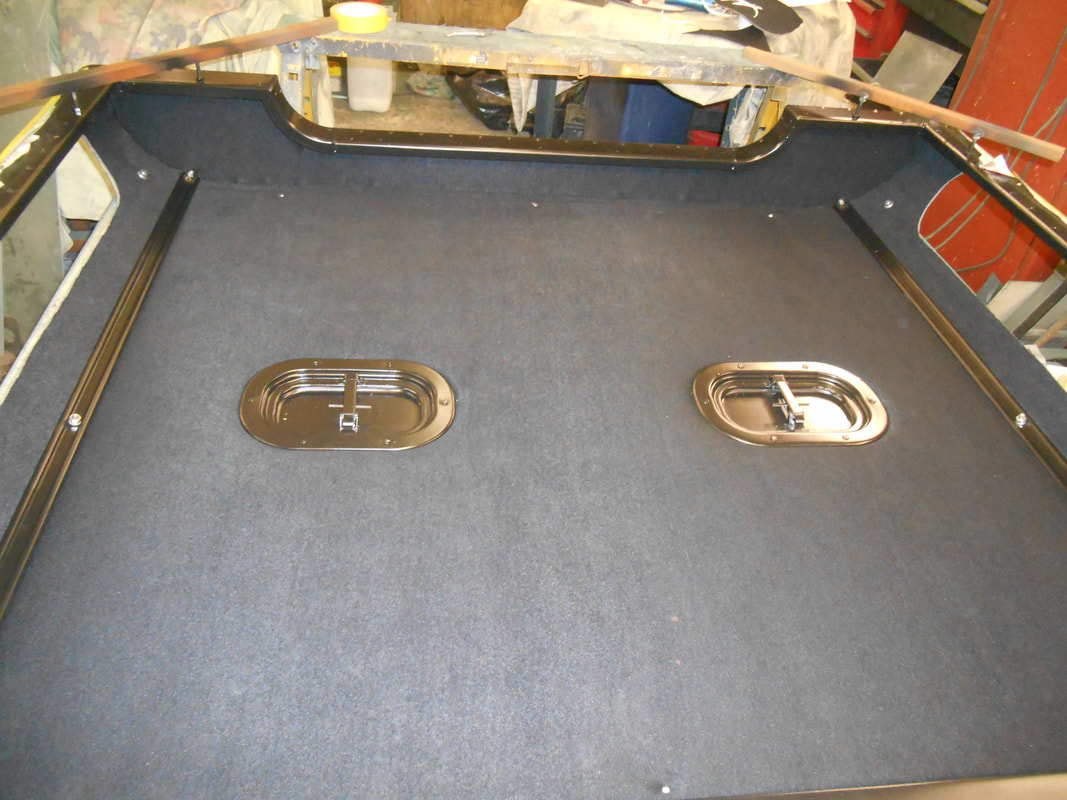
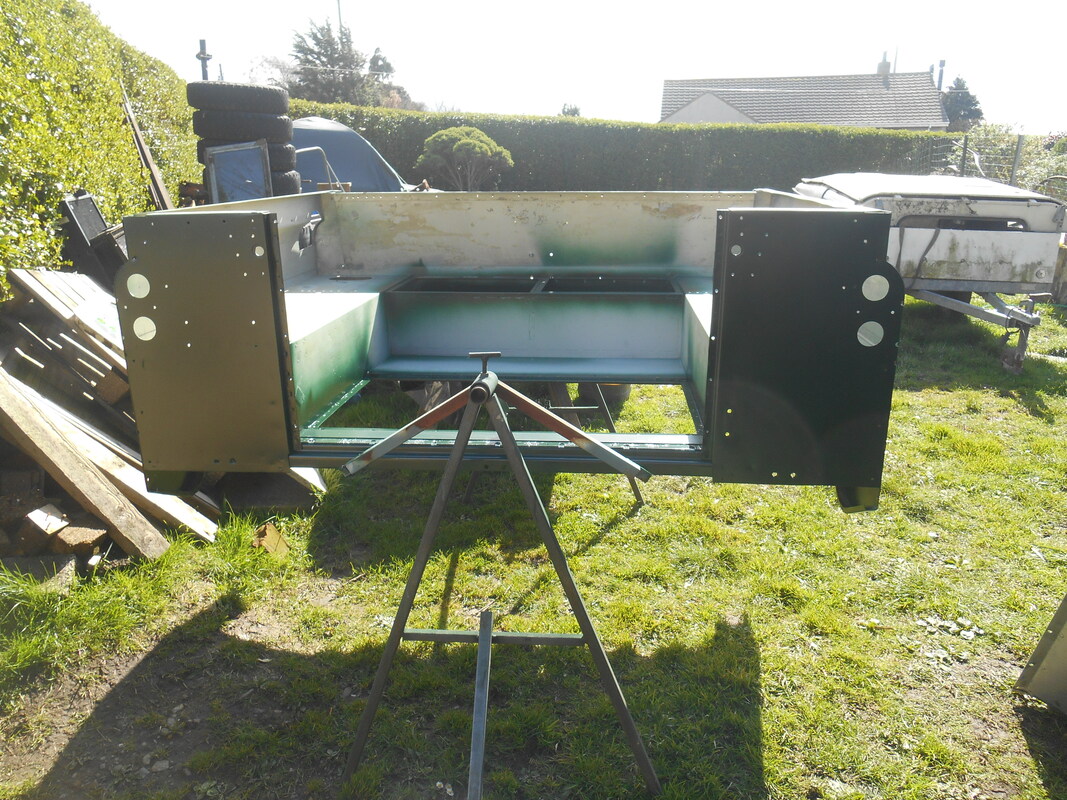
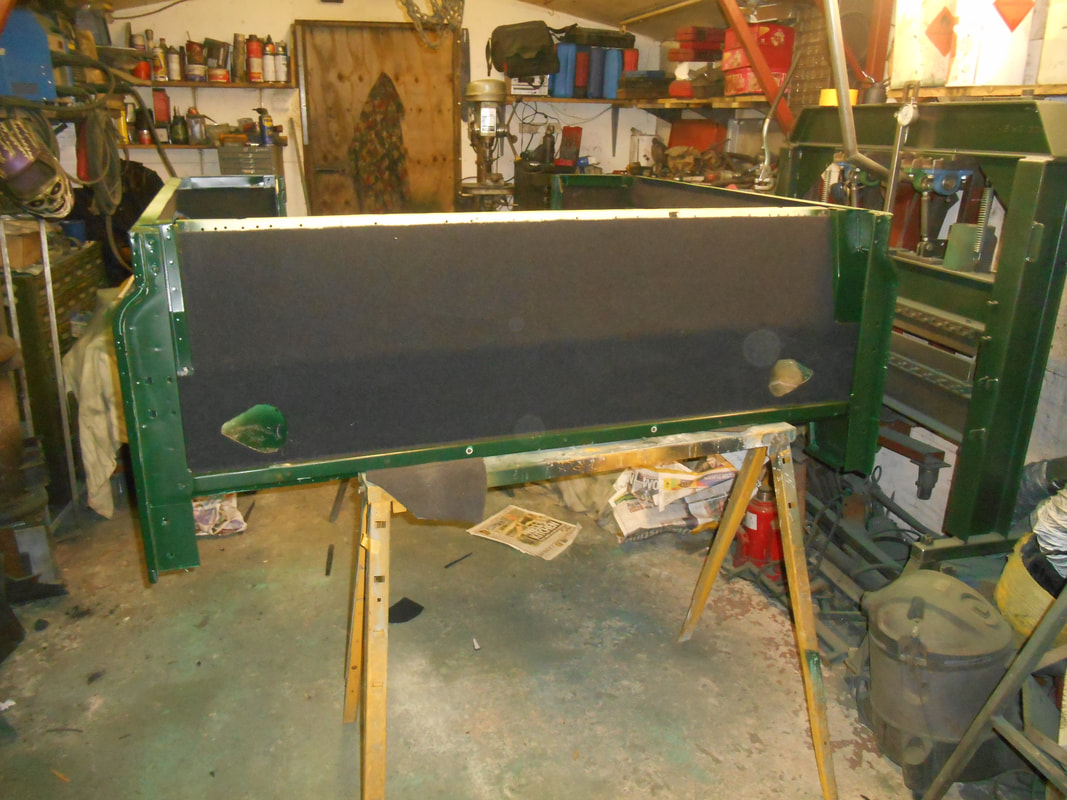
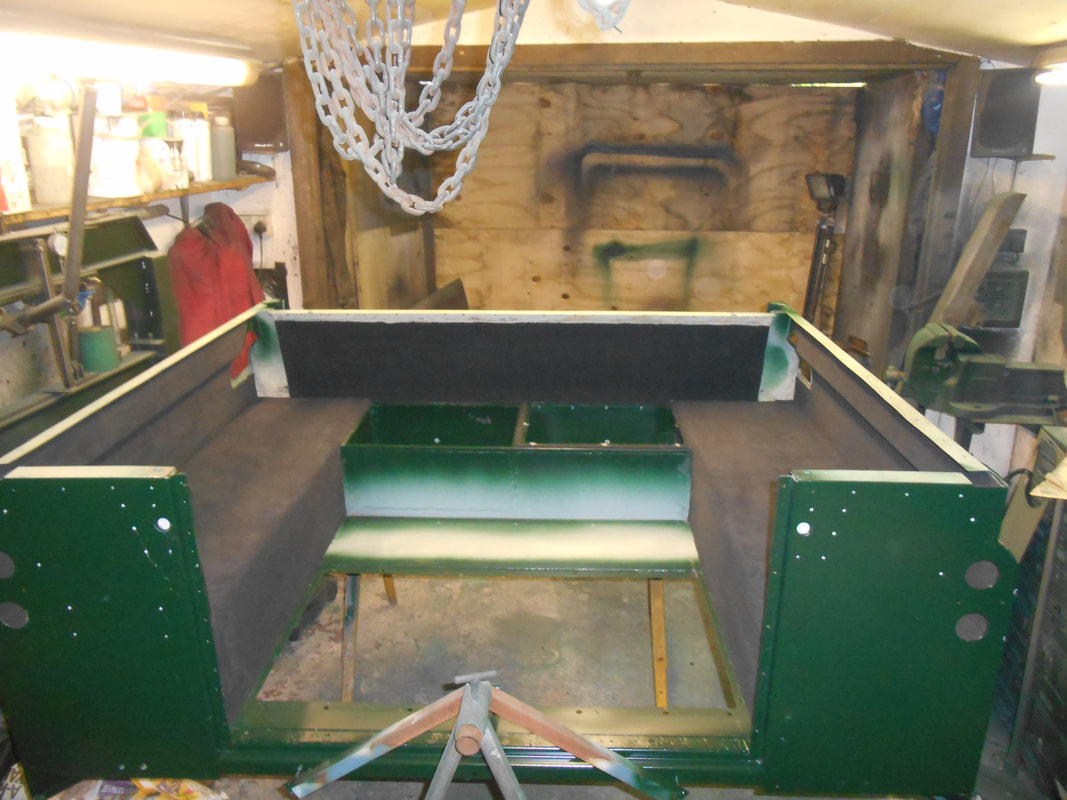
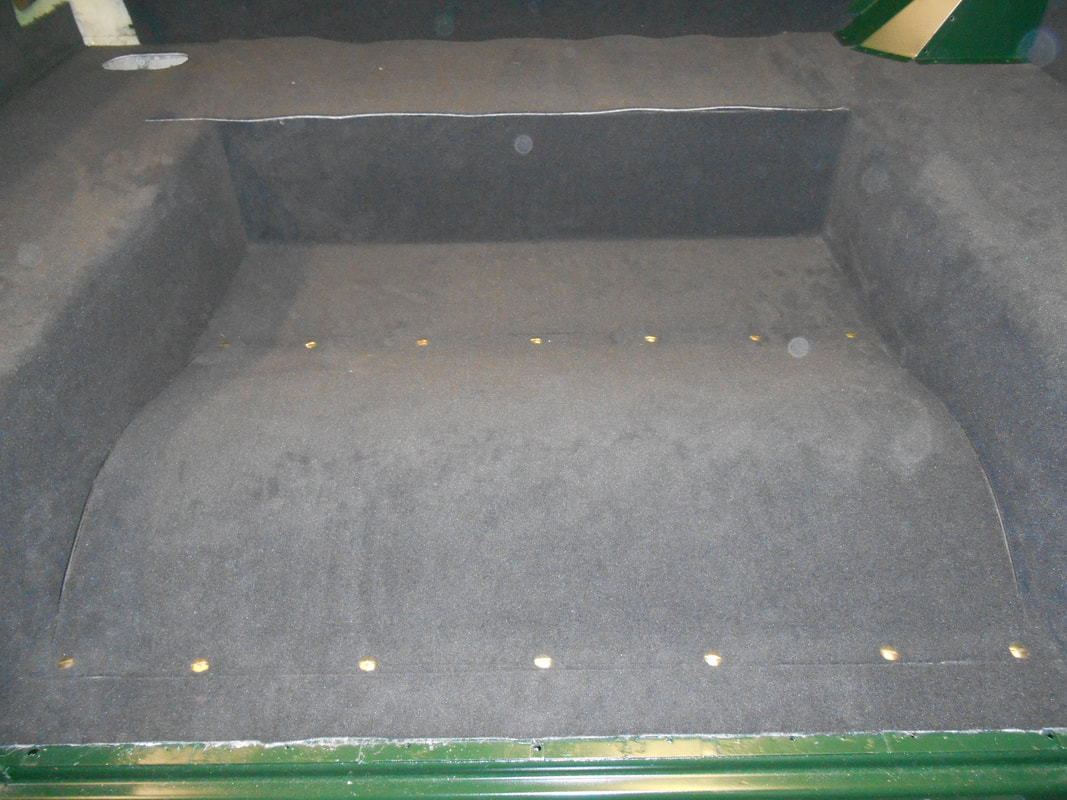
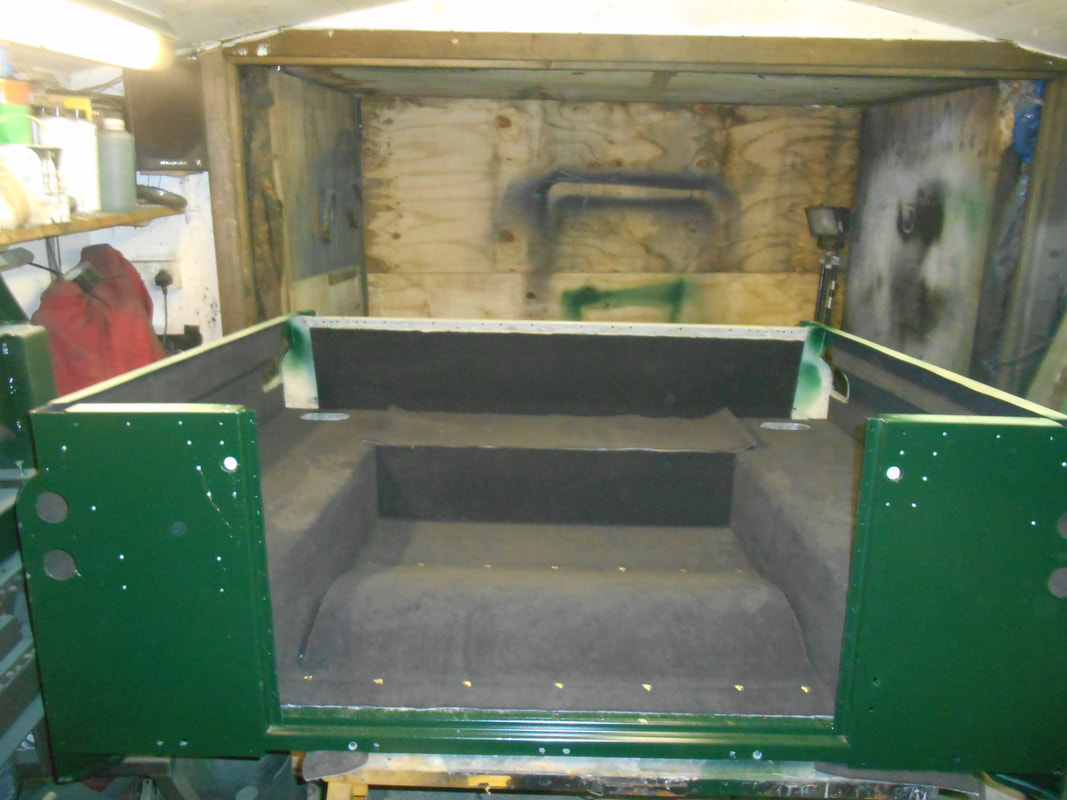
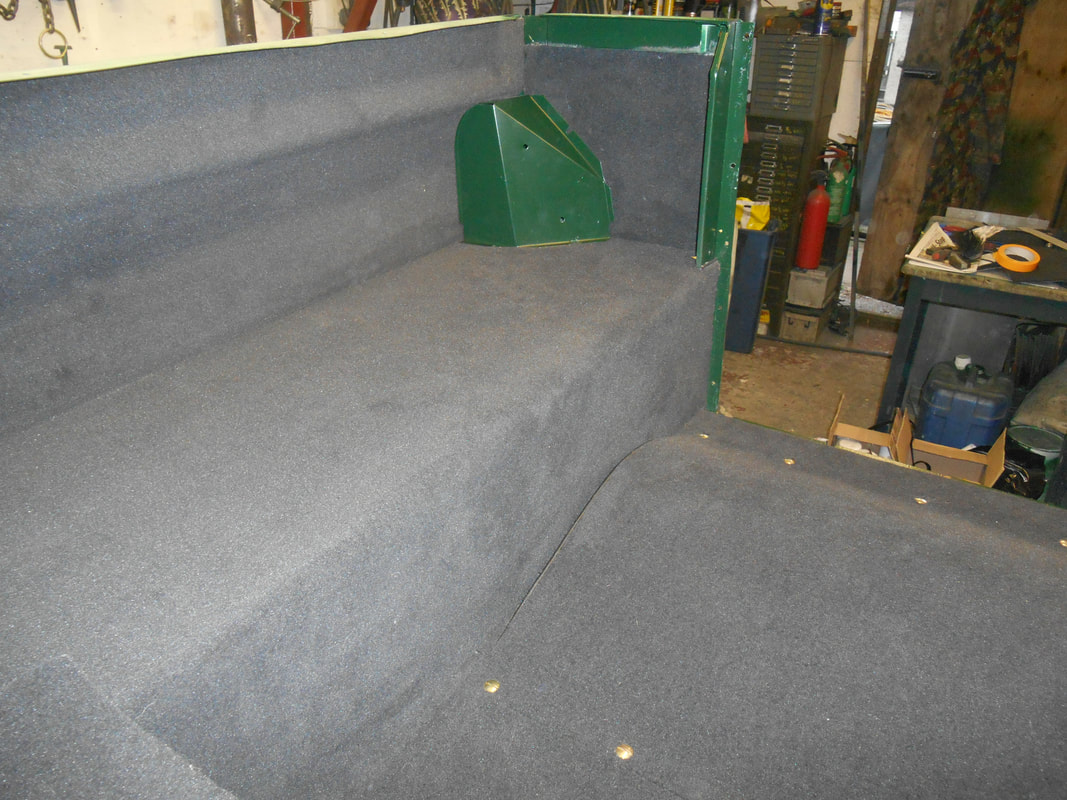
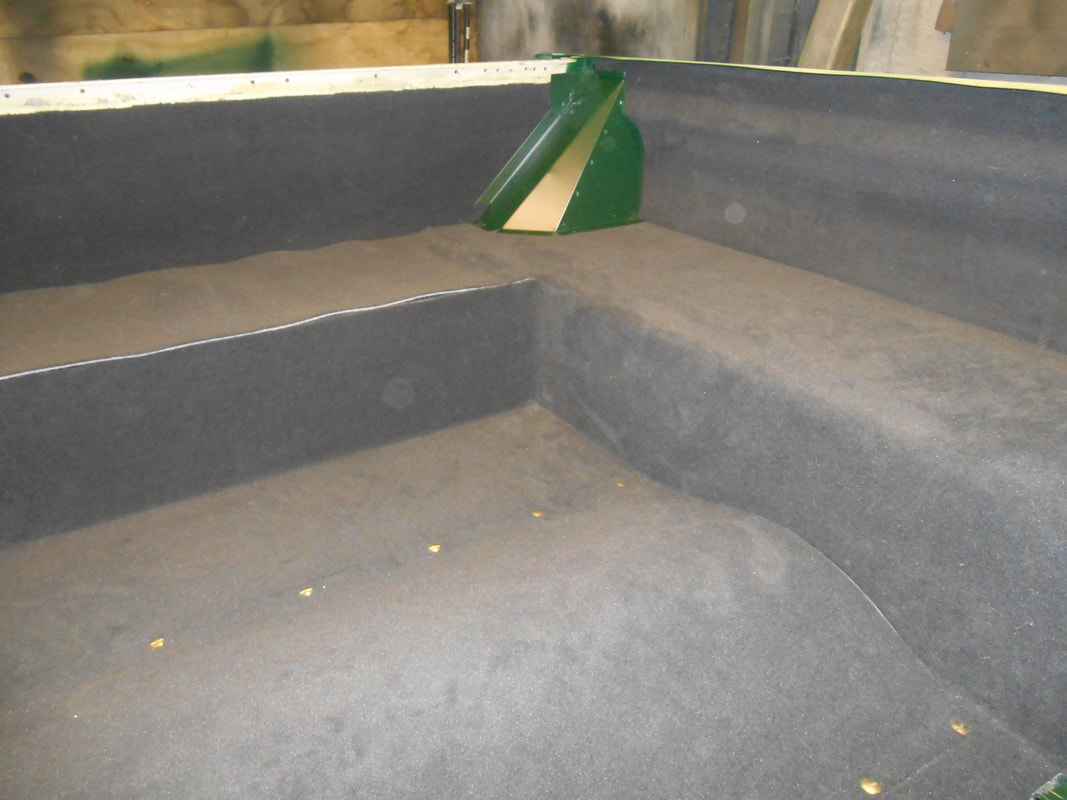
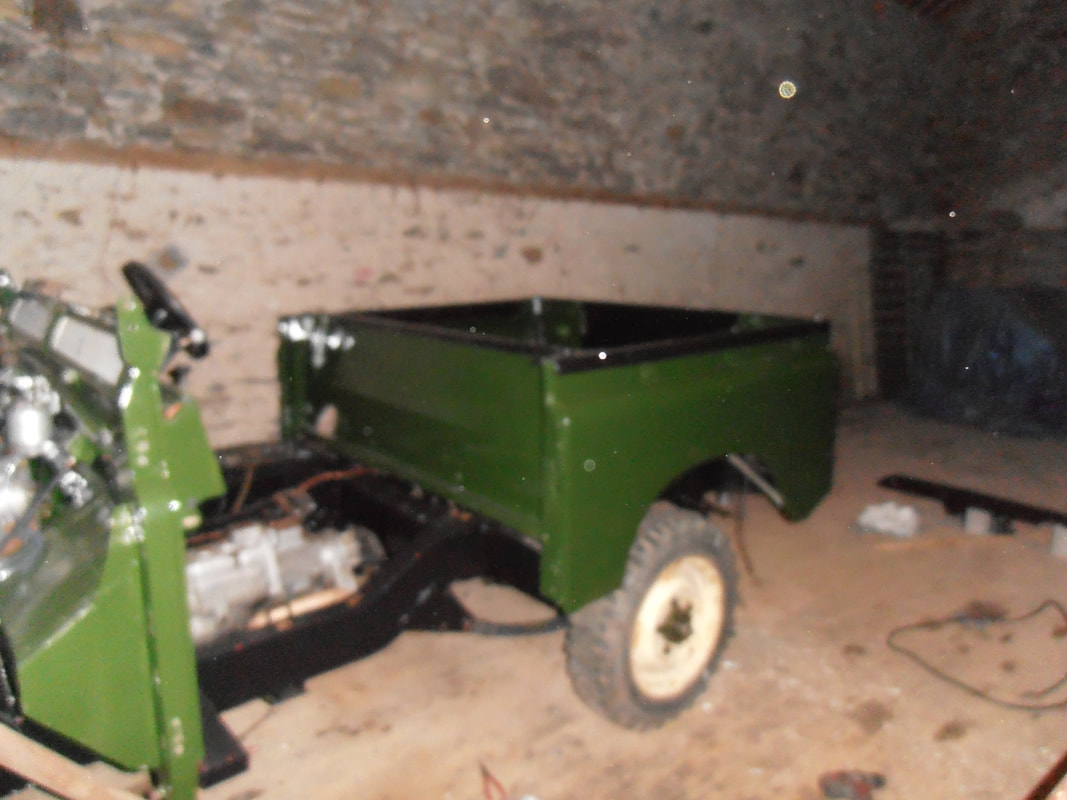
The tub has been stripped, primed and then sprayed. The areas with no green paint will be carpeted. We fabricated a stand to be able to swivel the tub round as it made it easier for painting as well as storing to let it dry properly. Carpet was fitted to the front of the Tub bulkhead (behind our seats) and to the inside of the tub. The hump at the back of the Tub floor is the cover for the rear hydraulic winch and can be removed to allow access to the winch.

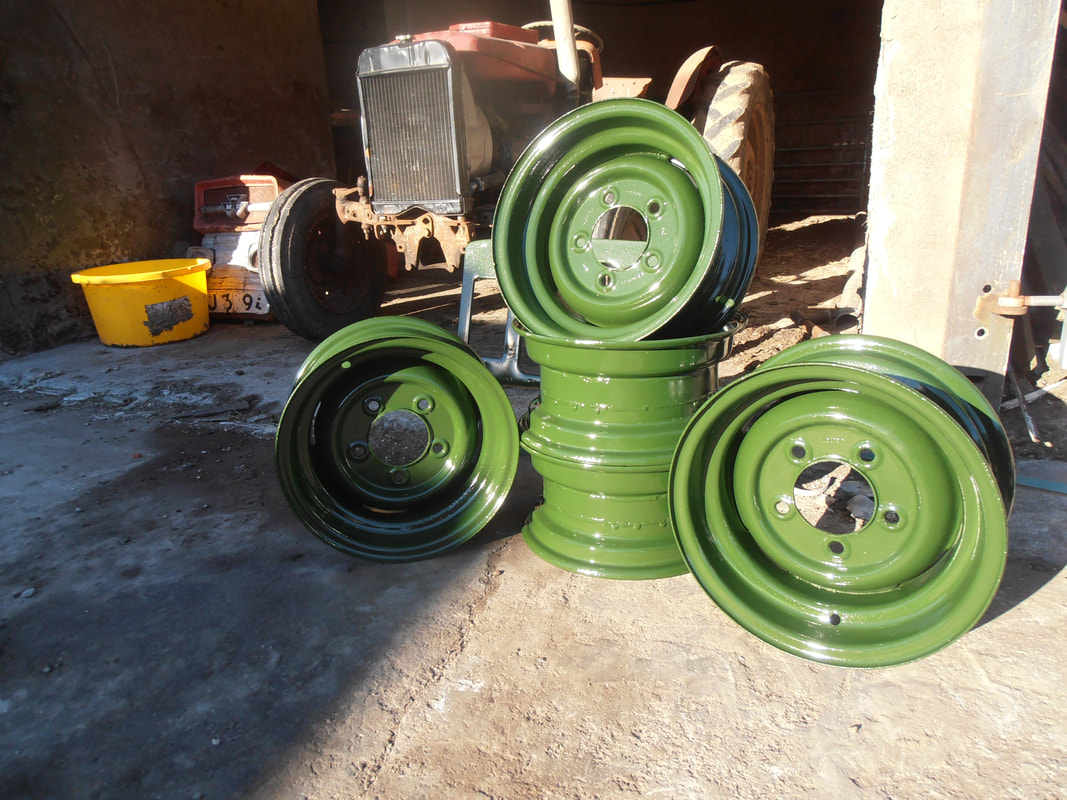
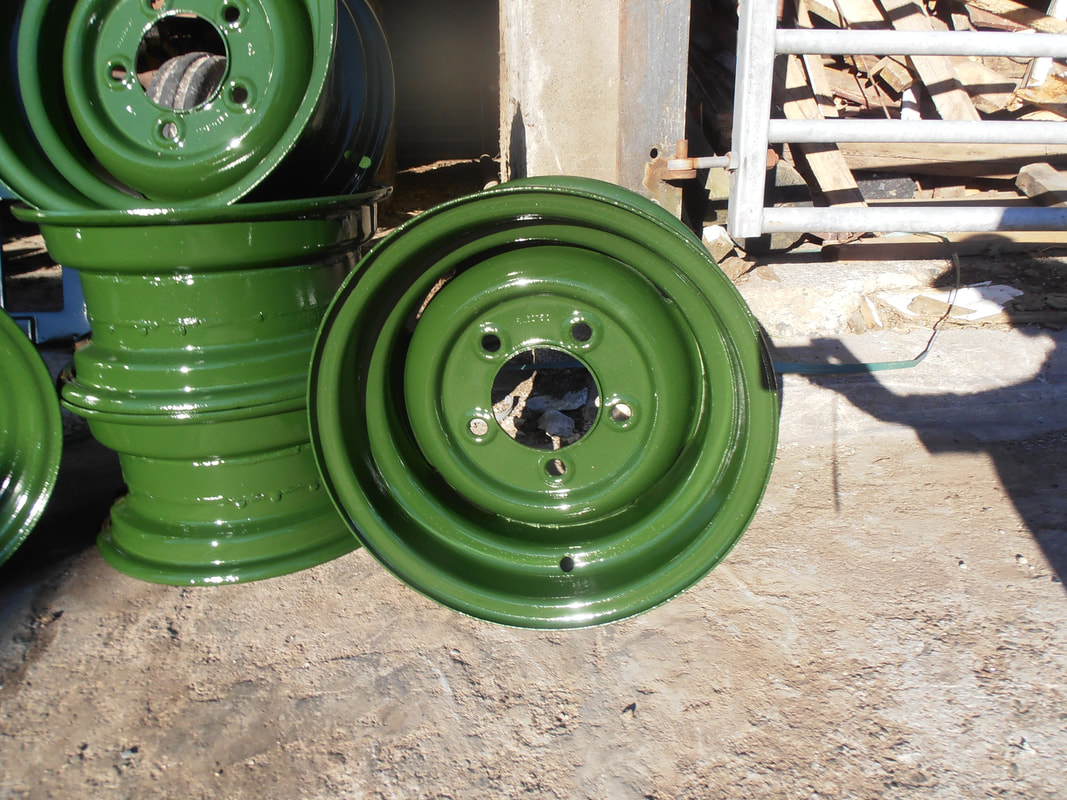
We did the rims a while ago as we wanted them wider and they needed to be banded. They were then primed and sprayed.
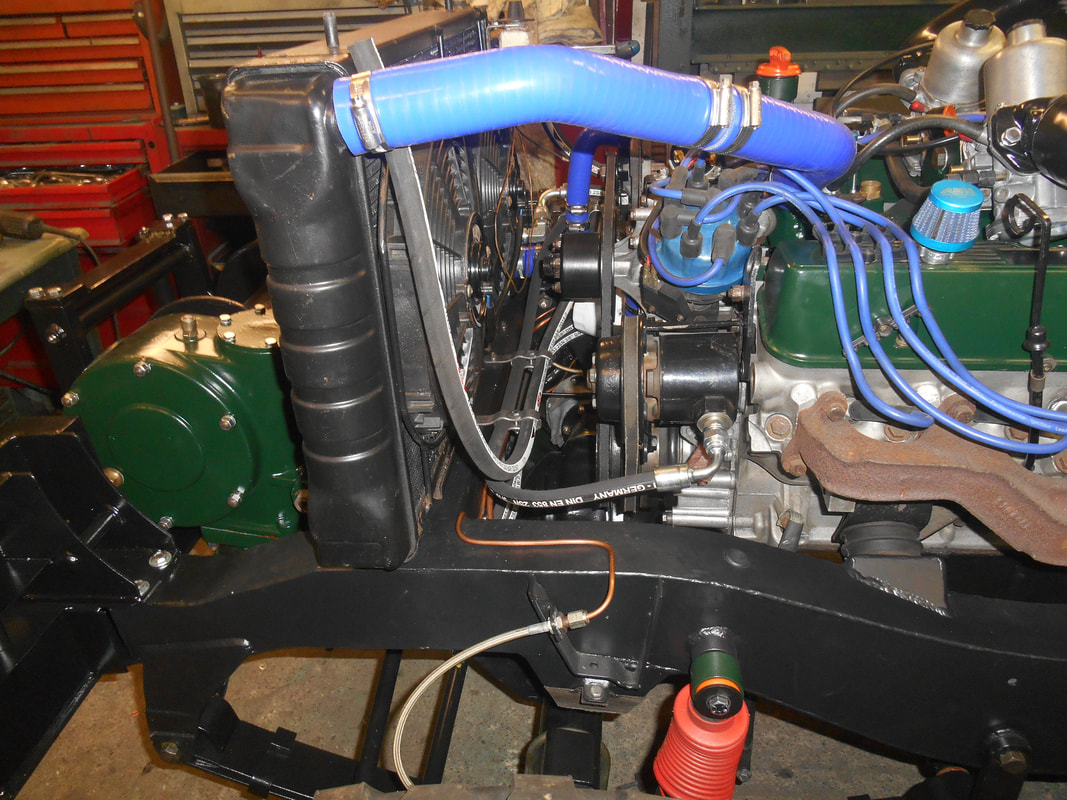
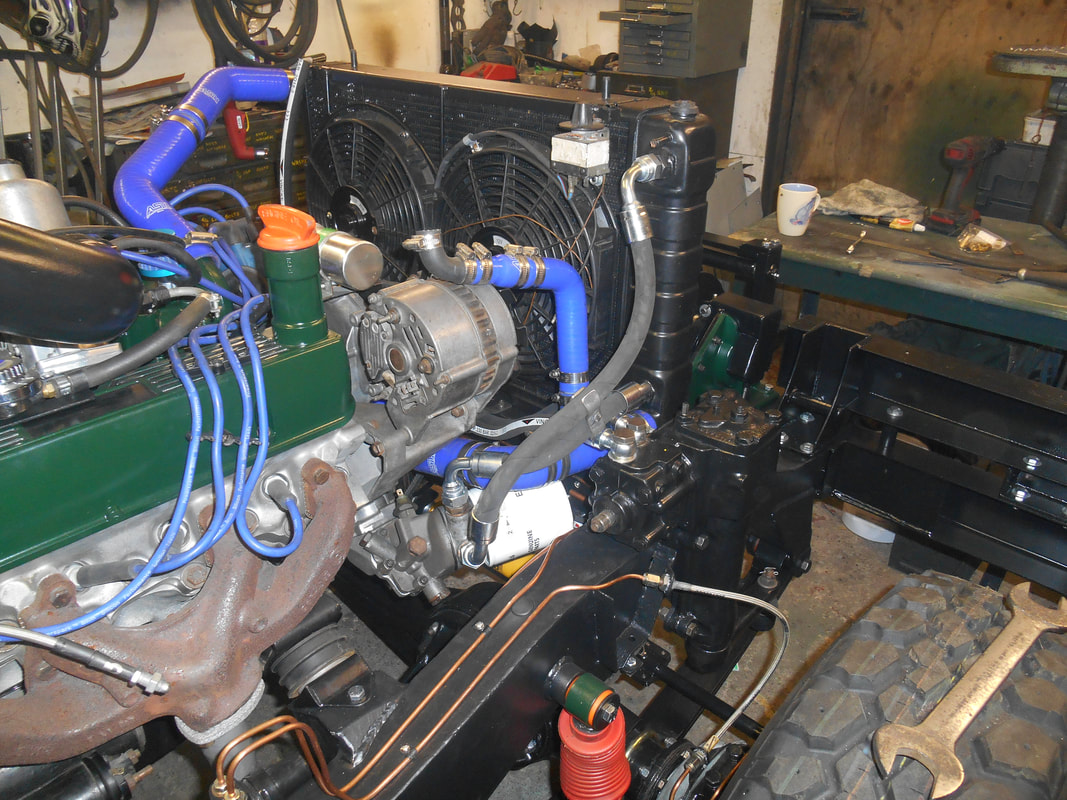
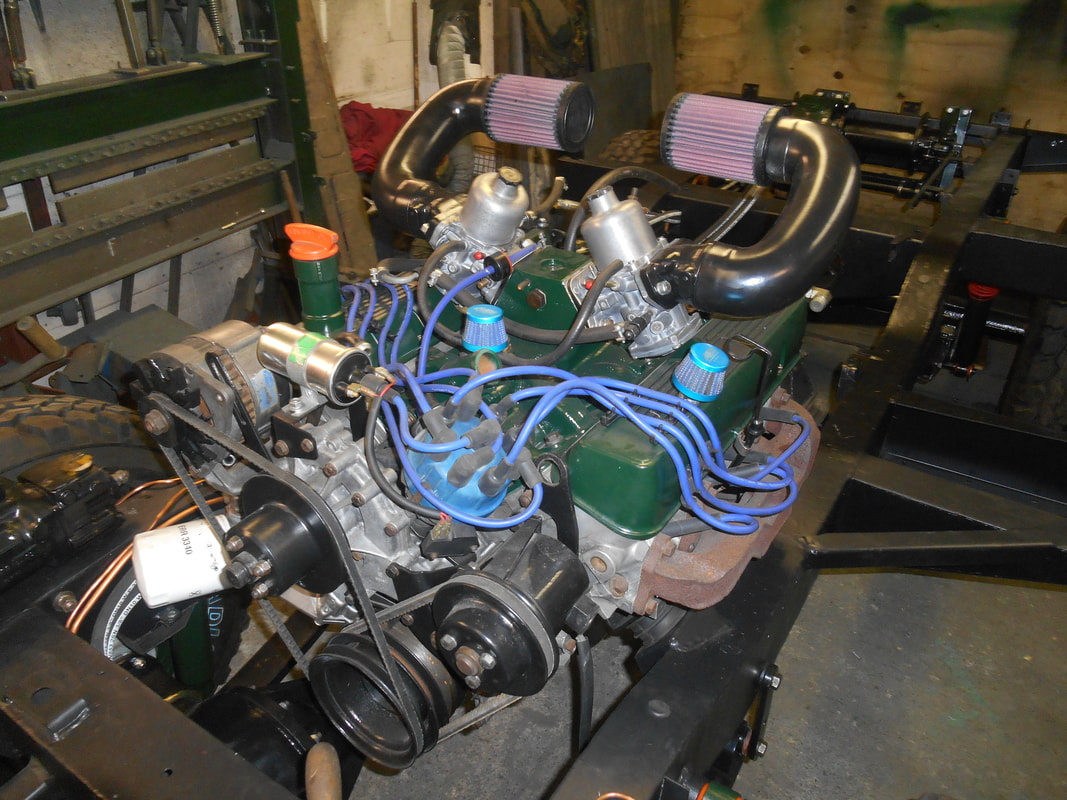
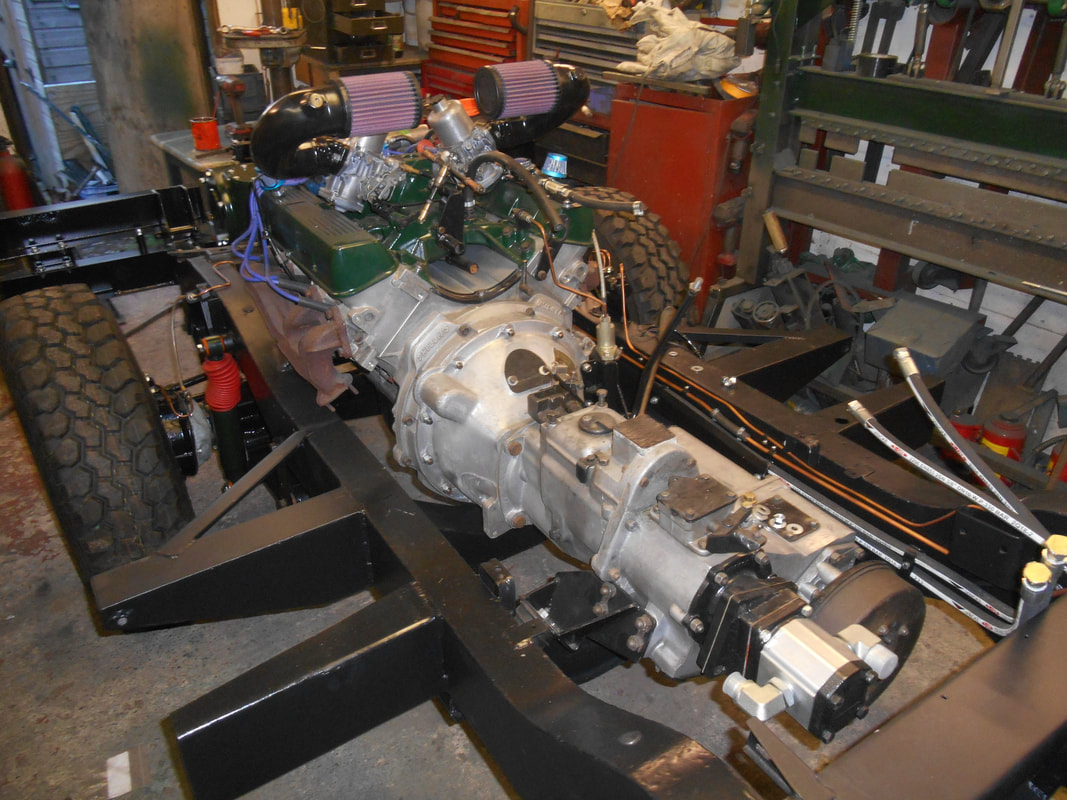
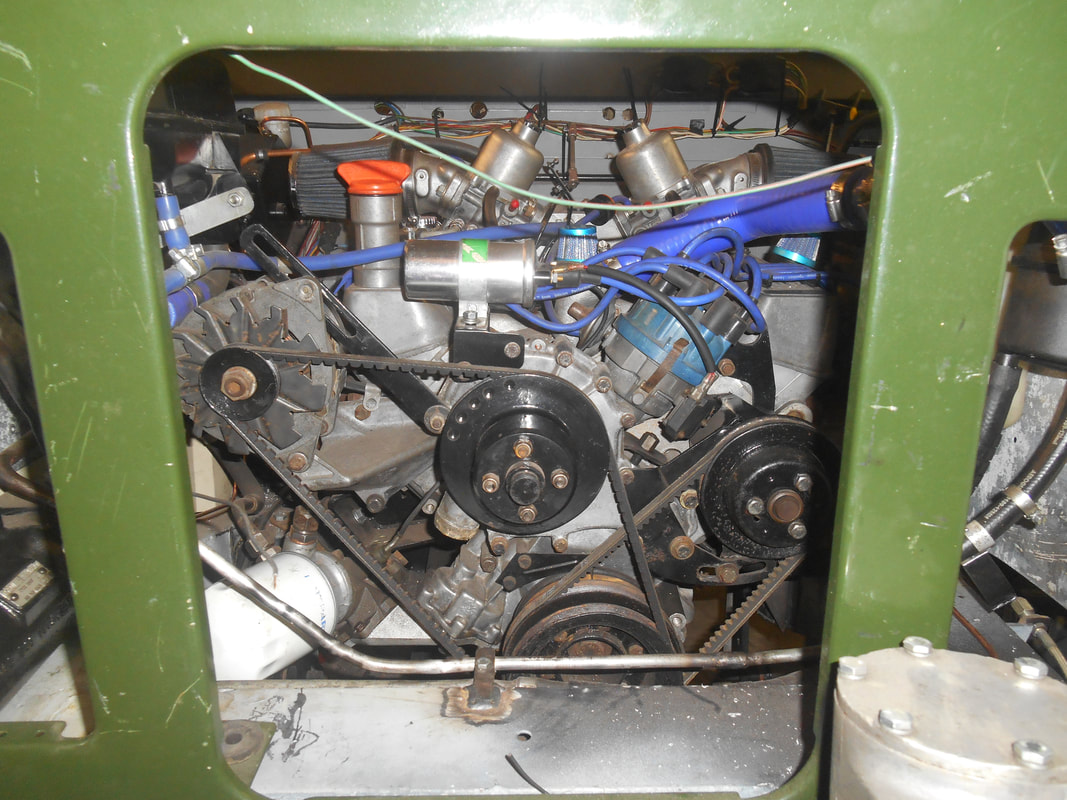
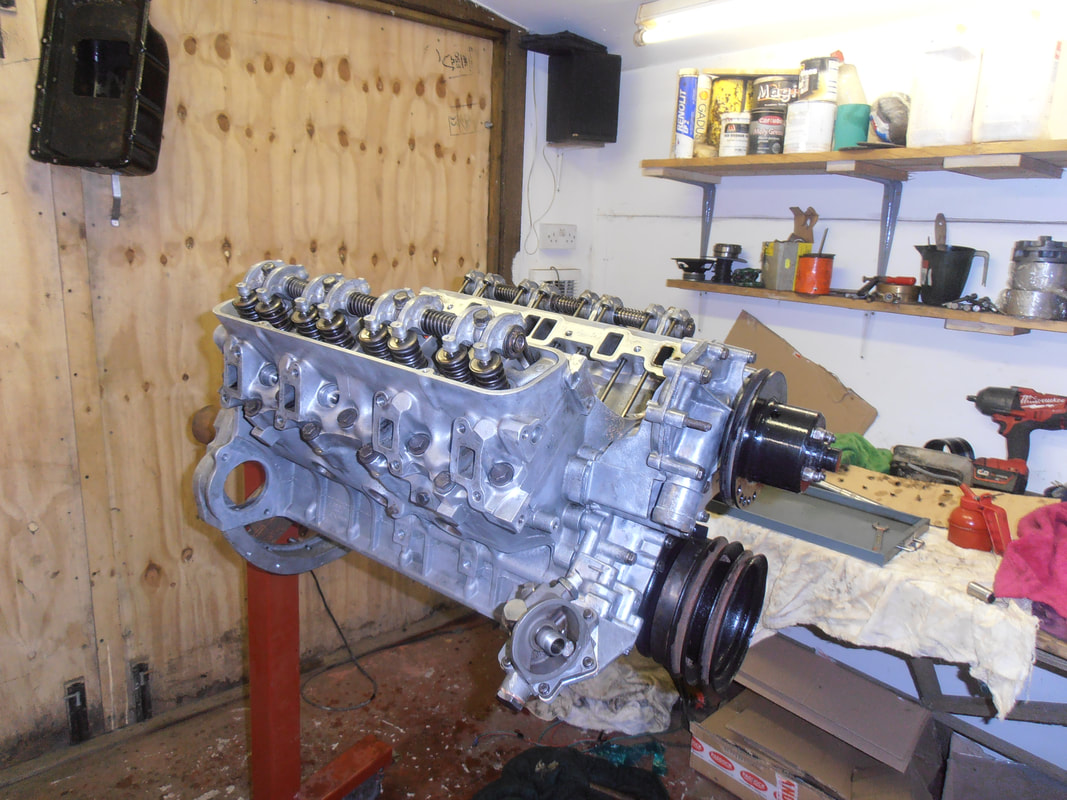
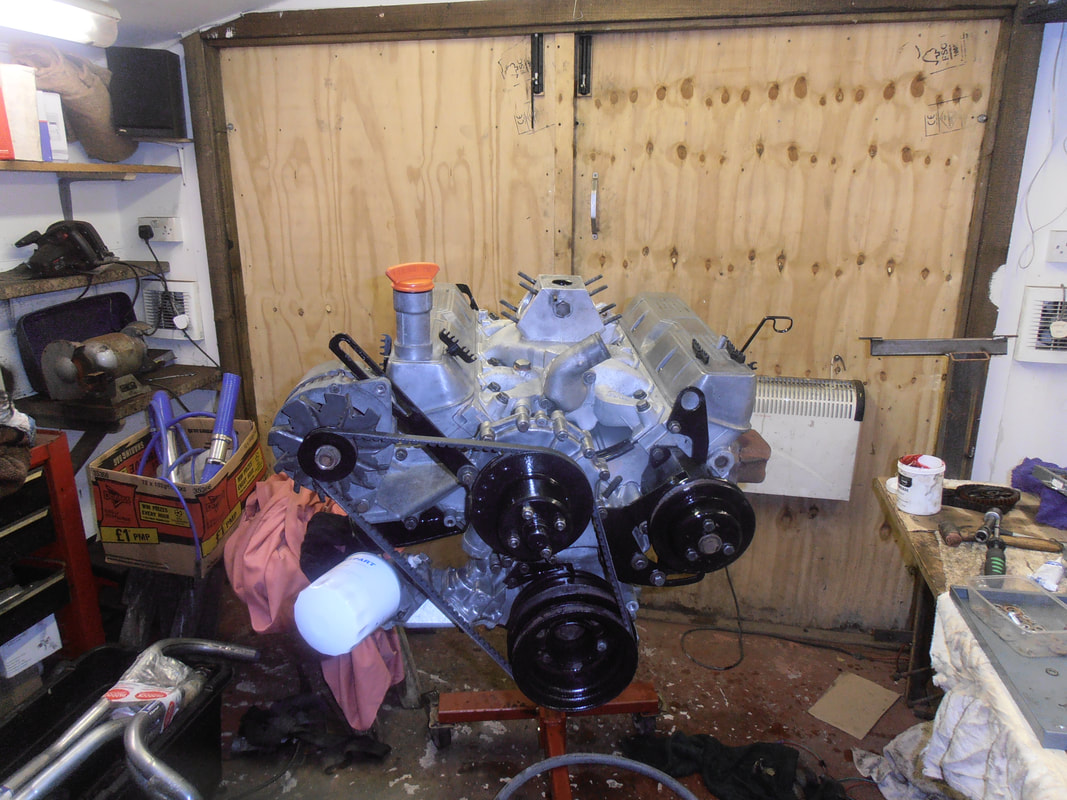
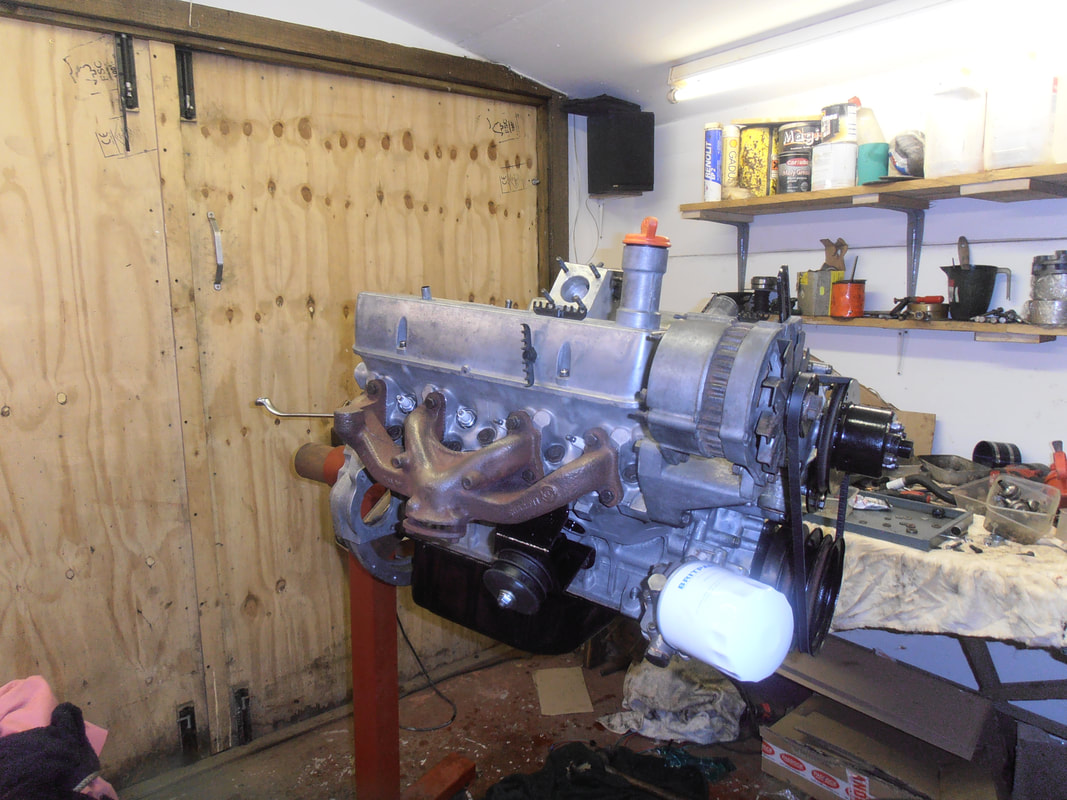
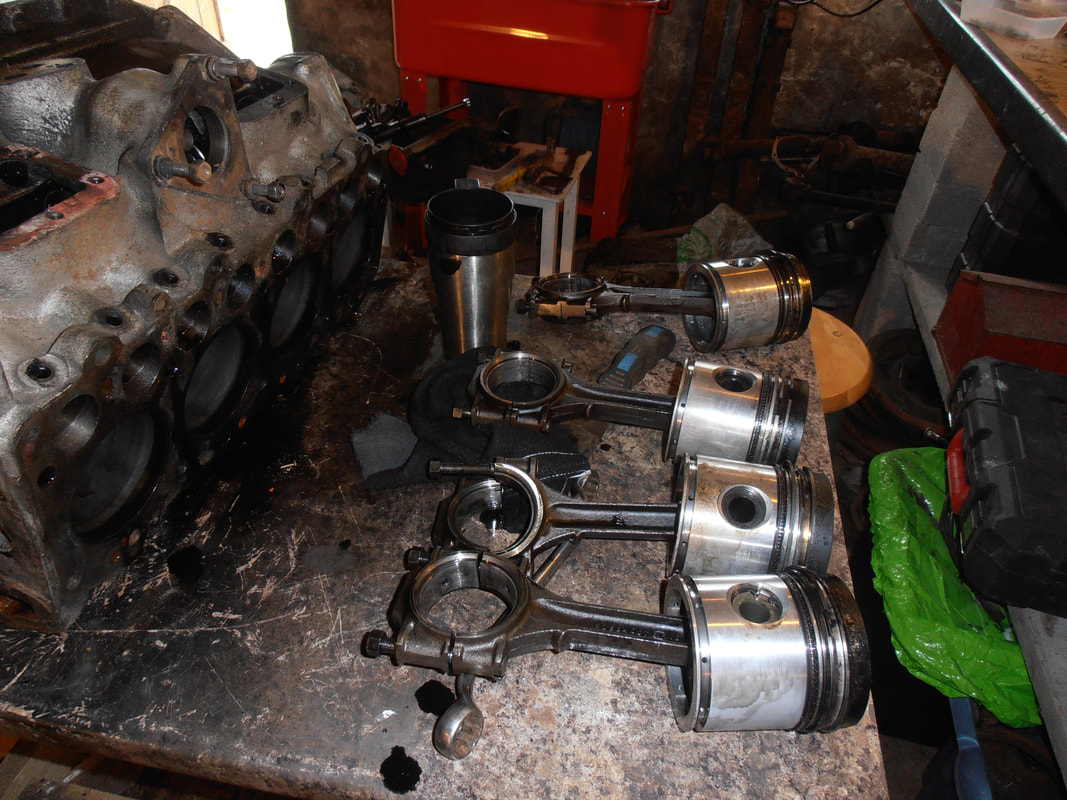
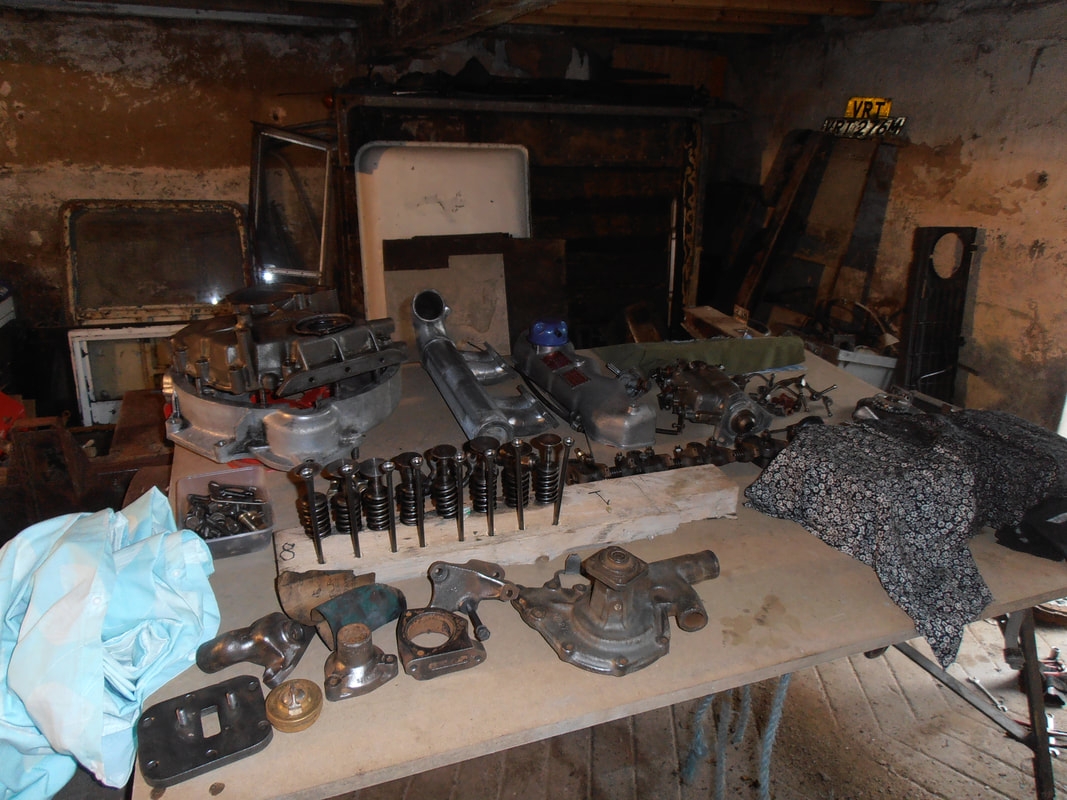
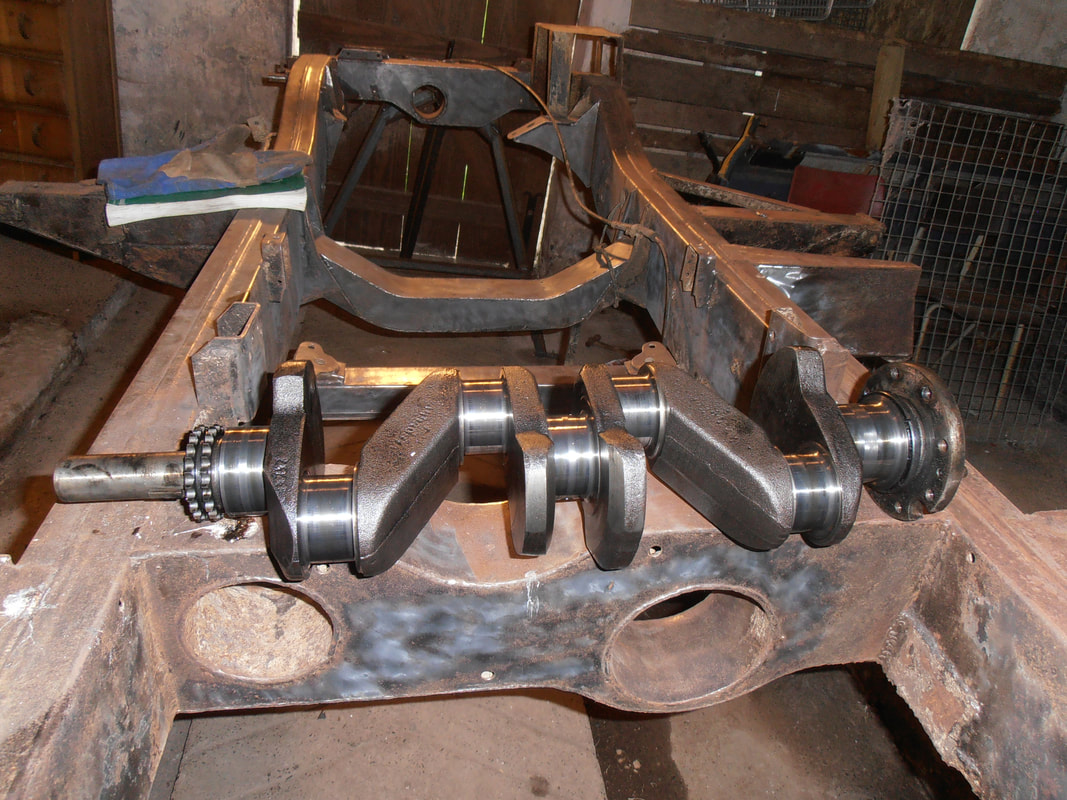
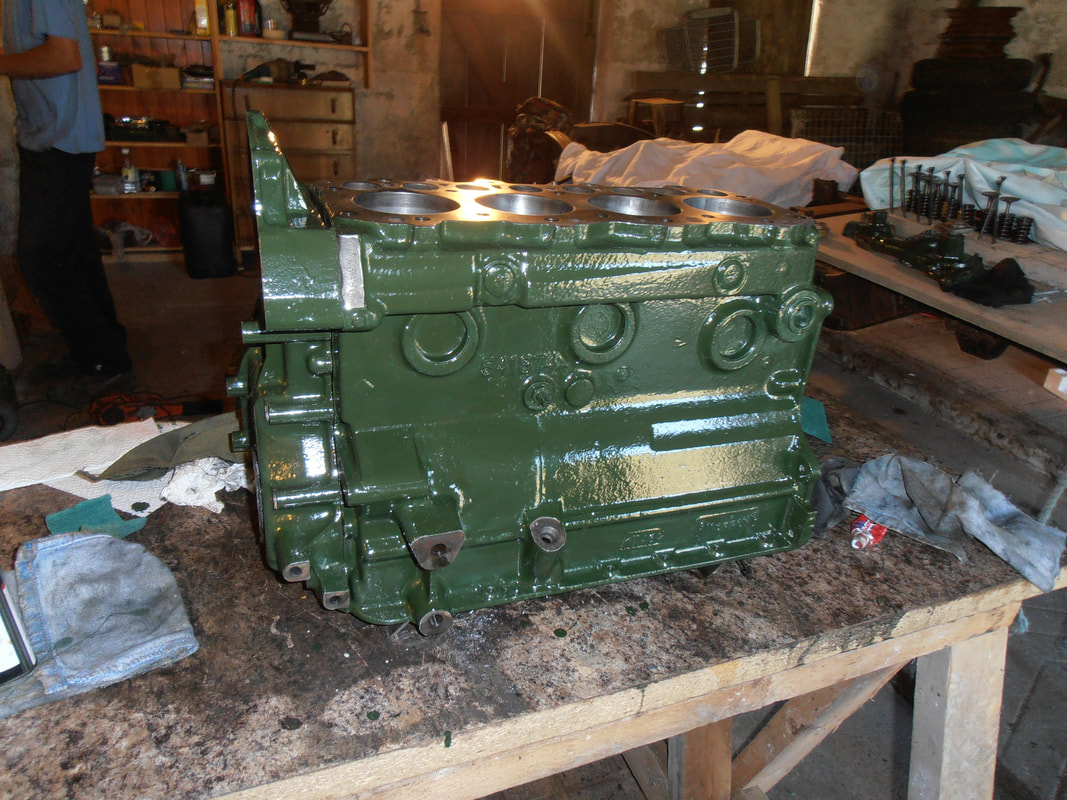
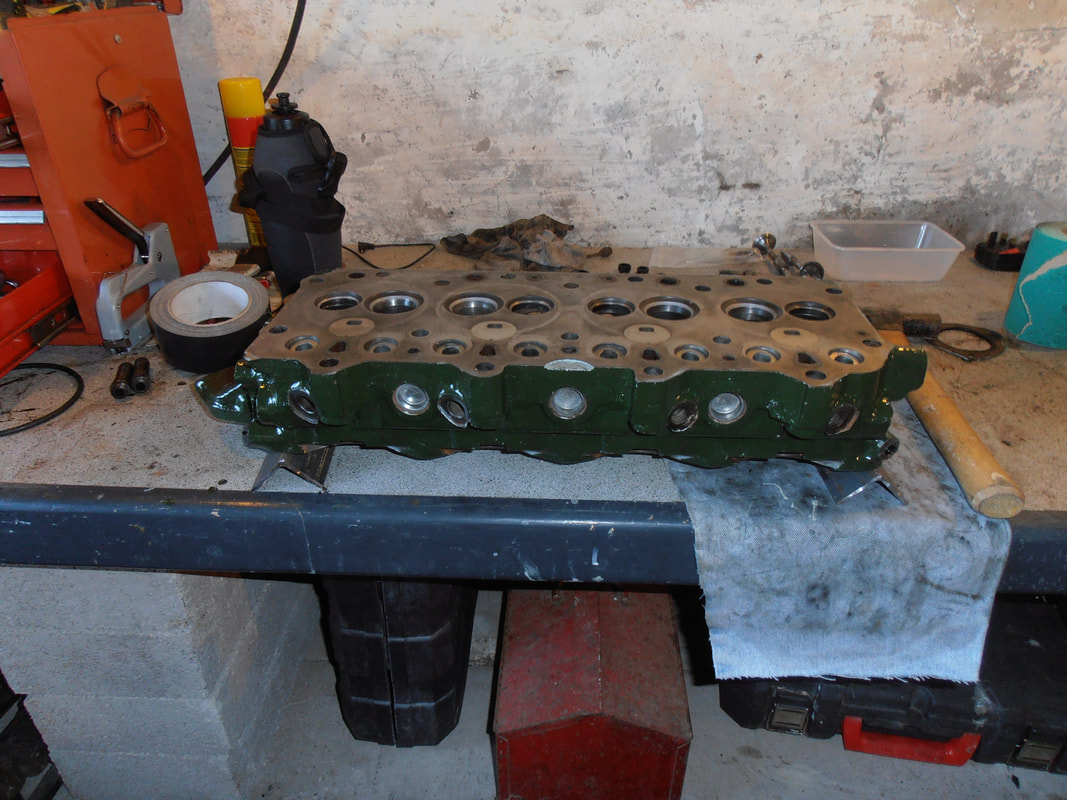
Engine was stripped, cleaned, new parts fitted where required and then rebuild.
To see a video of the V8 running please visit our facebook page.
To see a video of the V8 running please visit our facebook page.


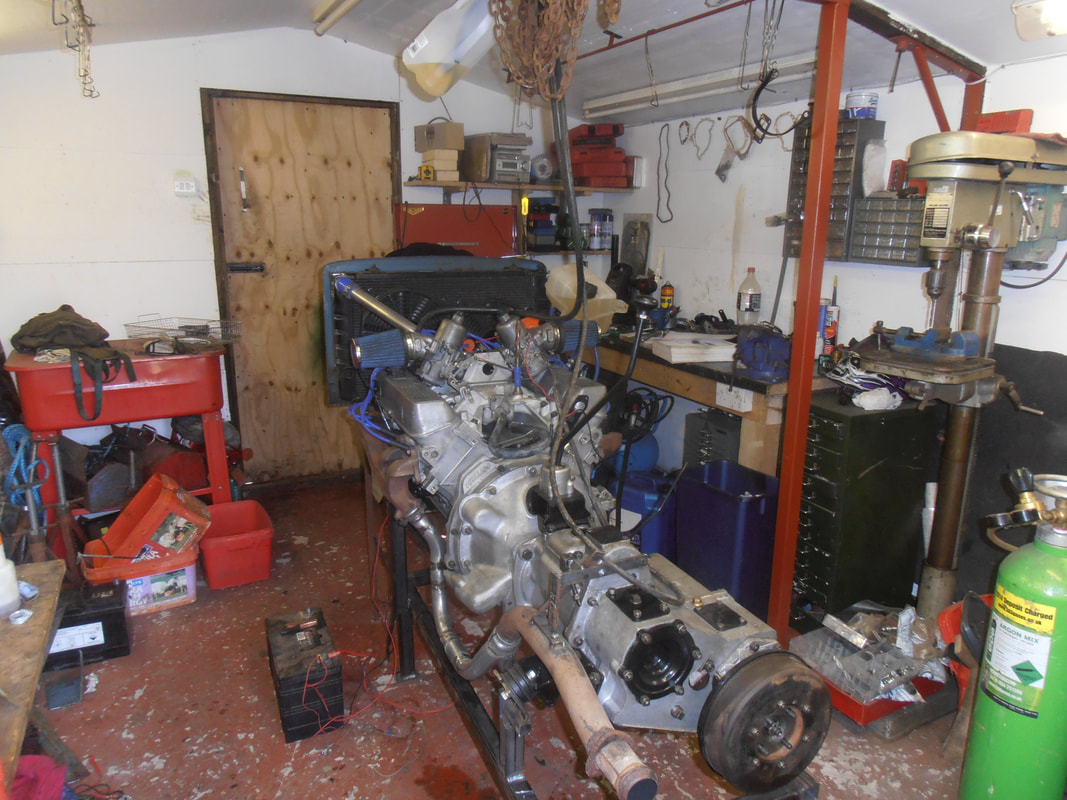
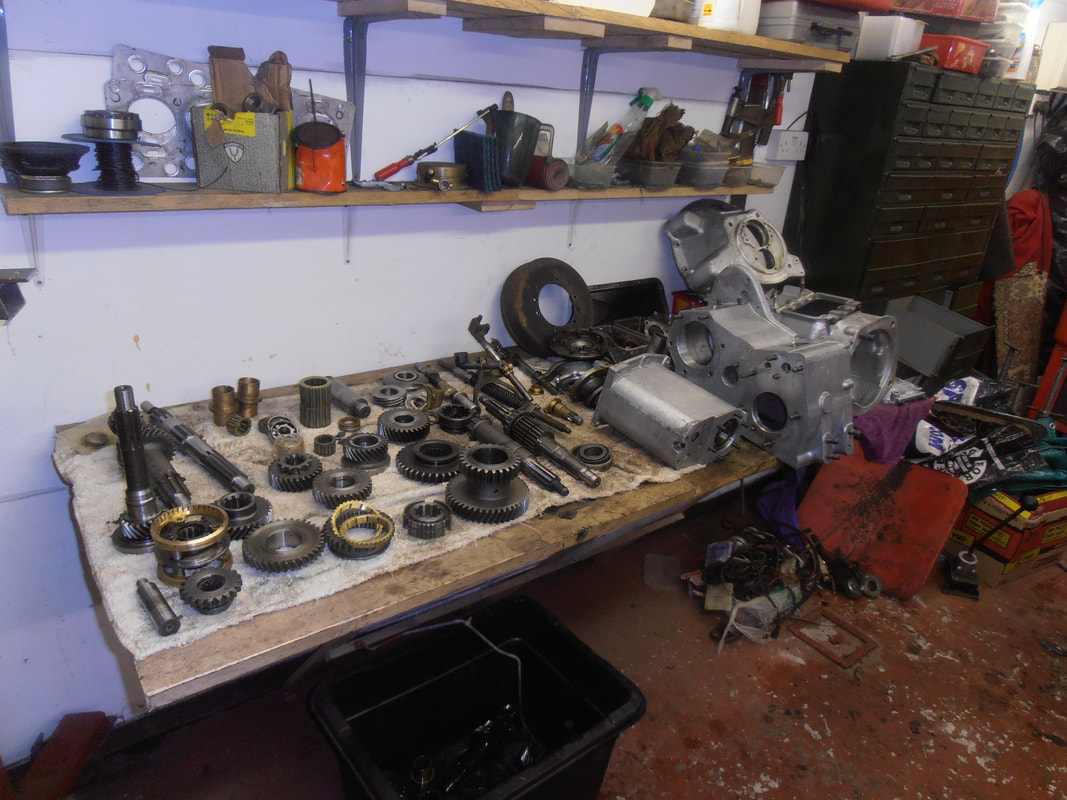
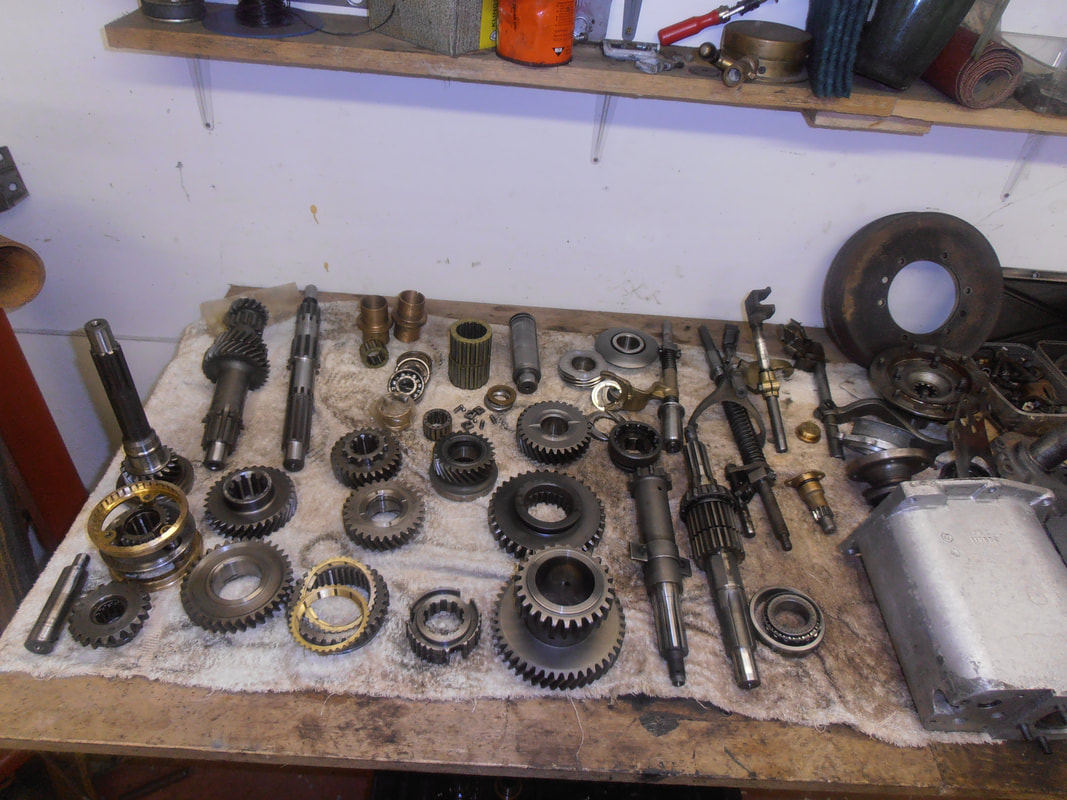
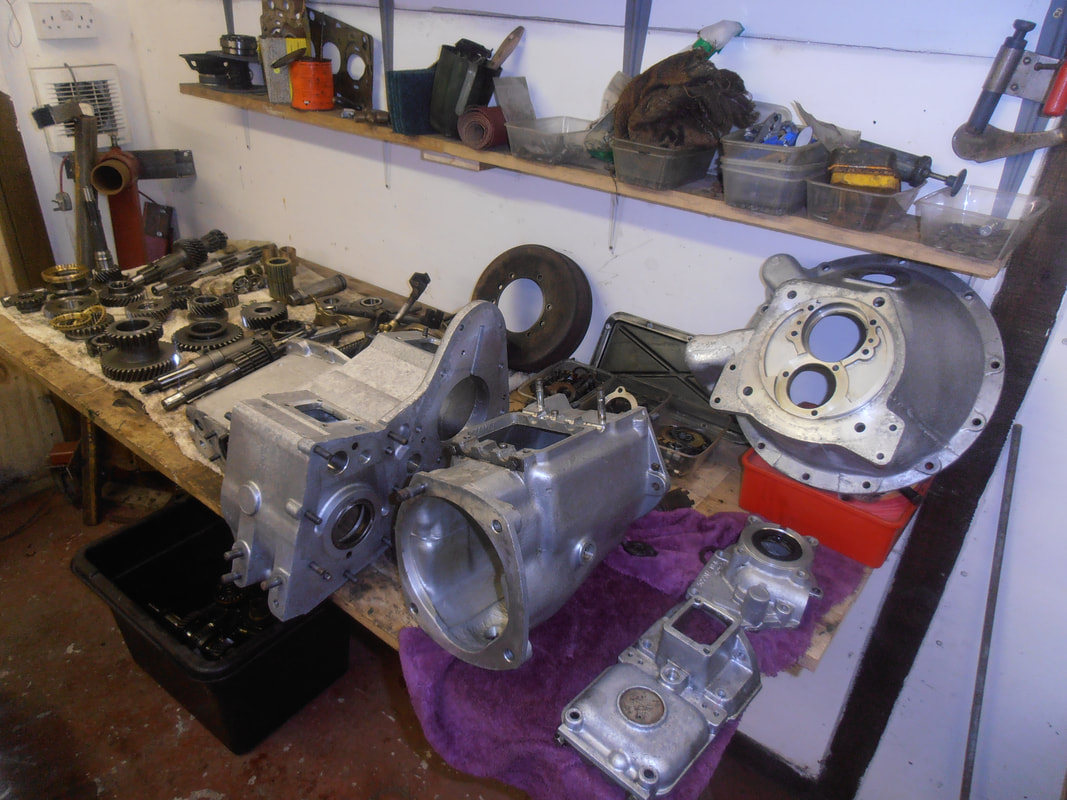
Gearbox was completely stripped, cleaned and rebuild.
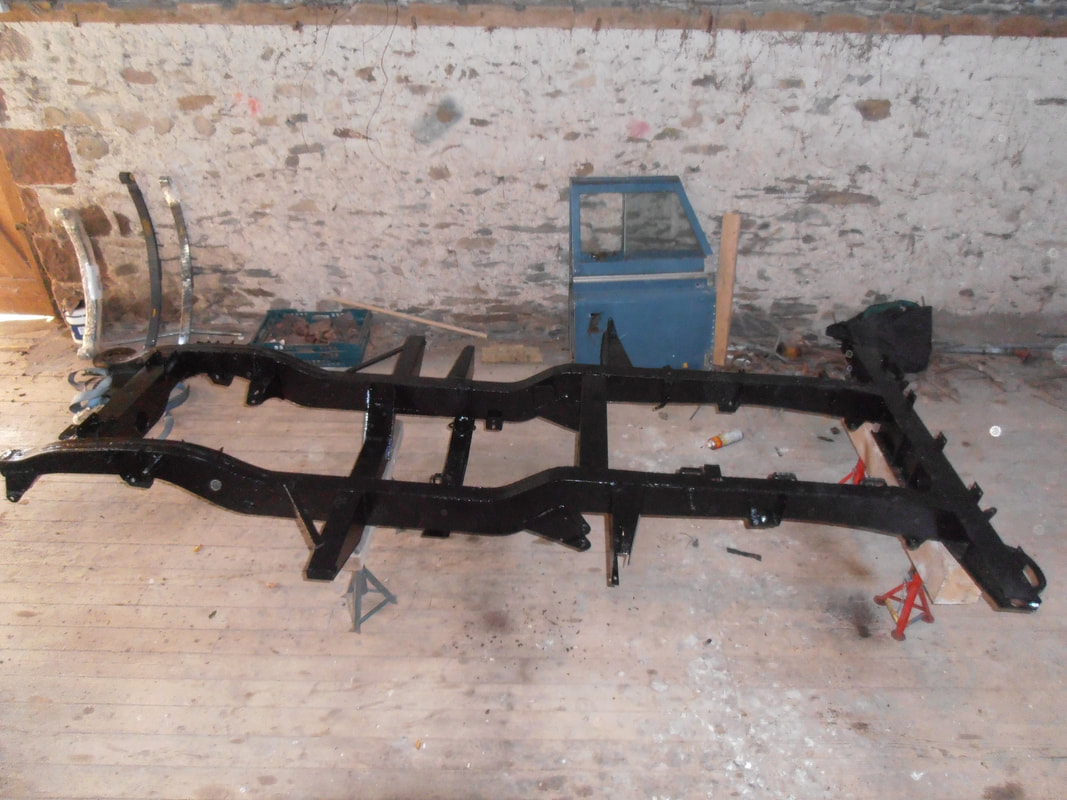
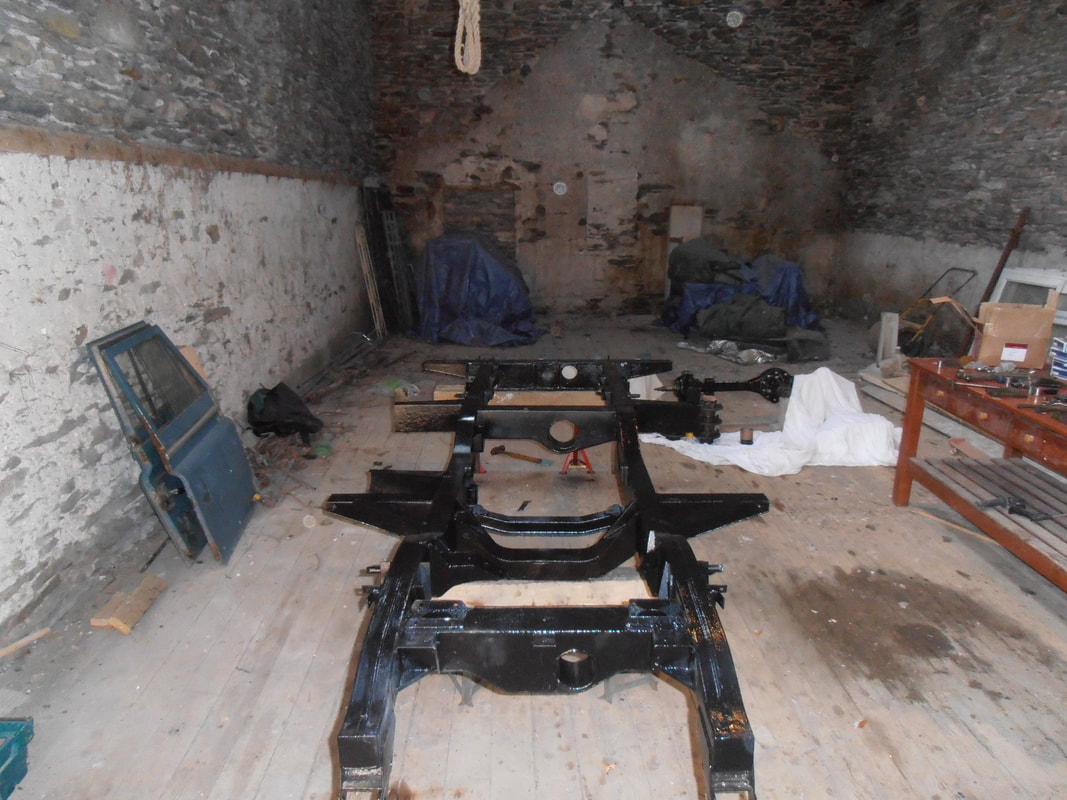
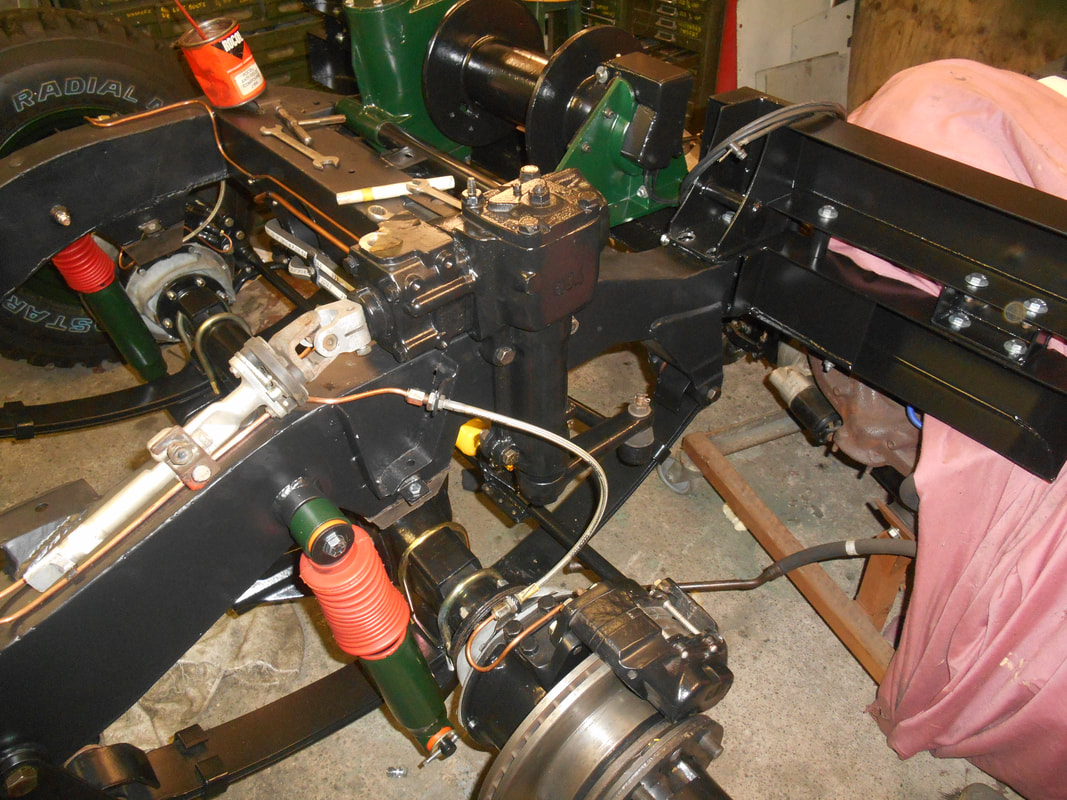
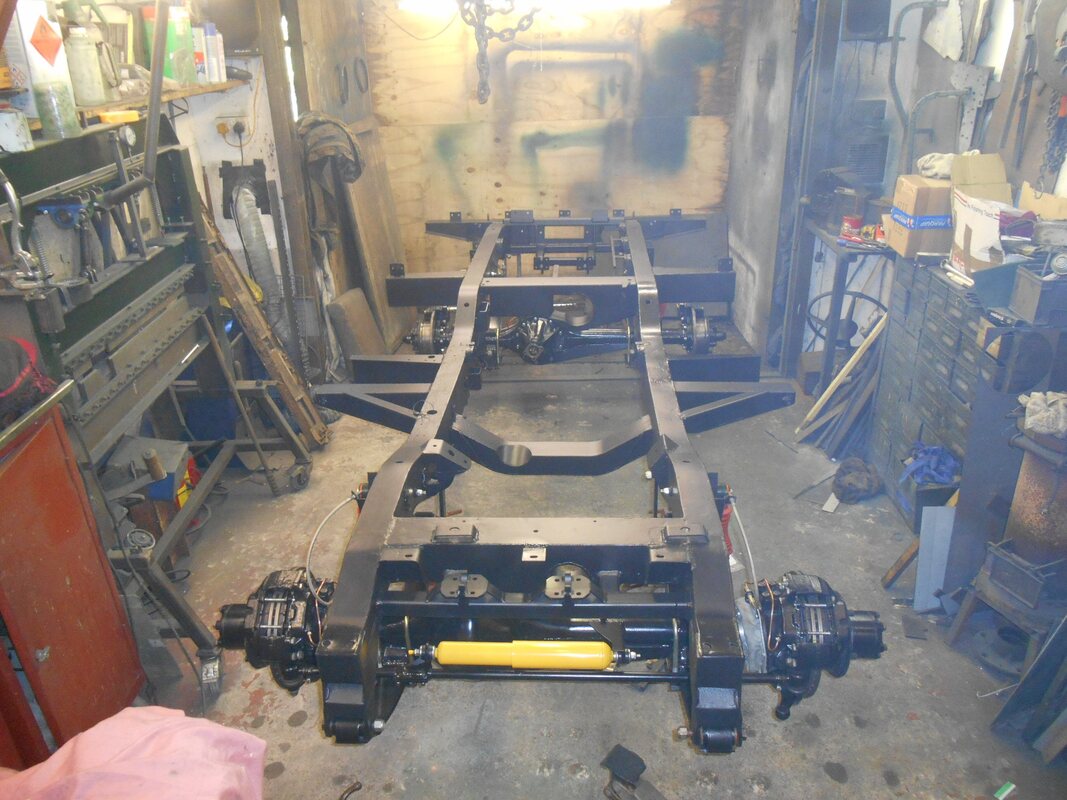
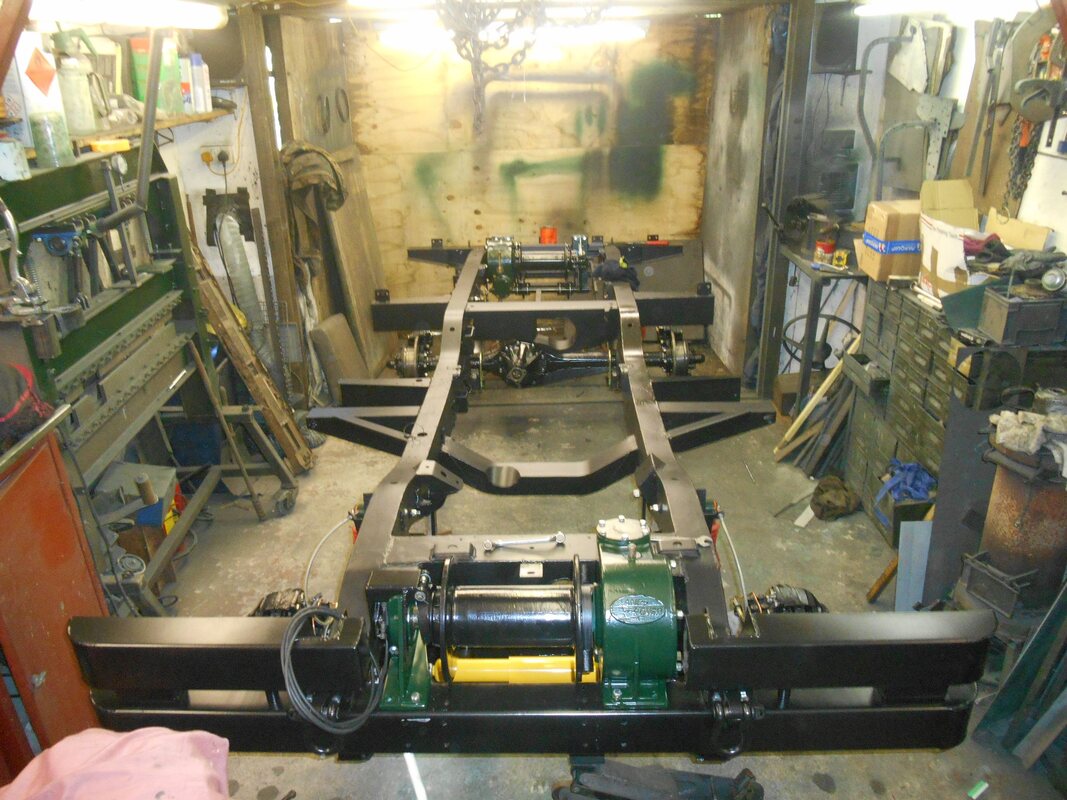
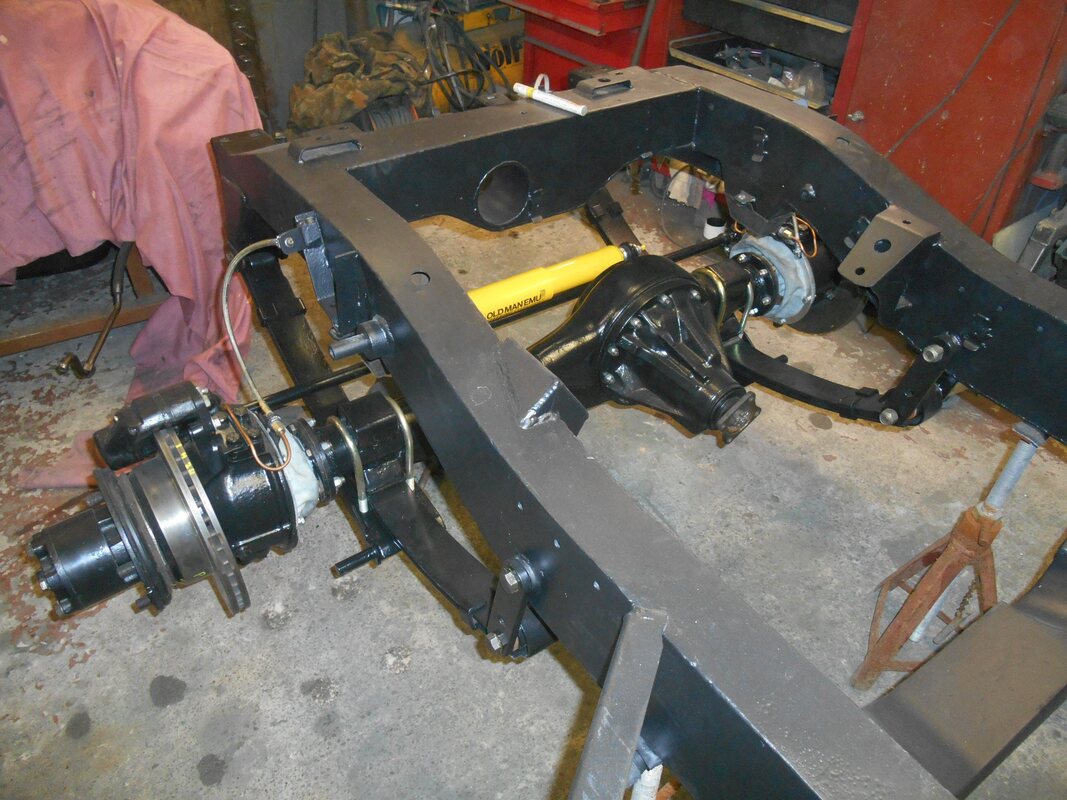
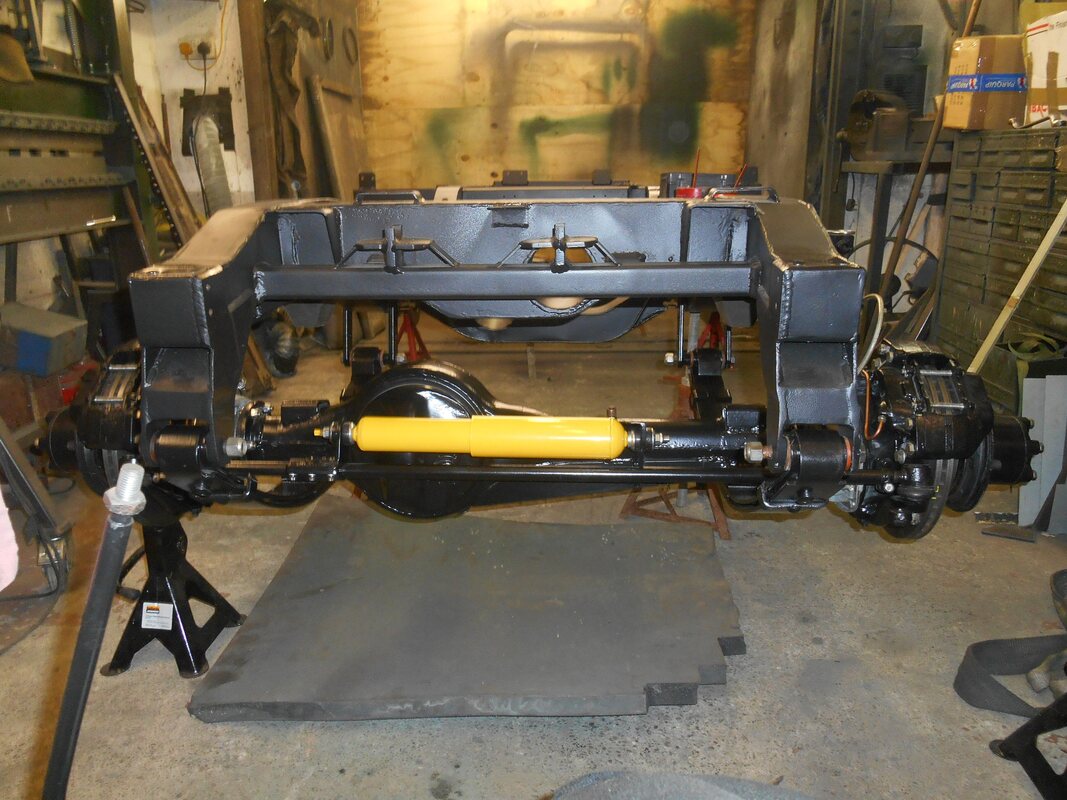
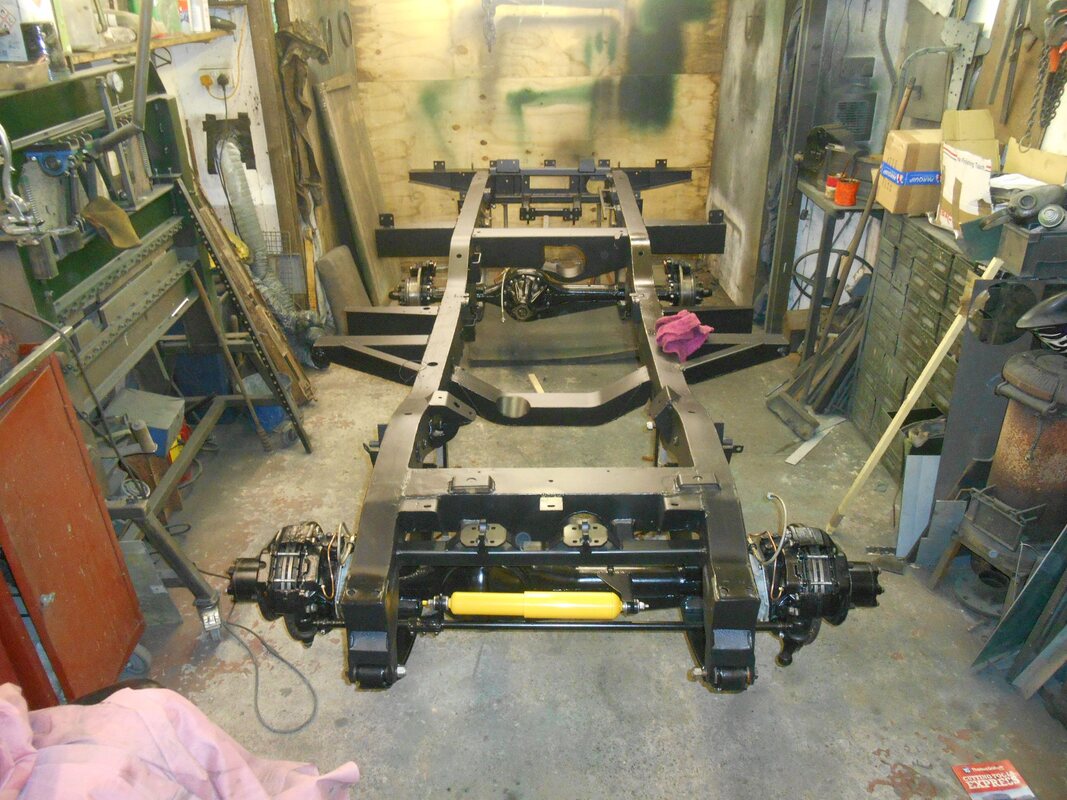
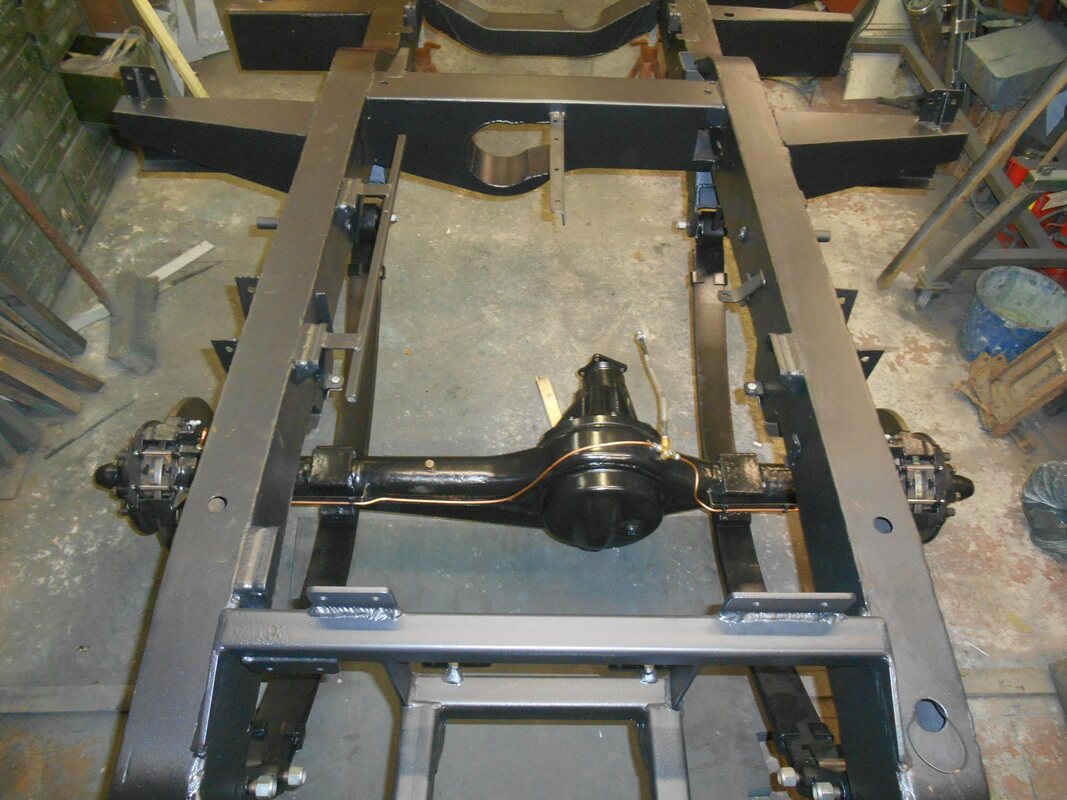
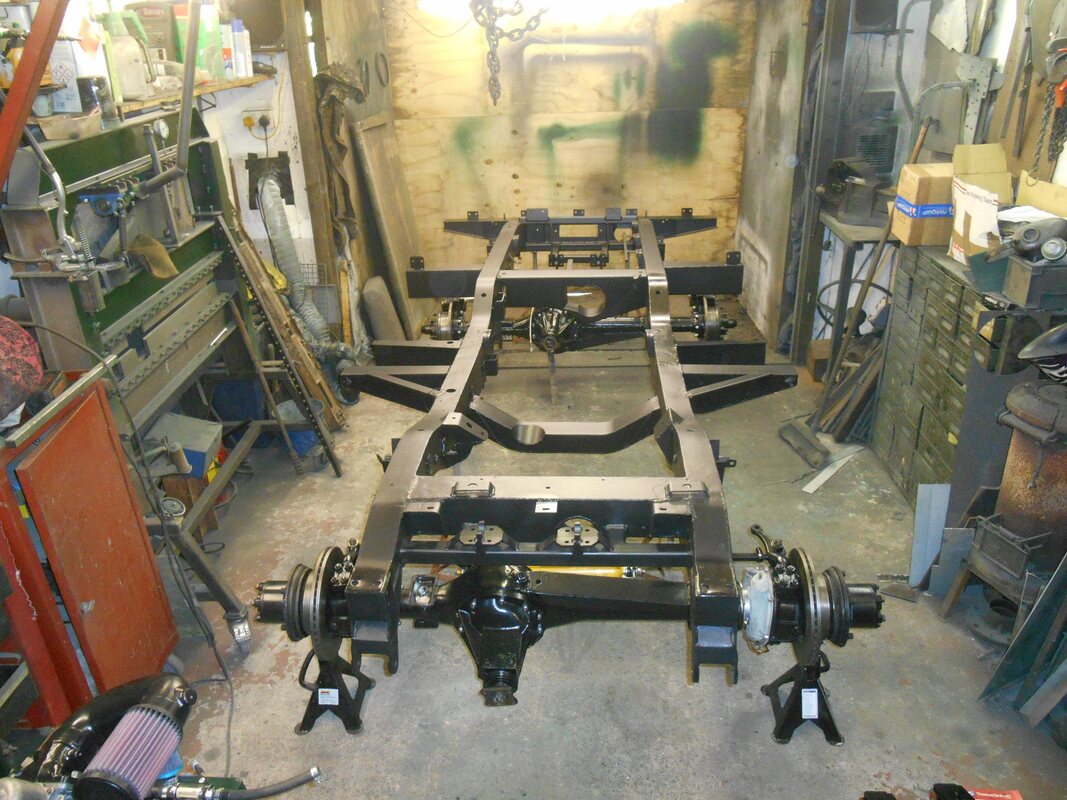
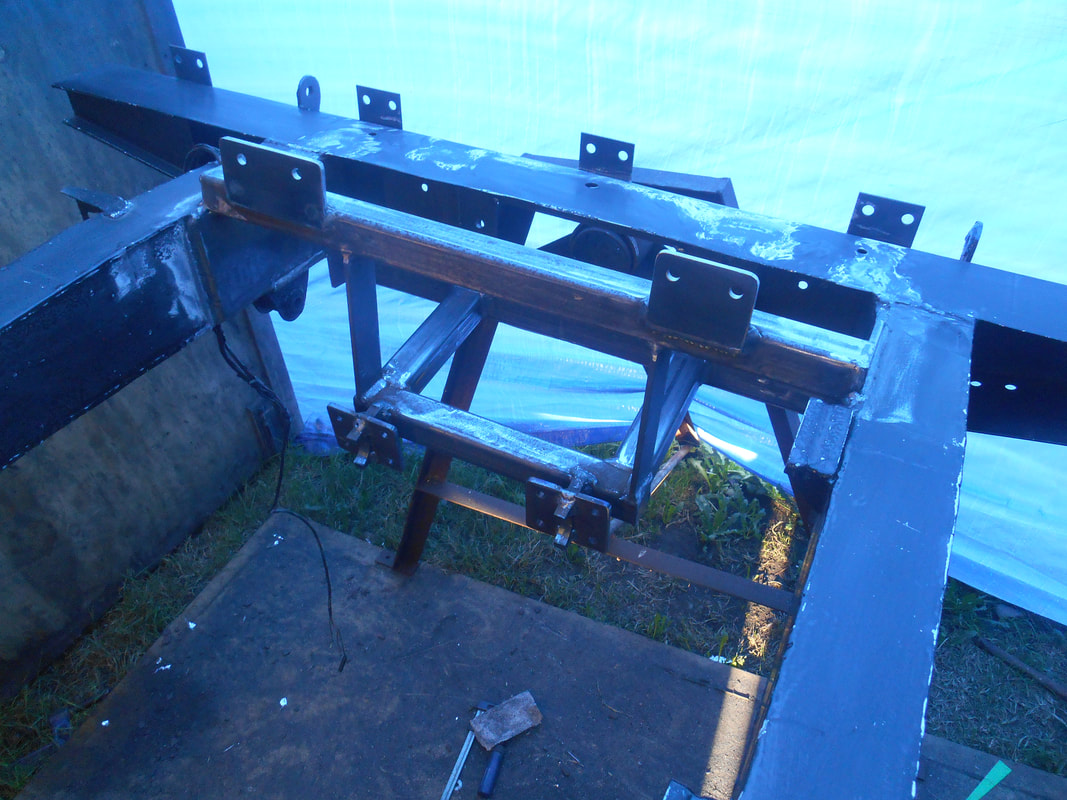
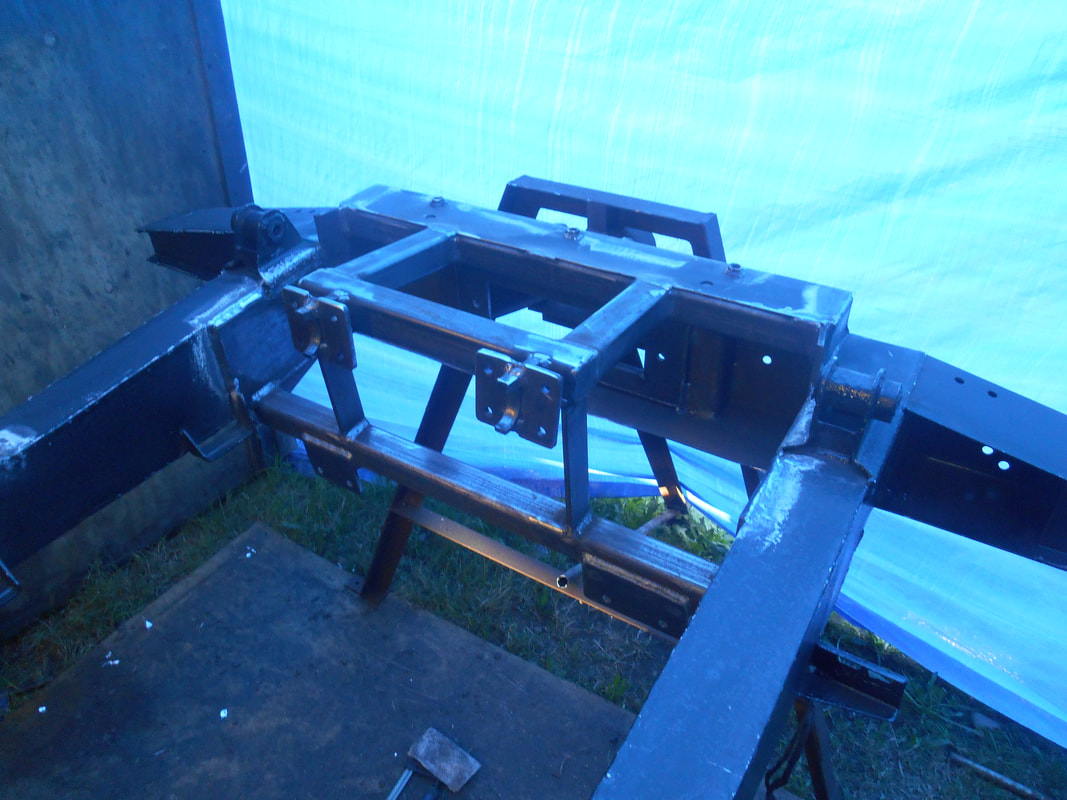
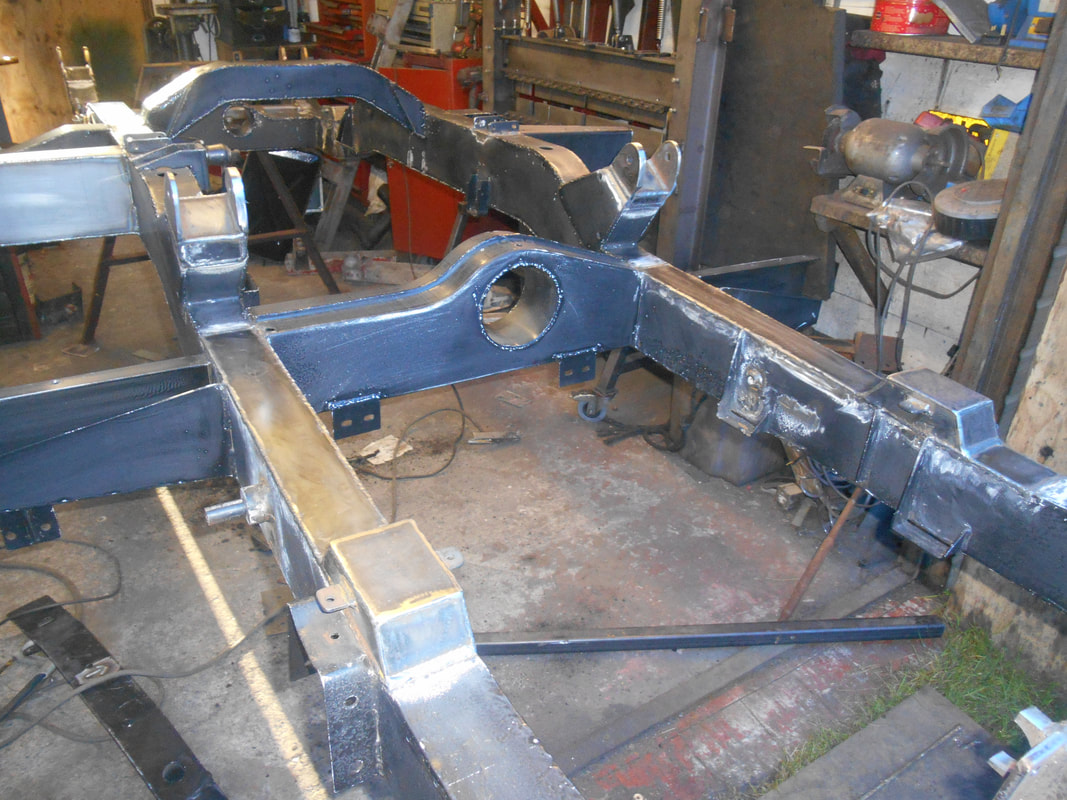
Starting with the Chassis, new brackets etc had to be fitted for a V8 Engine, bigger Radiator, Power Steering and two Hydraulic Winches.


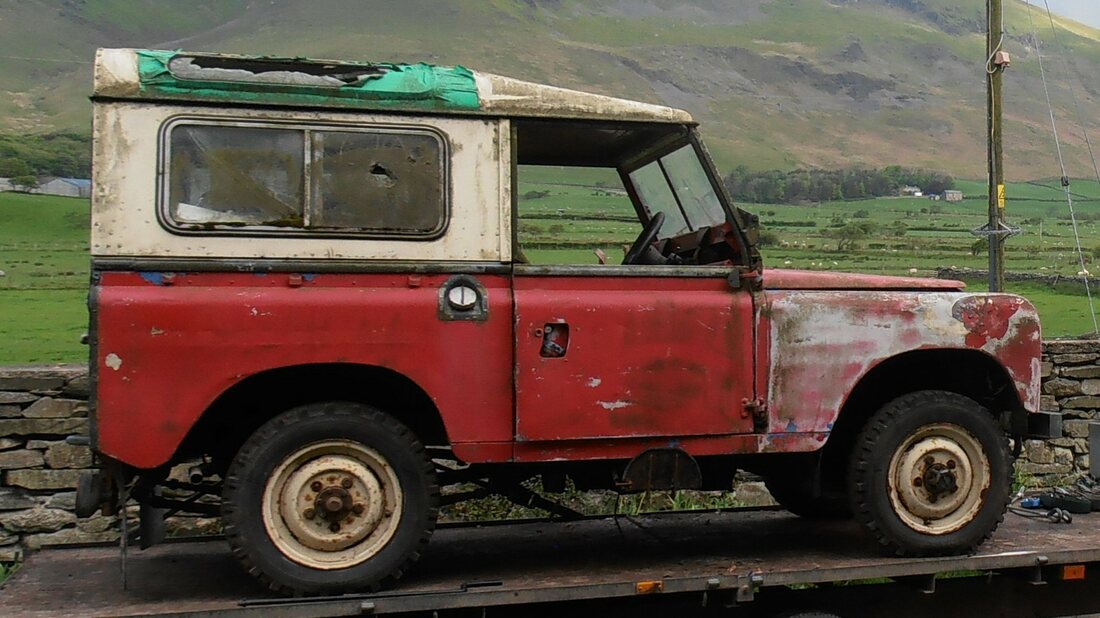
Restoring Adam 2014 - 2015
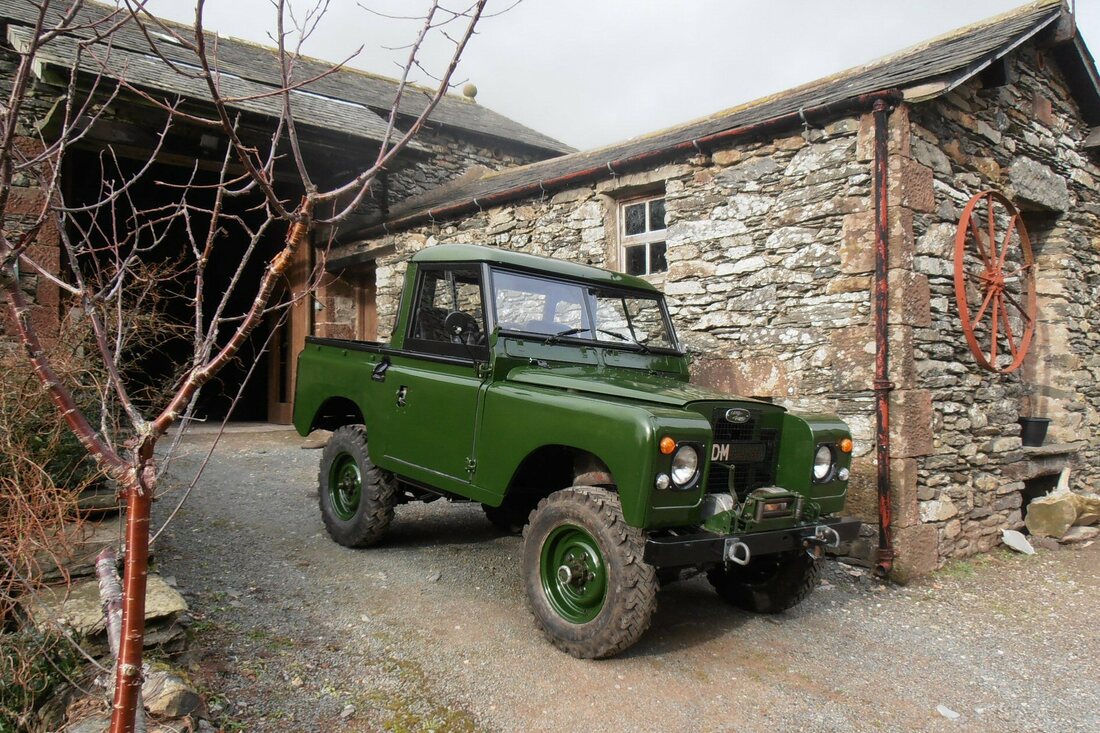
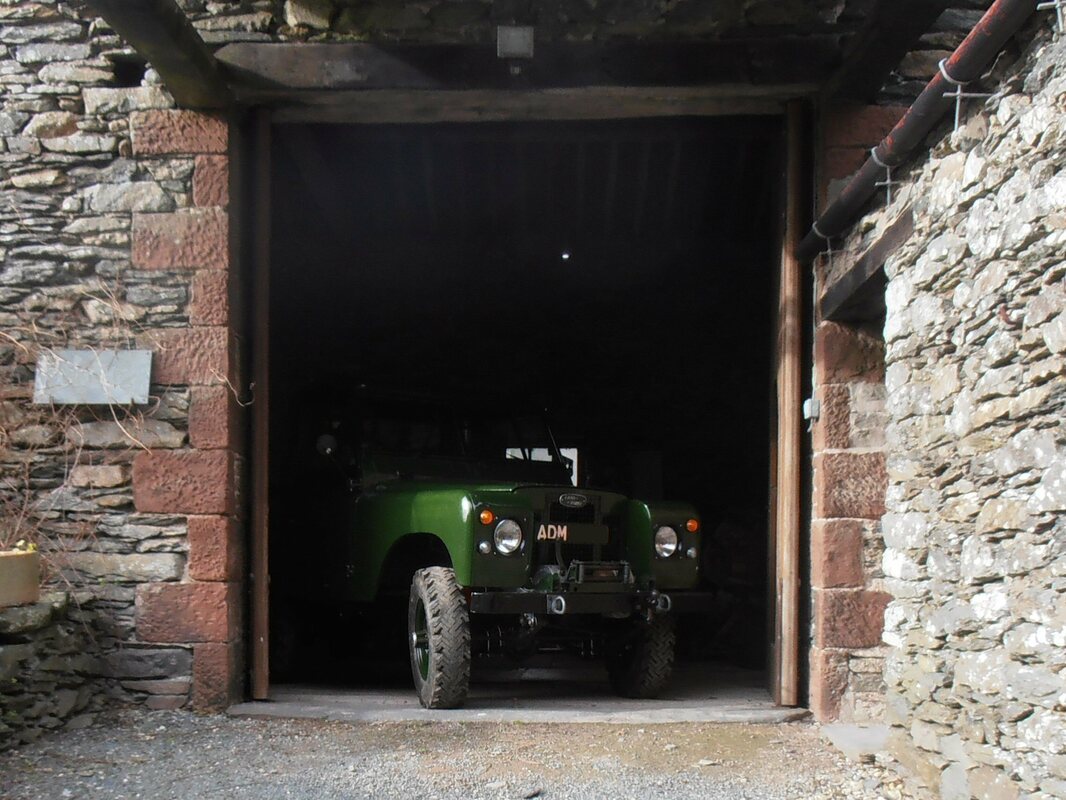
Adam drove out of the Barn in February 2015
Bit by bit was cleaned/restored/repaired and put on the chassis.
The bulkhead was stripped, repaired, primed and painted.

The engine was stripped, cleaned, inspected, part replaced as necessary, rebuilt and painted.
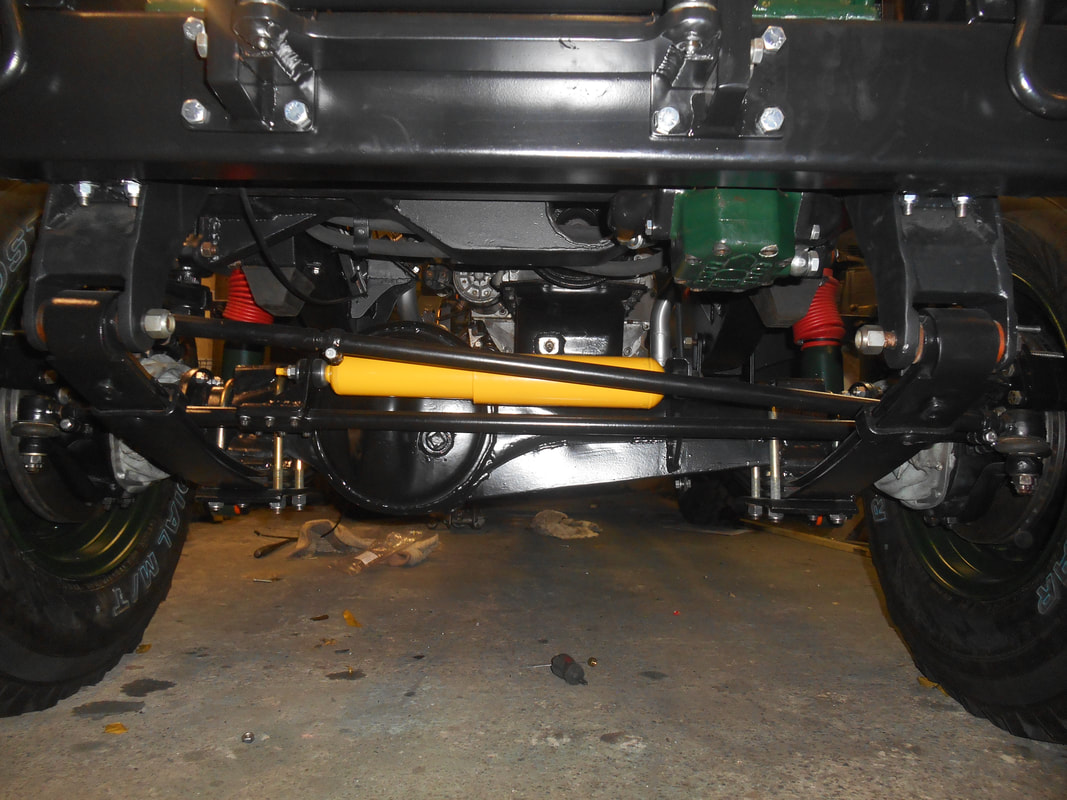
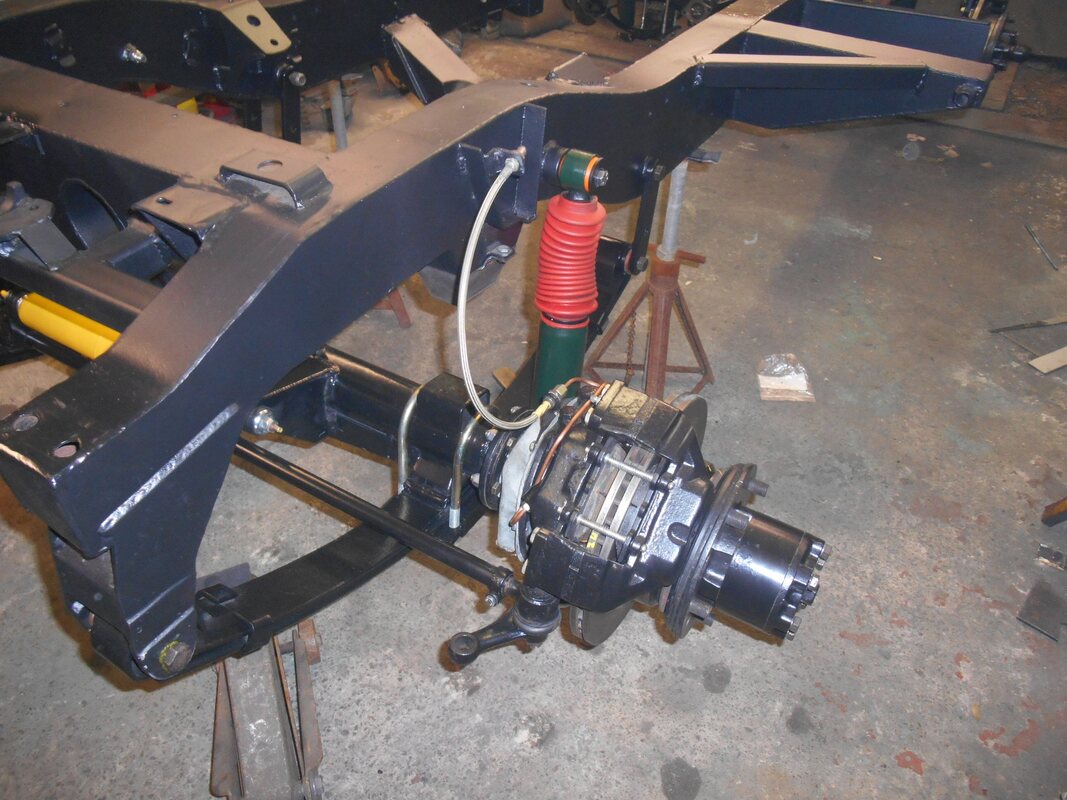
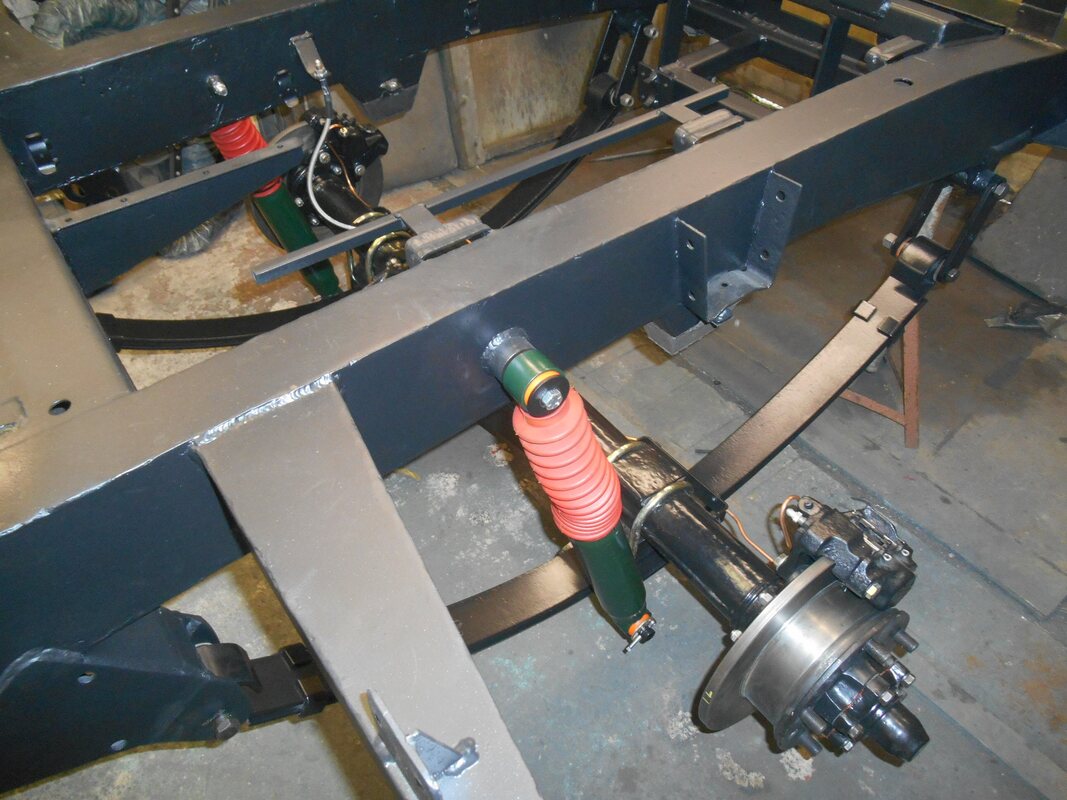
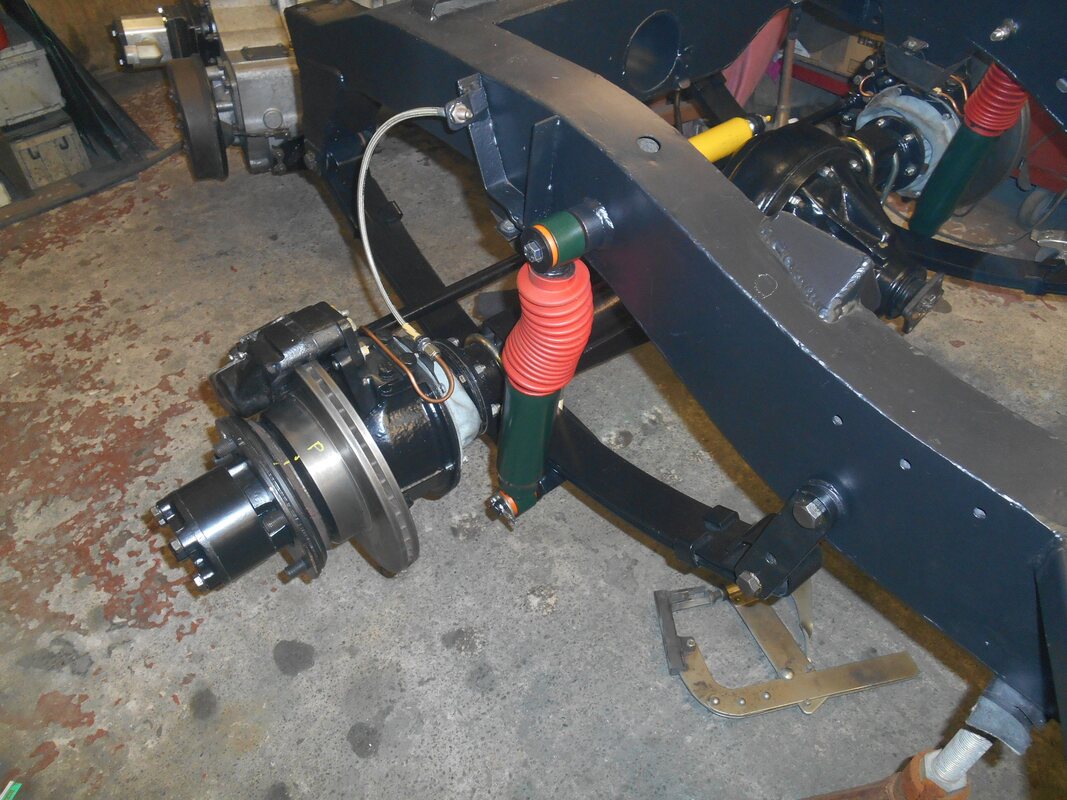
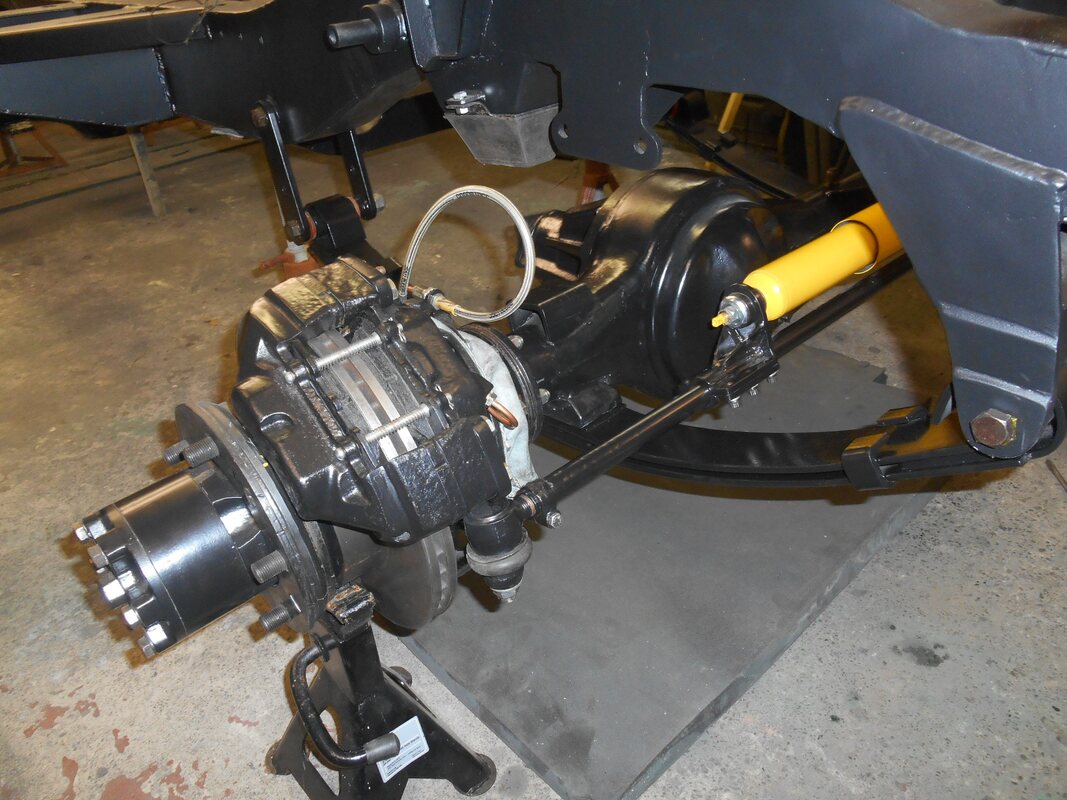
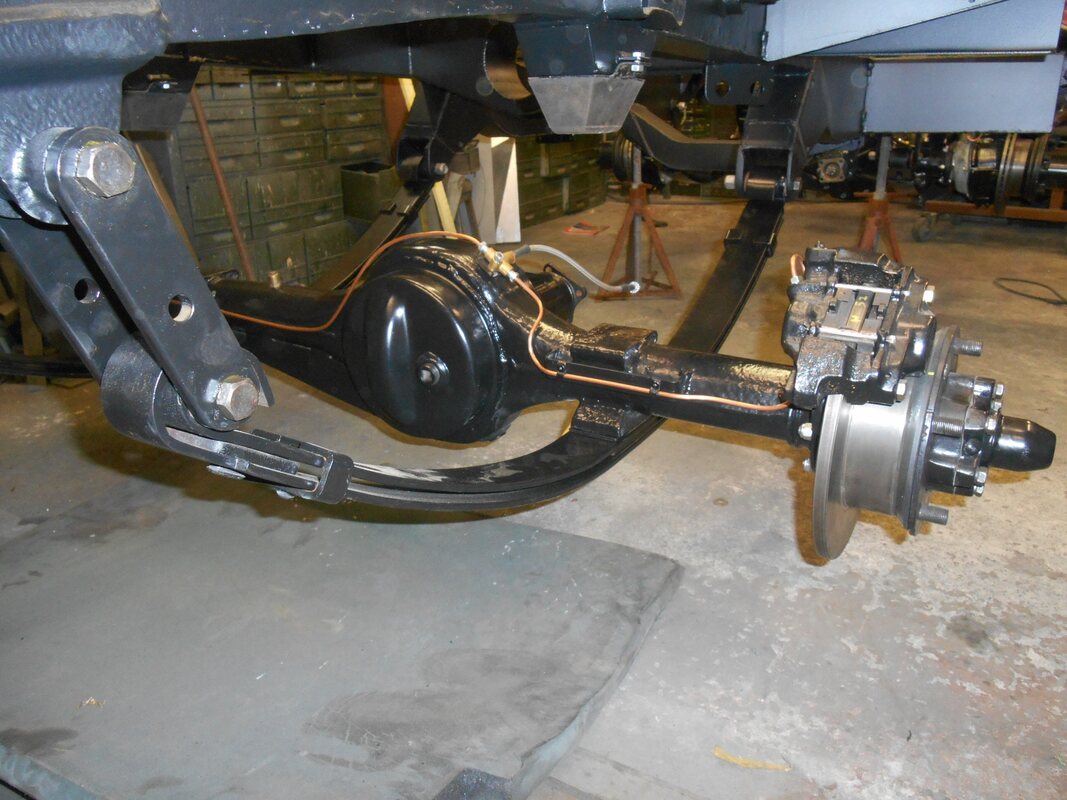
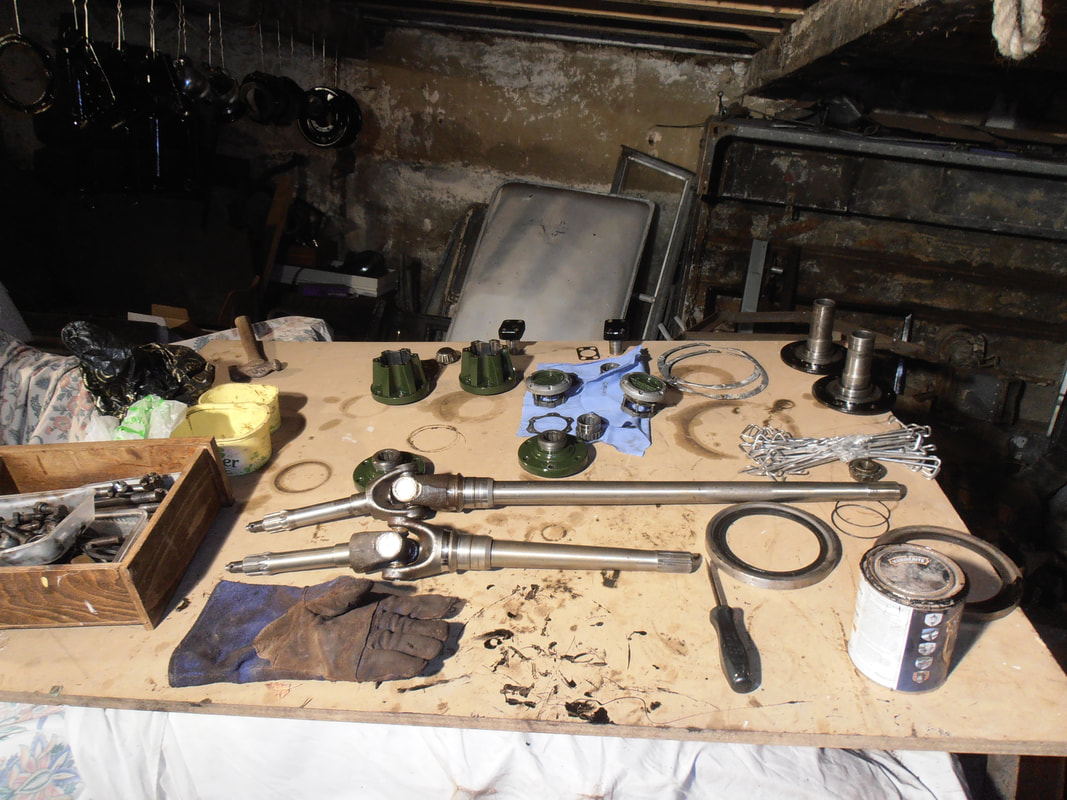
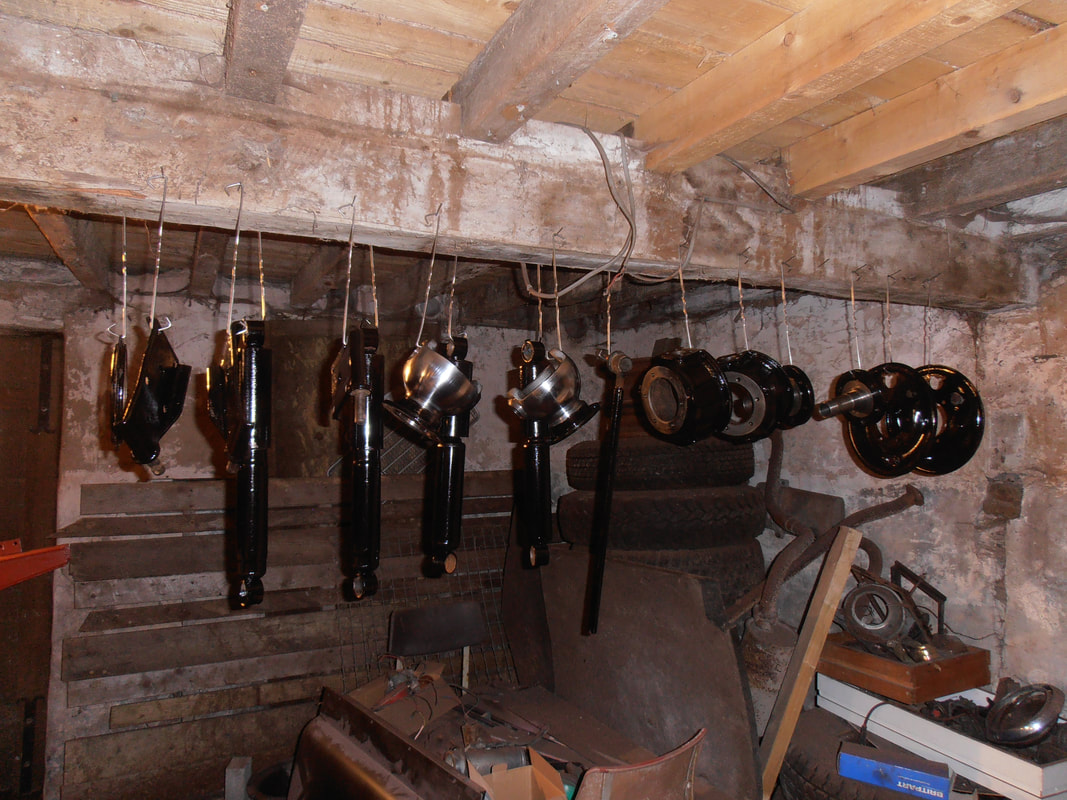
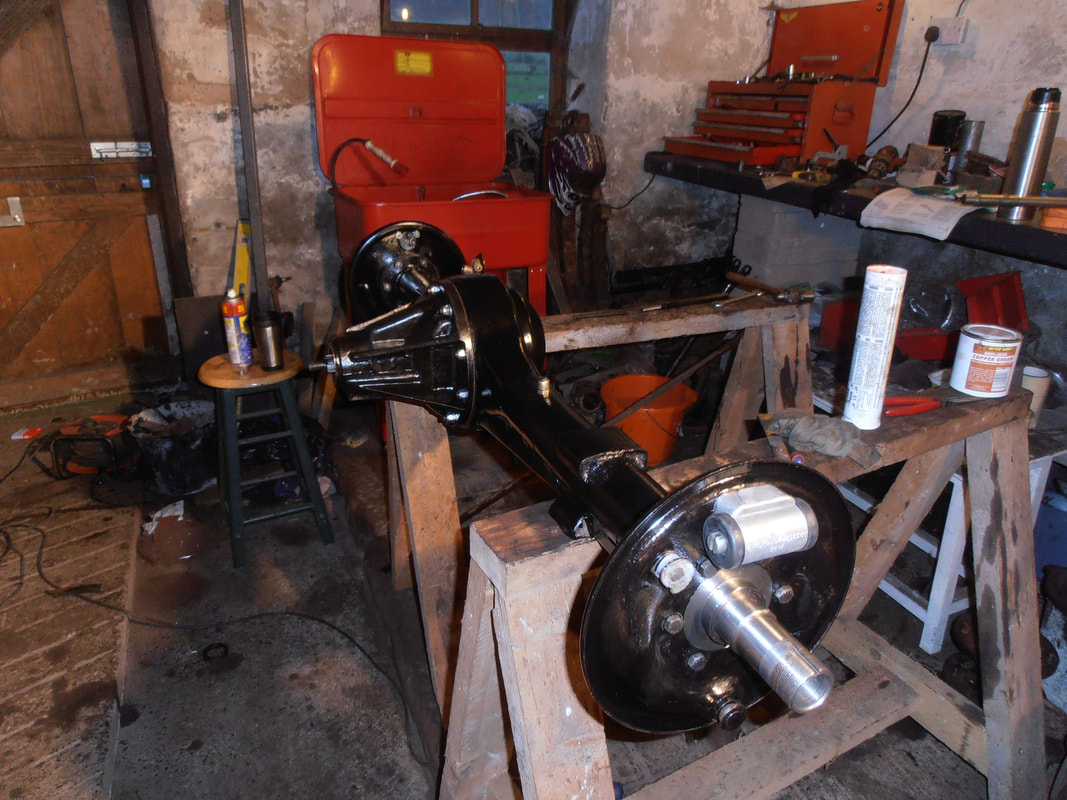
The Axles were taken apart, inspected, cleaned, parts repaired or replaced where necessary and then painted.

We started from the bottom. The chassis was in a rough state and needed quite some work doing to it.